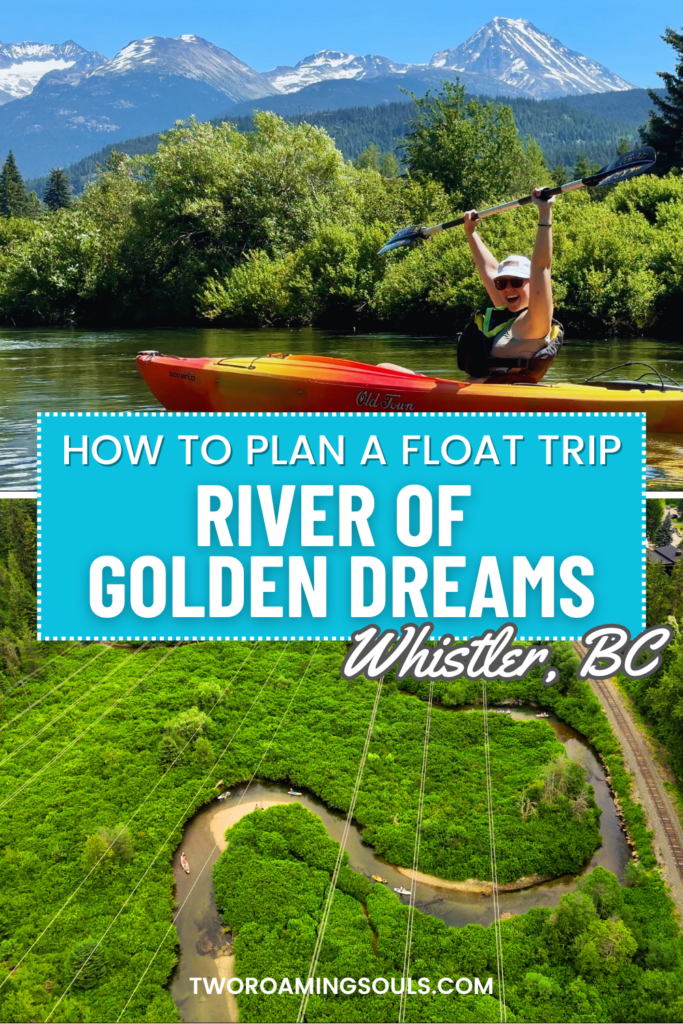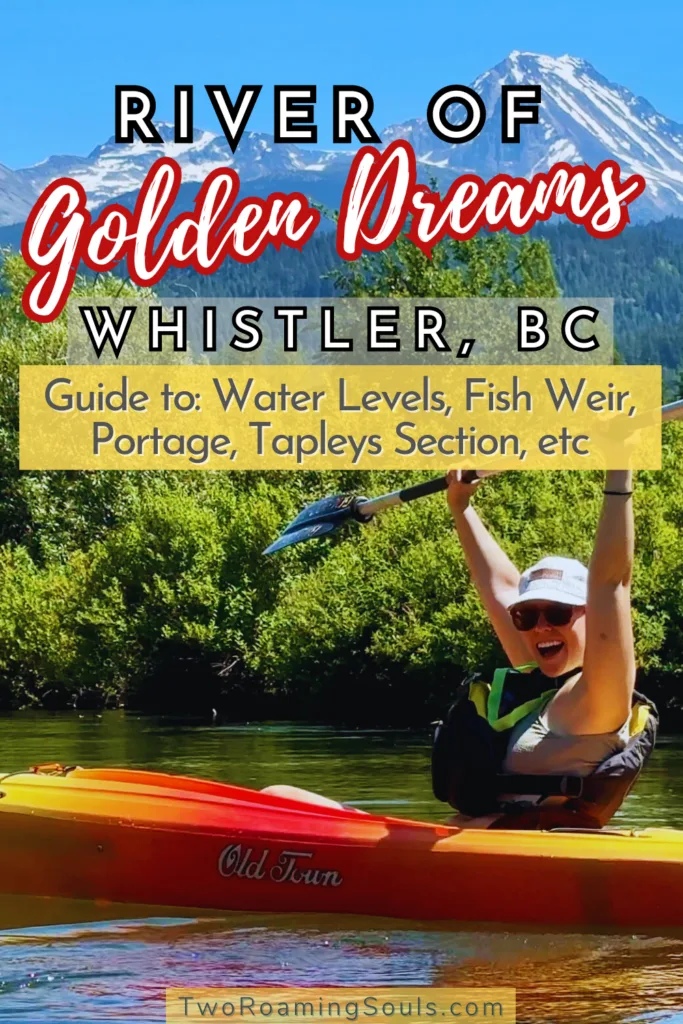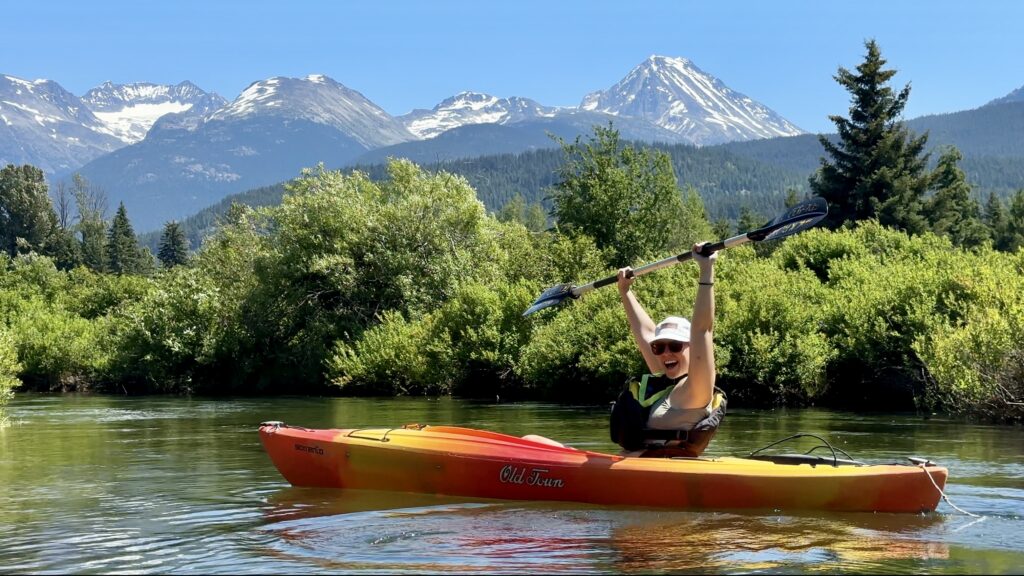
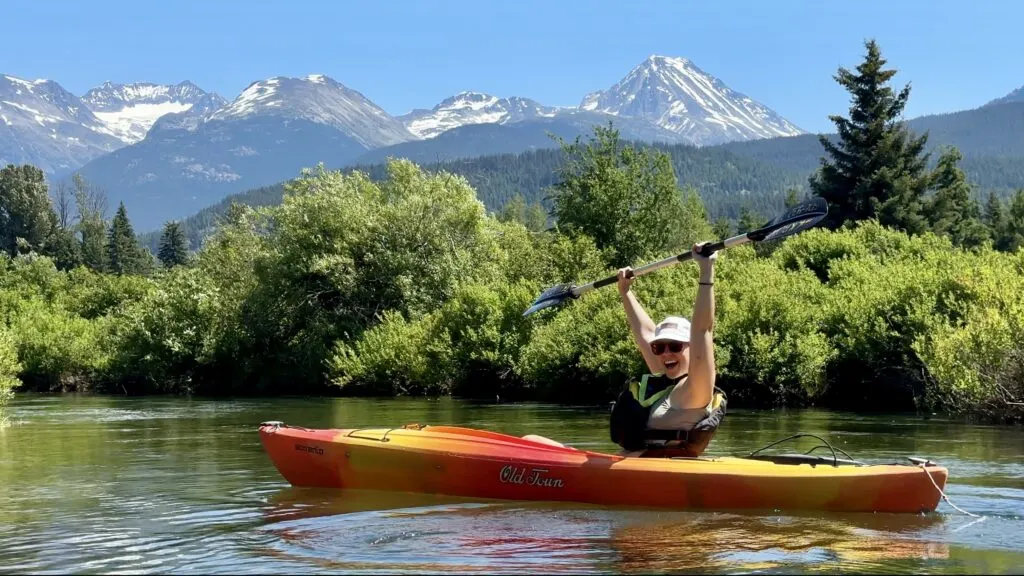
Looking for a fun way to cool off during summer in Whistler, BC? We have just the adventure for you. The River of Golden Dreams is a “lazy river” float with epic views of the surrounding mountains in the Whistler Valley.
The float trip starts from Alta Lake and meanders down the River of Golden Dreams into Green Lake. But there are a few obstacles you run into along this adventure.
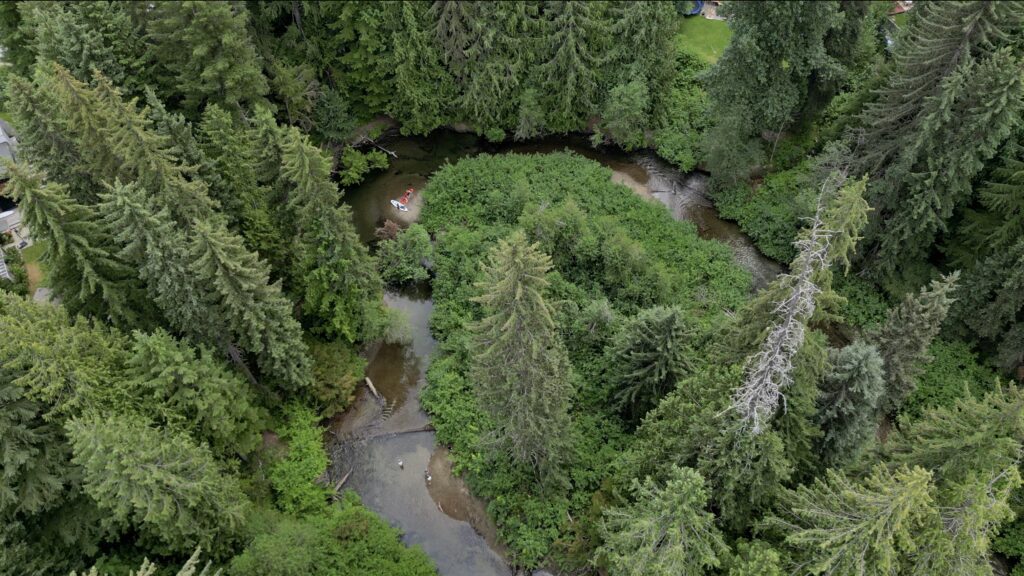
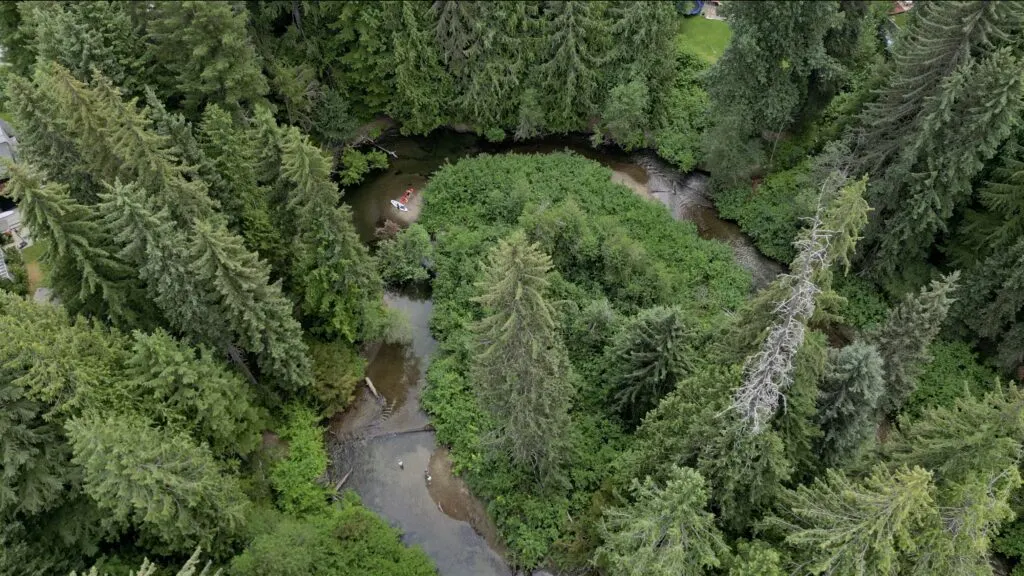
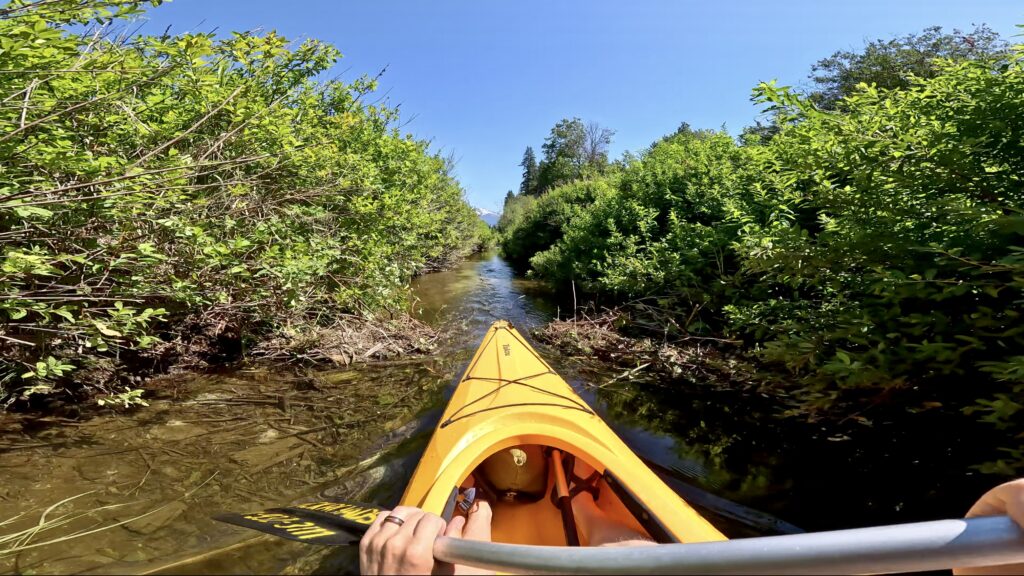
It’s not entirely a lazy river, there are beaver dams, narrow bushes, sharp sticks, rock bars, and a crucial portage section where everyone must transport their boat to another put-in location. And where you put back in can differ depending on your ability and varying water levels.
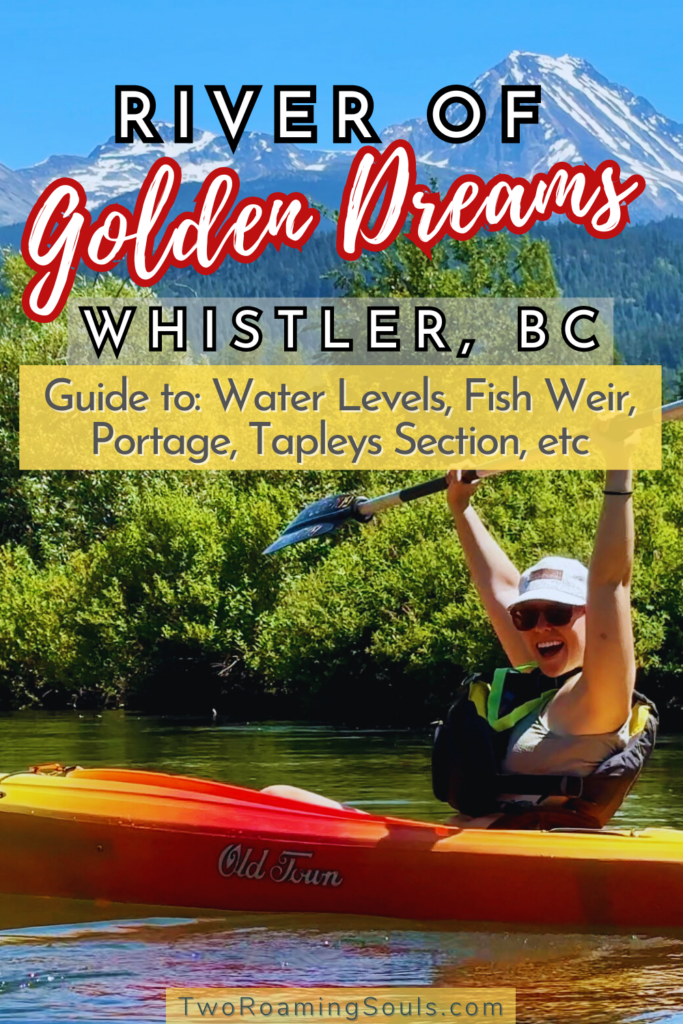
In this guide we will share everything you need to know about floating down this beautiful river, such as the water levels, where to park, the tricky portage sections, what to bring, the best times to go, etc.
This post may contain affiliate links. Disclosure policy.
Should You Book A Tour
The River of Golden Dreams can be done in a few different ways. If you don’t have your own gear, then booking with a rental company is your best option. We booked this tour, which links you with a local company.
Shortly after we booked, a local company reached out to us to sign a waiver and provided the necessary details for our float trip. They gave us the option of a self-guided tour or a guided tour.
A self-guided tour includes the boat, PFDs, paddles, a brief orientation, wheeling equipment for the portage, and a shuttle back to your car.
If you choose a guided tour, it includes everything mentioned above, plus paddle instructions and a local guide who provides info along the way about plants, animals, and Whistler’s history.
If you don’t have river experience, I highly encourage going with a guide. Especially during high or low water levels where navigating the river becomes much more of a challenge.
But if you have your own hard-shell vessel and a way to shuttle yourself to and from the river, you can do this adventure on your own.
What Kind Of Vessels Can You Take Down The River

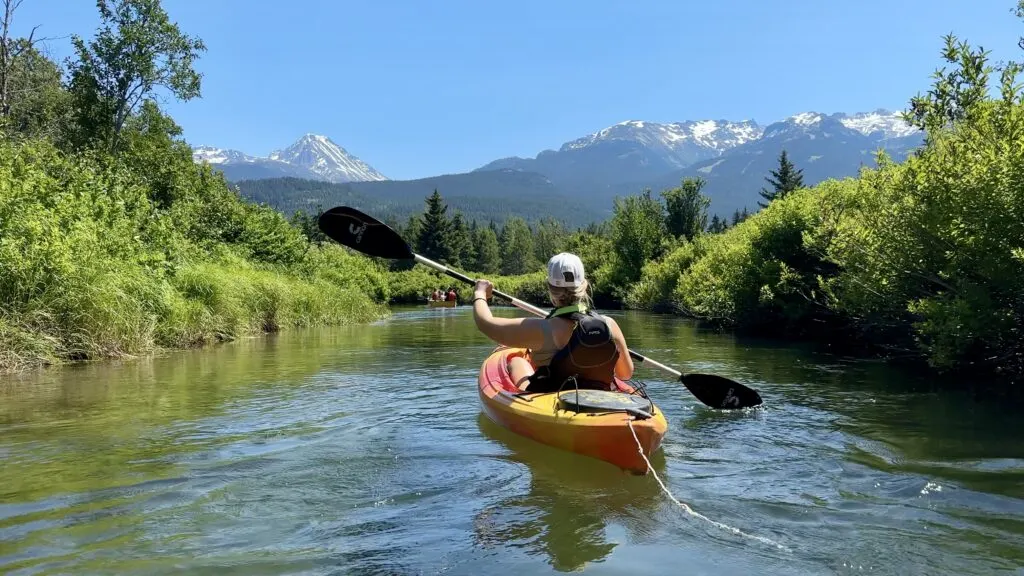
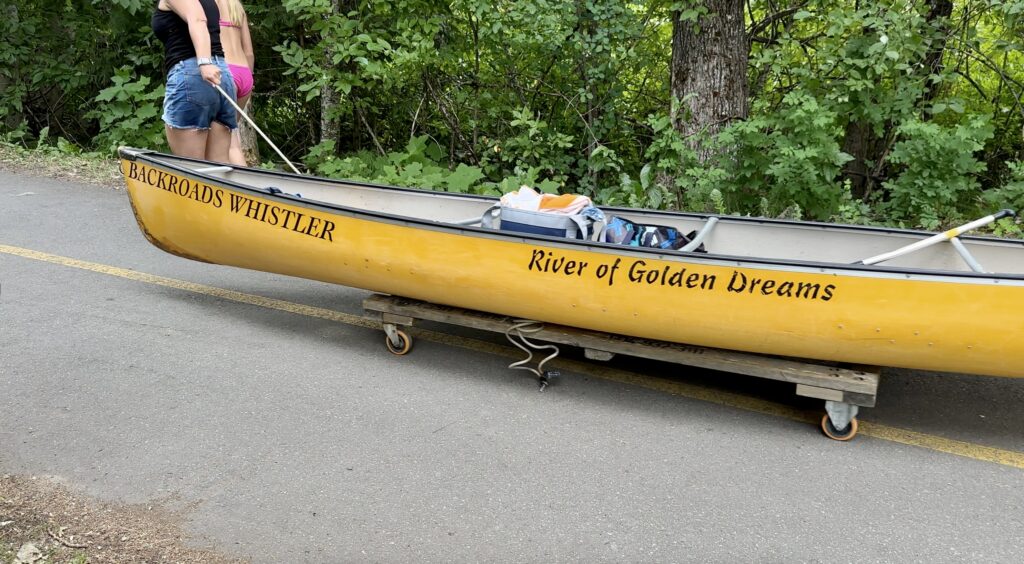
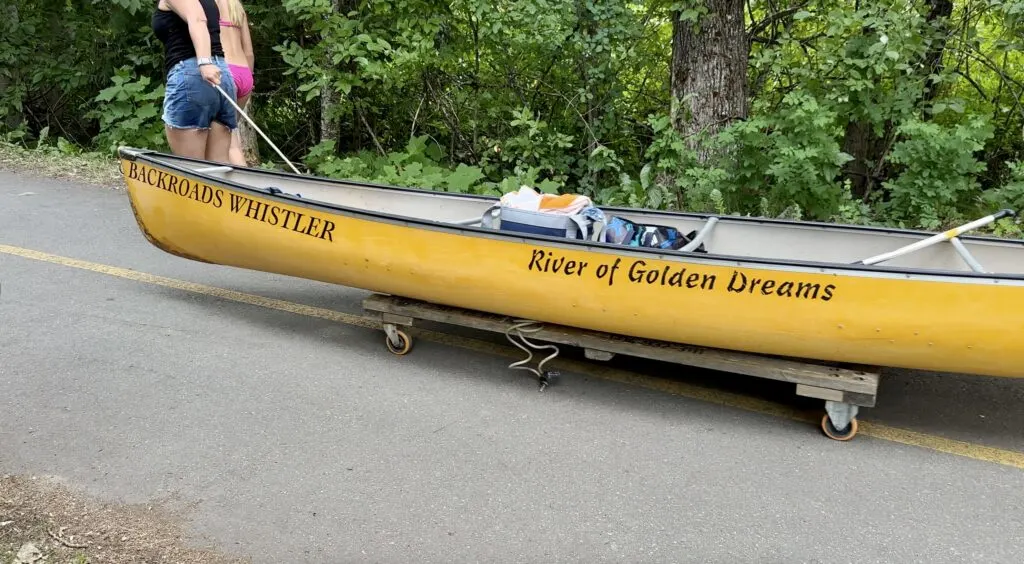
The River of Golden Dreams is best done in a hard-shell vessel, such as a kayak or canoe.
Jake and I have our own Intex Explorer Inflatable Kayak that we love to use for river floats. BUT…. The River Of Golden Dreams is a little different. There are beaver dams, shallow sections, sharp sticks, bushes, and a portage where you need to carry a kayak up to .64 km (.4 mi) to a different put-in location. So having anything inflatable just isn’t adequate.
It’s been an ongoing problem that many tourists & locals choose to use inflatable kayaks/floatys to paddle down this river. You are likely to pop one of these inflatables, leaving you stranded in the cold water and creating lots of single-use waste.

And even inflatable paddle boards are not really a good option, because they are not very stable, and using the fin will likely get you caught up on many things.
Best Time To Float The River Of Golden Dreams
The River of Golden Dreams is really only accessible in late spring through early fall, due to ice and snow. The best time to float the river is mid-July, but can be fun in the surrounding months as well.
The flow primarily depends on the snow pack from the previous winter season. And the flow will change depending on the temperatures, snow melt, and precipitation throughout the season.
Water Levels
June tends to have a heavier flow because of the snow melt, and August will begin to see lower water levels.
In June or when water levels are high, you will need paddling experience, and be prepared to navigate turns quickly, as the current is usually flowing pretty rapidly. And capsizing is more likely.
And in the later season, typically August, you will need to be prepared to walk your vessel over many shallow sections.
Where To Launch Your Boat For Floating The River Of Golden Dreams
There are a few different locations where you can launch your boat. If you book with a company, they will provide the put-in location via email.
The rental company we booked with is headquartered at Lakeside Park. This is a great place to launch, but it does require you to paddle nearly the entire length of Alta Lake to reach the entrance of the river.
The prevailing southerly wind in Whistler (south to north) makes this pretty easy. However, if the wind is blowing from the north, you may have to work harder to cross the lake.
But if you have your own boat, these are the best places to launch your boat.
- Lakeside Park – Most popular, where Backroad Whistler launches their vessels.
- Fees: $2 per hour (Maximum 6 hours) From 10am to 6pm – May 15 to Sept 15
- Hillcrest Dr – Free street parking near Lakeside Park
- Wayside Park – Another popular location South on the lake, longer float, where Whistler Eco Tours Launches their vessels.
- Fees: $2 per hour (Maximum 6 hours) From 10am to 6pm – May 15 to Sept 15
- Rainbow Park – Closest to the mouth of the River of Golden Dreams
- Fees: $2 per hour (Maximum 6 hours) From 10am to 6pm – May 15 to Sept 15
- Along Lorimer Rd – There is a small parking lot along Lorimer Rd with free parking. This put-in location is right before the River of Golden Dreams Bridge. Or you can always walk your boat past the railway bridge to put in.
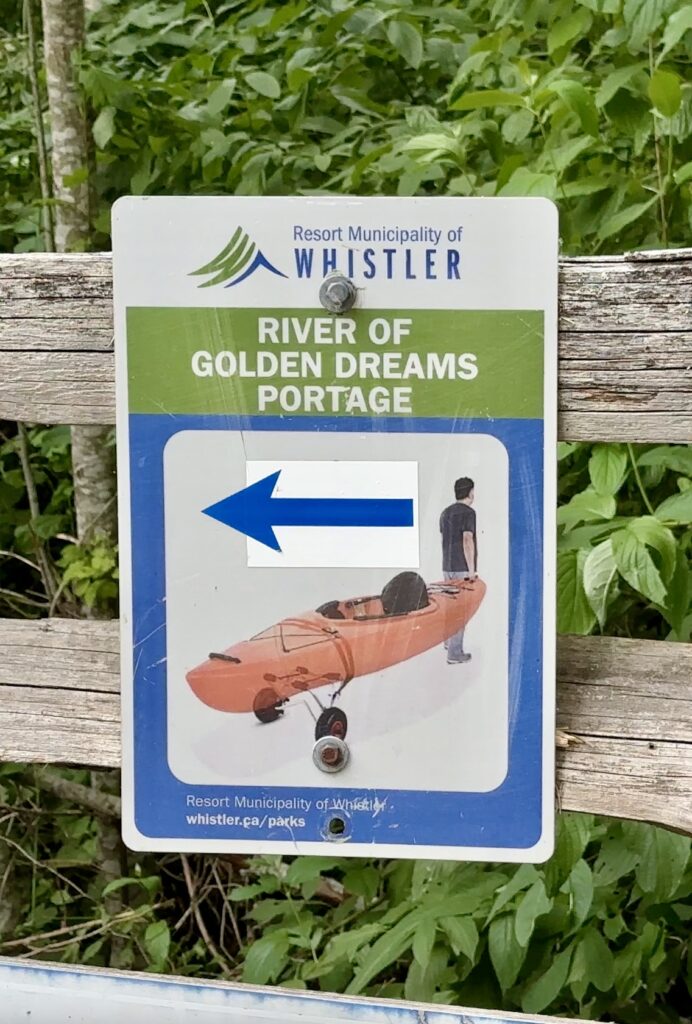
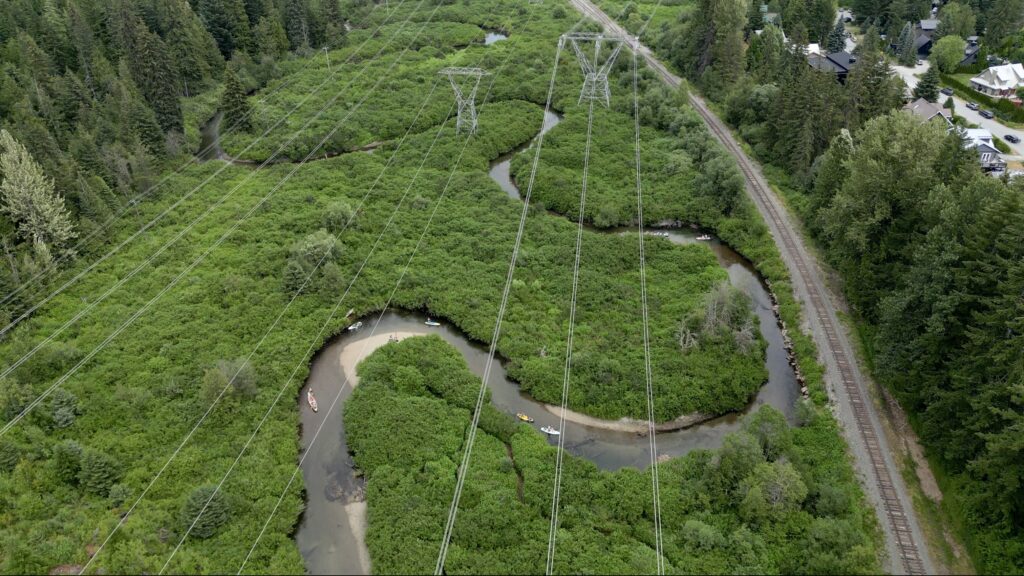
Portage Section

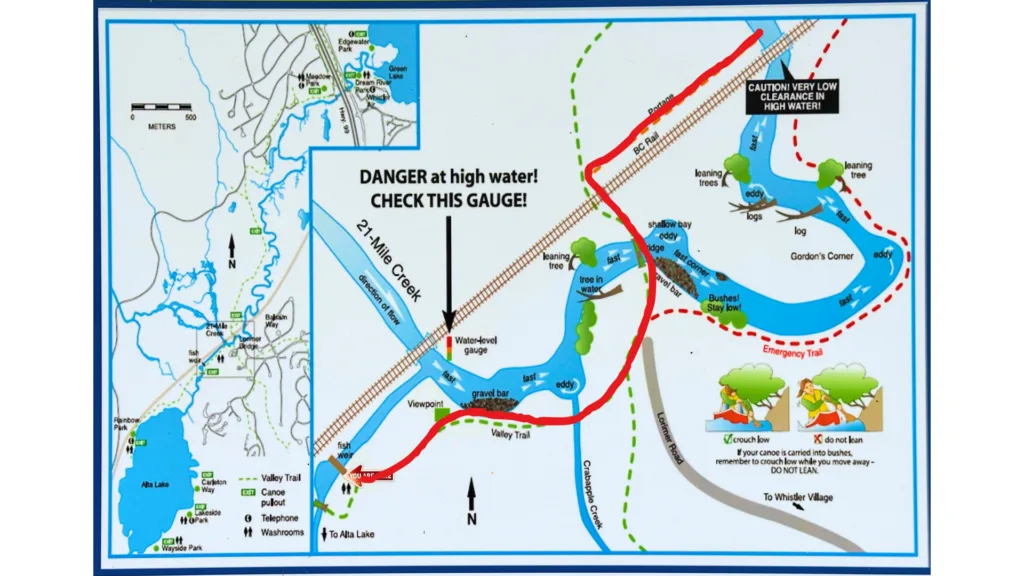
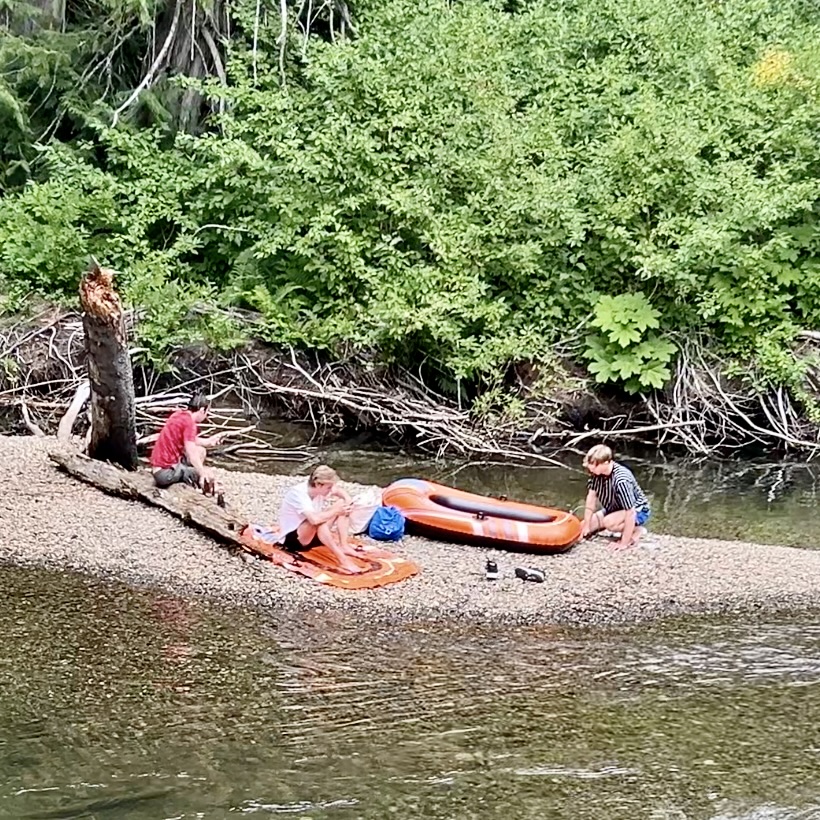
The thing that makes this river float complicated is the portage. A section where you need to take your vessel out of the water and re-enter downstream to avoid some obstacles.
The first obstacle is the fish weir, you know when you get there because the river is blocked with a big log. There will be a wooden dock to your right, where you will need to drag your vessel out of the water.

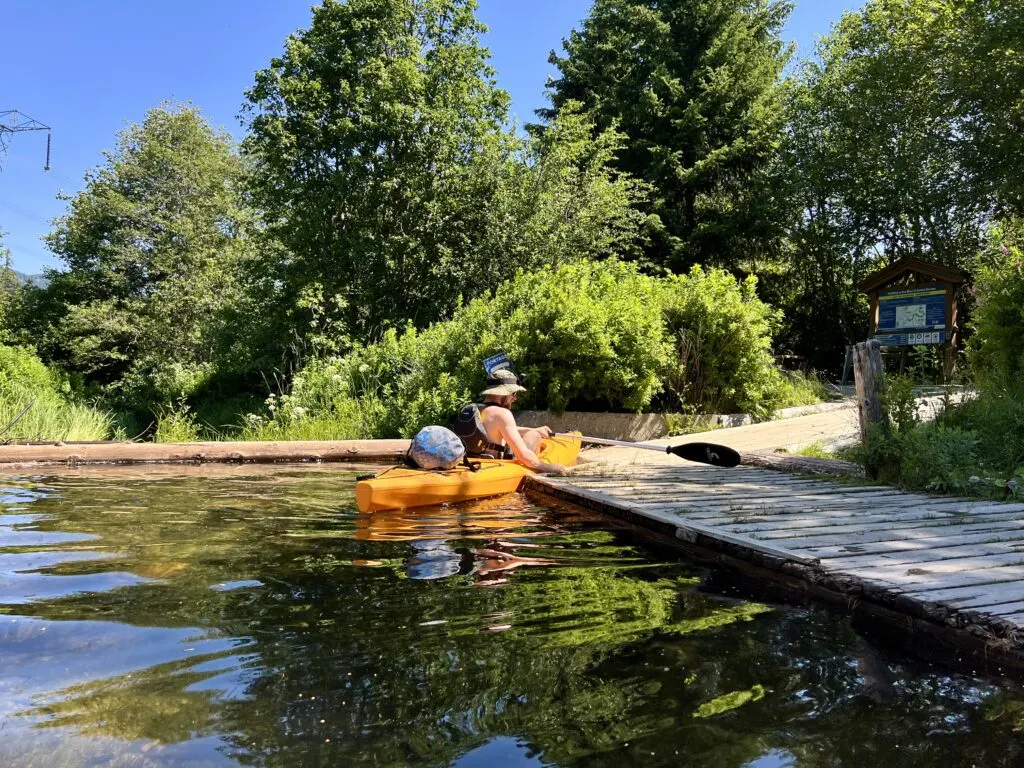
Where you put your vessel back in depends on the current water levels and your ability or confidence with faster-moving water.
Immediately following the fish weir is a narrow channel called Tapleys. For the absolute shortest portage, you only need to transport your kayak 6 or so meters to another dock.

The first obstacle here is a couple of logs that you will likely need to scoot over. This channel is narrow with scratchy bushes on each side.
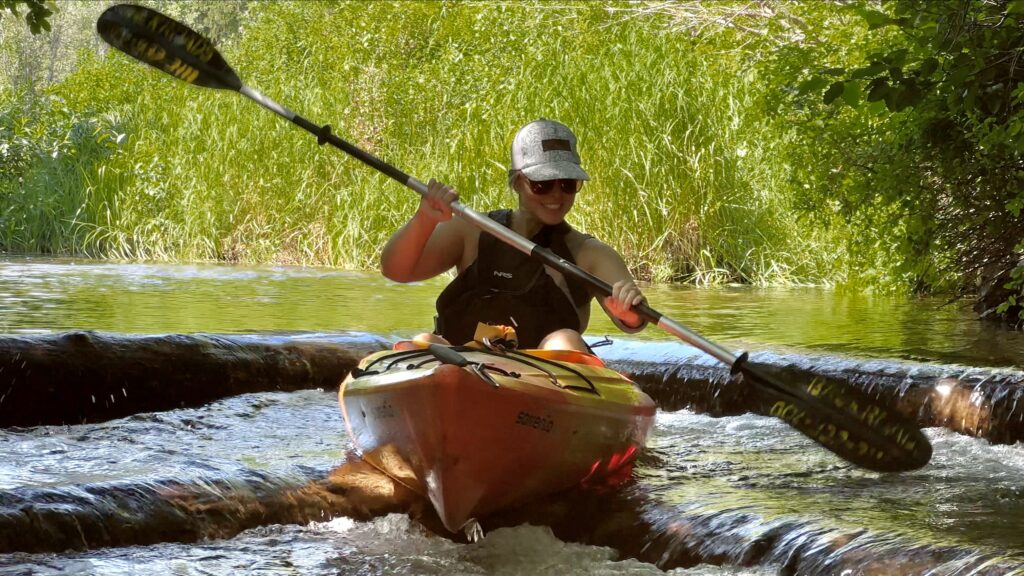
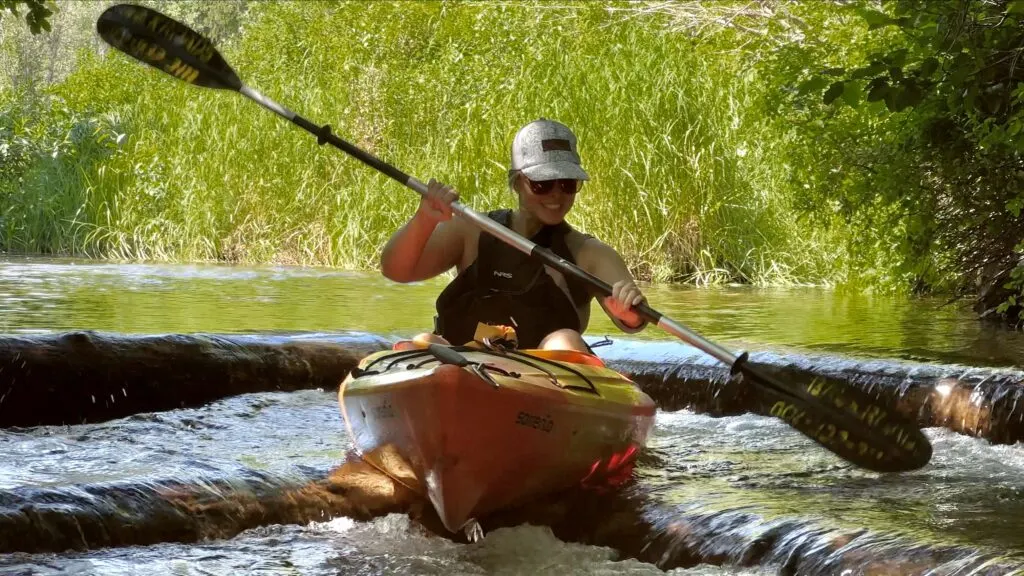
If you are traveling in a kayak, it’s helpful to break your paddle apart to better navigate this area.

If you choose to do the Tapley’s section, the narrow river opens up when it meets up with 21-mile creek. This is where you’ll encounter the fastest-moving water during the float. This is best done when water levels are moderate, or if you are an experienced paddler.
You CAN skip this section altogether, but you will need to portage your vessel to another put-it location. You probably should portage this section if you are inexperienced with fast-moving rivers and narrow sections. Or if you are traveling with small children. This area is notorious for capsizing boats when water levels are high.
During moderate water levels, we found this section to be pretty fun. But you will need to paddle, and keep your boat straight to not constantly run into the bushes, and get caught in an eddy. There are a few large items you could hit, such as trees or shallow sand bars.
How To Portage To The Second Put-in
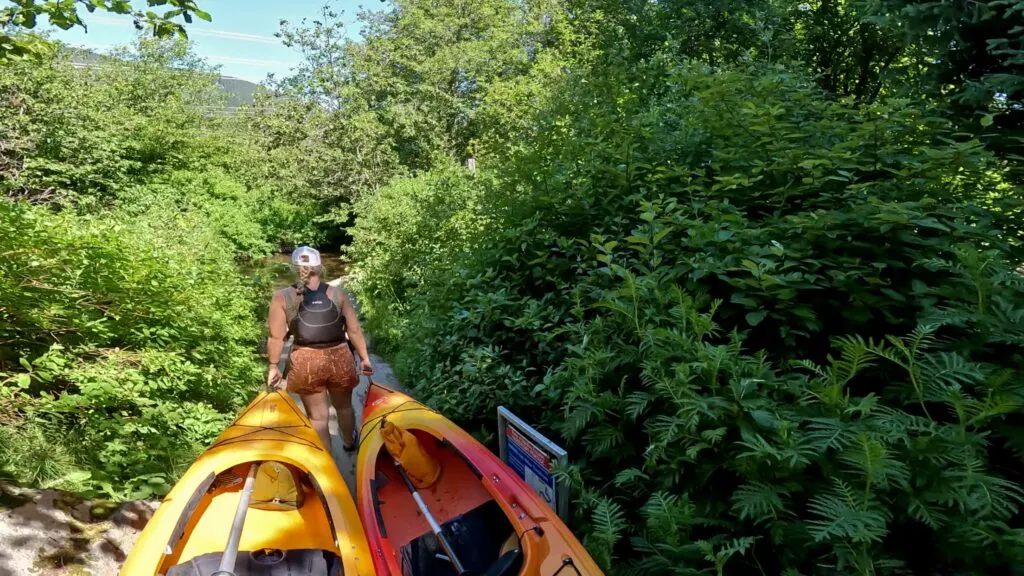
If you choose to portage this section, then you will need to get out at the fish weir.
Grab a wheelie cart if you booked with a tour company. They will provide the lock code at your river orientation. Grab a cart and place your kayak or canoe on top. Instead of putting in on the other side of the fish weir, you will take the other dirt path that meets up with the Valley Trail. This section is a flat, paved .64 km (.4 miles).
If you didn’t book with a tour company, you will need to provide your own trailer (such as this dolly cart) or carry your vessel.
Follow the Valley Trail, past the first bridge, called “Crabapple Creek”. Then, you will shortly cross over a second bridge. It seems some people do start their float trip from here, but the water is still moving fast here, and there are still some obstacles.
So you should continue onward past the second bridge over the “River of Golden Dreams”.

There will be “River of Golden Dreams” signs that are along the trail directing you to the put-in location. Cross over one more bridge, followed by a set of train tracks.
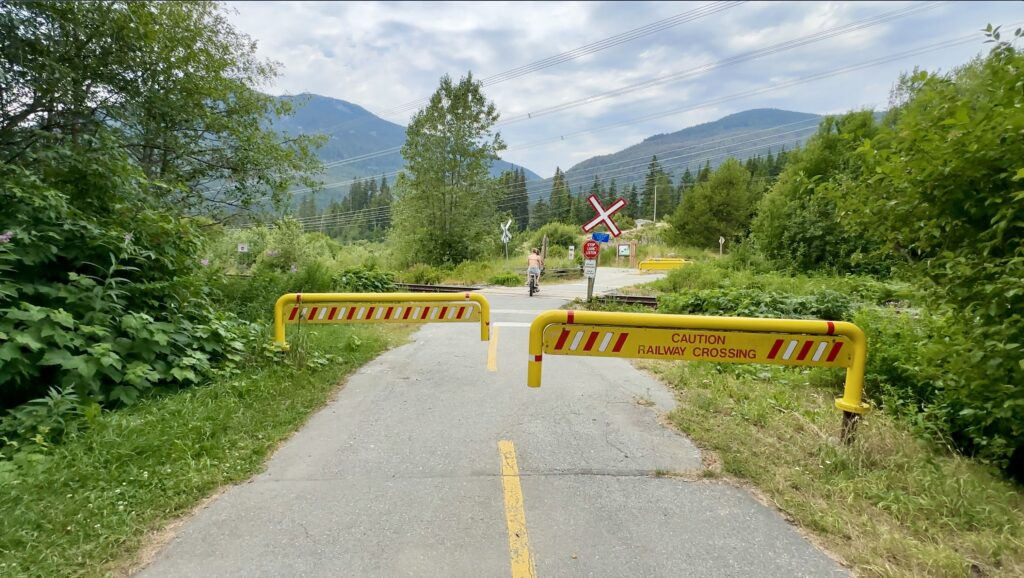
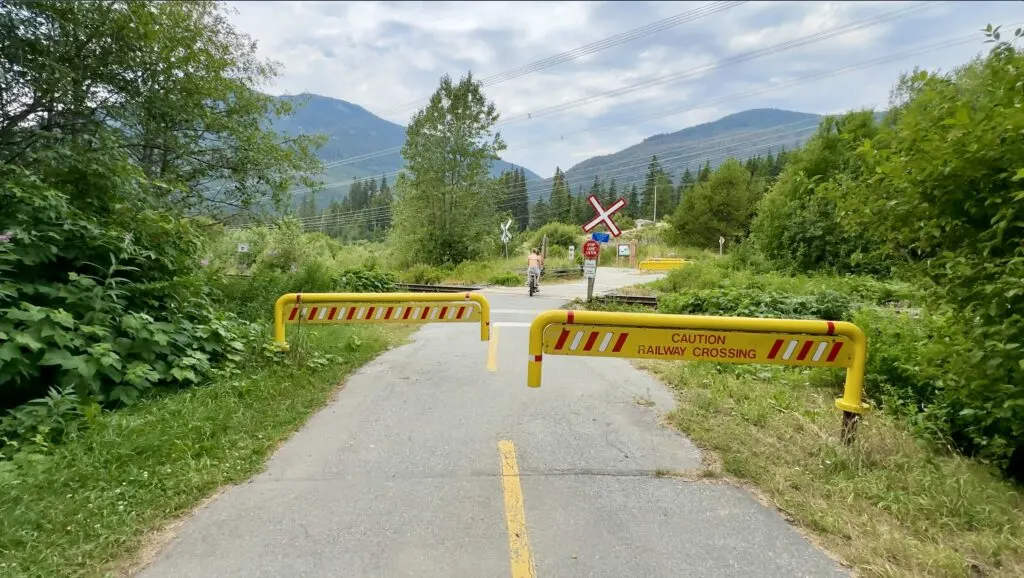
Just after the train tracks there will be a dirt path leading down to the river. Again, there will be a sign pointing you in that direction. Continue down the first path until you come to a boat launch. Depending on the water level, you may need to just walk around it to put your boat in. This is right after the bridge for the train tracks.
Then, this is the “lazy river” section with “slower” moving water. You will still need to pay attention and do some paddling to not run into the bushes on the side of the river.
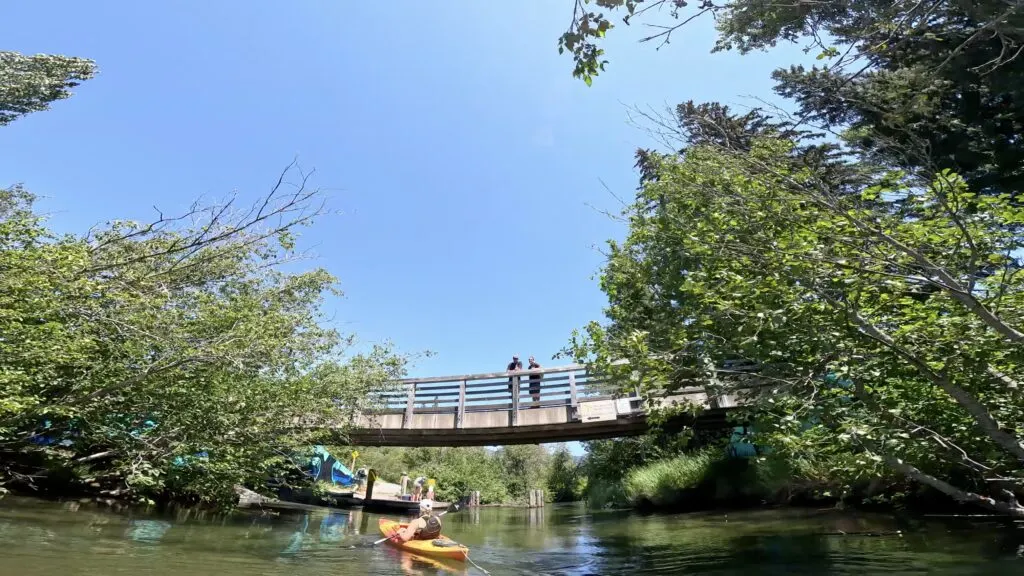
Railway Bridge (Caution During HIGH WATER Levels)
There is one bridge that you need to pay attention to along this float. It’s under a set of train tracks, and during high water levels, it can be unsafe and sometimes impossible to pass under. You may need to exit your boat and walk around the train tracks.
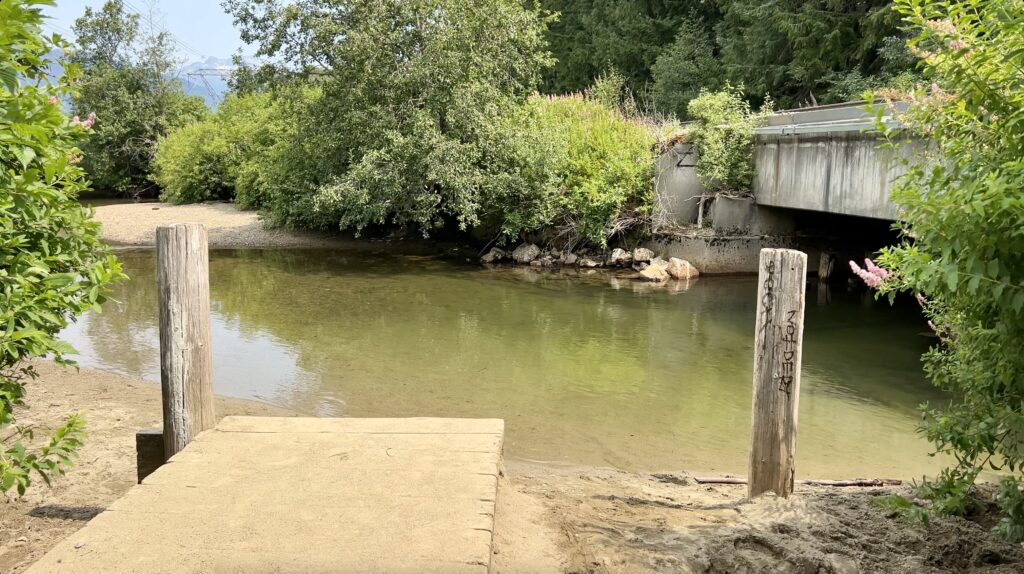
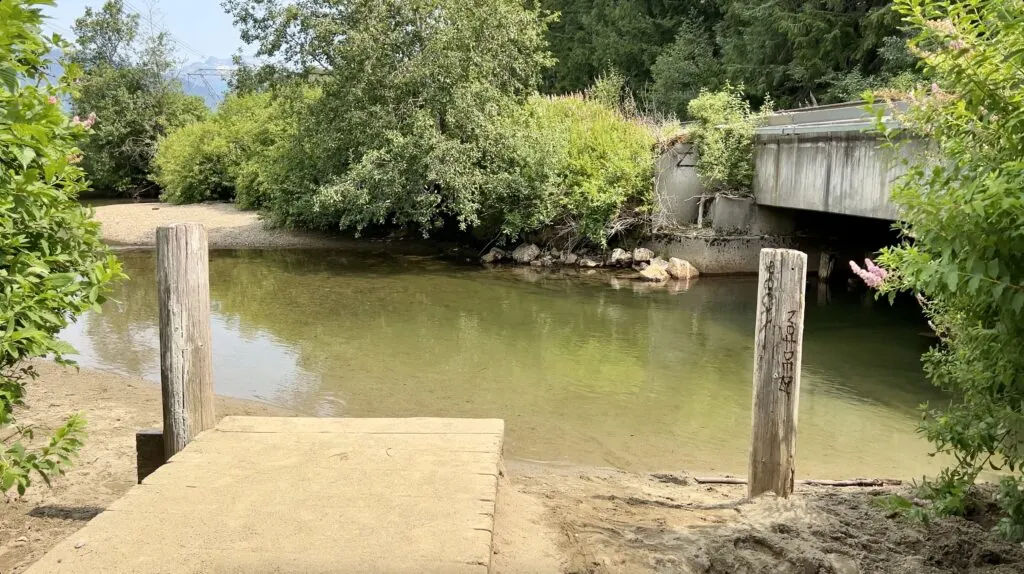
Where To Take Out
The most popular place to take out is Meadow Park Sports Complex. If you booked with a tour company, this is where you will end your trip and catch your shuttle ride back to your car.
Look for a pedestrian bridge over the river with wooden docks on the left.

If you shuttle your own car, there is a 3-hour maximum for the Meadow Park parking lot. This lot is free.
The river does feed into Green Lake, so if you have your own shuttle or ride, you could extend your trip here. But public parking and suitable boat ramps are very scarce on this lake.
Rideshare or Taxi’s
If you don’t have two cars to shuttle, there is a local rideshare app called Whistle or you can use a local taxi service.
Walk or Bike The Valley Trail
Another option is to walk or bike a section of the Valley Trail that follows the river from Alta Lake to Green Lake. The best option is to drop your stuff off at your desired put-in location, then drop your car off at Meadow Park (3-hour limit), and then walk or bike back to the start. That way your car is at the end.
Extending Your Trip To Green Lake
If you have your own boat, you can paddle down the river all the way into Green Lake. However, parking is limited at this end, so it’s best to plan ahead.
Consider arranging for a rideshare or taxi to pick you up, or you can leave a bike at one of the local parks around the lake to cycle back along the Valley Trail to your car.
Alternatively, if you’re a fit paddler, you can paddle back upstream to Meadow Park.
How Long Does The Float Take

Again, this depends on the water flow and where you start and finish. If you start from Lakeside Park and end at Meadow Park, the trip on average, takes about 2-3 hours.
When Jake and I went in mid-July when the water levels were moderate, it took us a little over 2 hours. Therefore, in June, when the water is flowing faster, you can probably expect a little under 2 hours, and in August, when the water is slower, more toward 3 hours.
Helpful Maps Of The River Of Golden Dreams
Here is a helpful map of all the important landmarks along the River of Golden Dreams.
Look Out For Black Bears
Whistler has a large population of active black bears in the summer. They are apparently pretty docile bears, and don’t harm humans, as long as you don’t harass them! But, just keep your eye out for them along the shores eating some berries. But keep your distance.
Although not required, we still carried bear spray just in case. But we didn’t actually see any bears along our float trip. Learn more about Bear Safety
River Float Packing List
- Kayak or Canoe (if you have your own) – Check out our top lightweight kayak options
- Paddles (if you have your own boat)
- Swimsuit
- Sunscreen and/or sun protective layers
- Water
- Snacks (learn more about our favorite high-energy snacks)
- Hat
- Sunglasses
- Croakie (optional)
- PFD (we love our Ninja PFD)
- Secure sandals or water shoes (Check out our favorite watershoes)
- Dry bag
- Lightweight towel
- Extra layer (depending on weather)
- Carabiner/ Paracord (to tie things onto your boat)
- Wheelie Dolly Cart (Optional)
Save This Post For Later