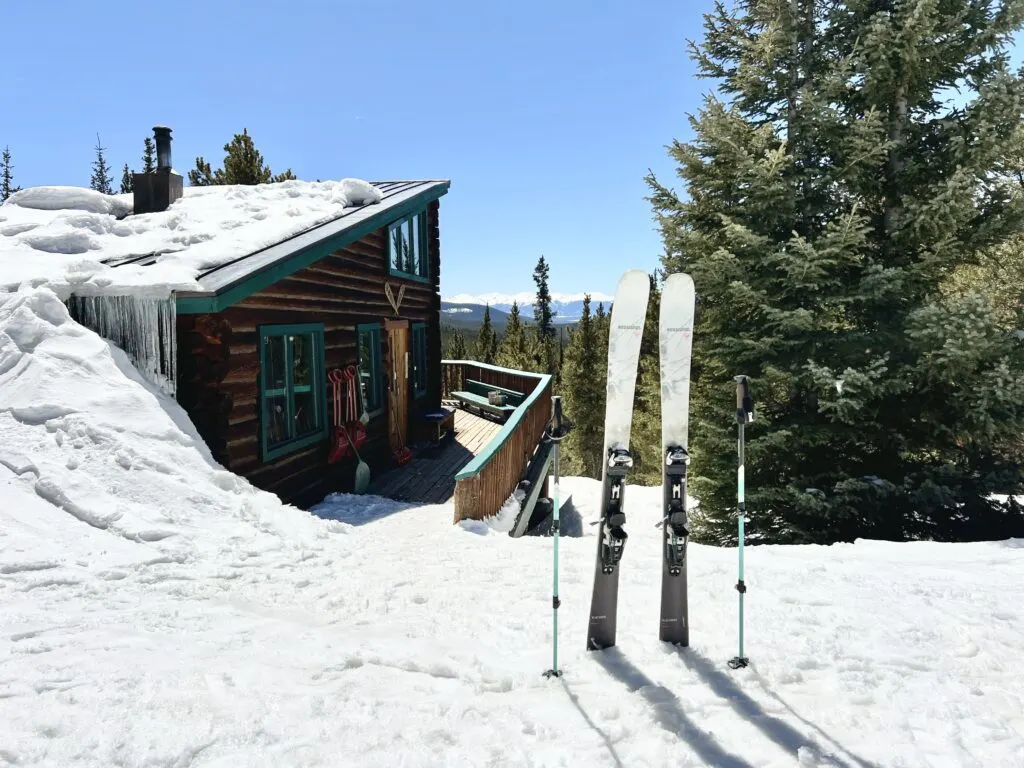
This guide will walk you through the steps of how to plan a ski hut trip in Colorado. We cover everything from reservations and planning, to food and packing lists.
Colorado has a network of backcountry huts managed by a non-profit called The 10th Mountain Division Hut Association. The 10th Mountain Division was a special military unit created in World War II, who were trained specifically for deployment into mountainous terrain.
The association honors their legacy of ski-mountaineering.
If you are more of a visual learner, can watch our Ski Hut Trip Planning YouTube Video.
These backcountry huts, located in remote places in the mountains offer a special escape from the modern world. All the peace and serenity of backcountry skiing, but with a little more creature comforts than a tent can offer.
But reaching these huts also requires special equipment, skills, and expertise in winter backcountry. Having an extensive working knowledge of avalanche safety and first aid is essential. While not every hut requires traveling through avalanche terrain, it’s important to have a knowledgeable group (or leaders) who can read the environment, choose routes, and asses risks.
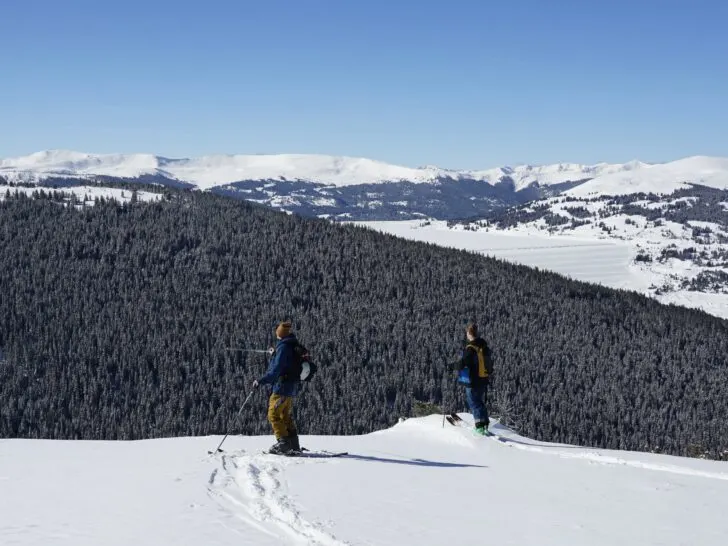
All huts require hiking uphill with either backcountry skis, a split board, or snowshoes.
But despite these somewhat high barriers to entry, if you are not confident in your ability, you can hire a guide through various USFS licensed guide companies. Guides can help amateurs and beginners by providing that backcountry expertise and carrying some of the load.
Huts can be booked in both winter and summer, though this post specifically covers the details of a winter trip.
Choosing The Right Hut For You (And Your Group)
Before you ever consider strapping on your ski boots, you need to do some careful planning.
Choosing which hut to book depends on many factors, like location, size, and amenities, but probably most important is the backcountry ability and physical fitness of your group. As even the easiest-to-access huts can still be quite a physical challenge.
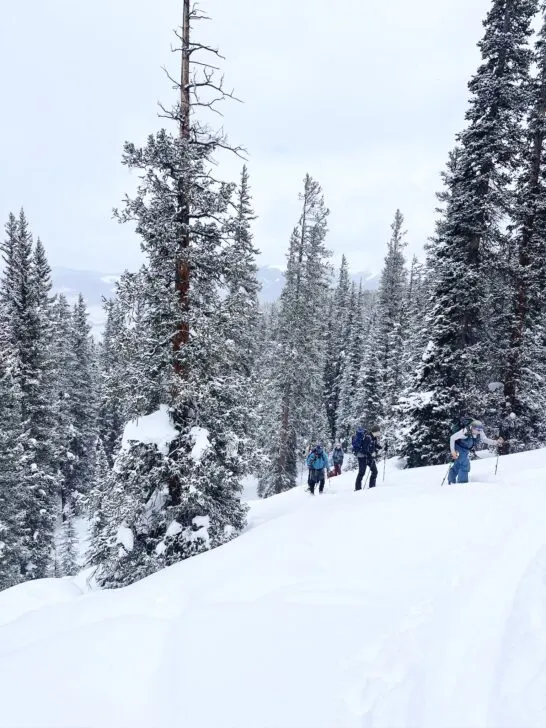
Visiting these huts in the winter requires knowledge of backcountry winter travel, avalanche safety, and route finding. Making progress at high elevation, with heavy packs, and the variables of winter weather will challenge even the most fit and experienced visitors.
So ensuring that you choose a hut that suits your group’s ability level is step one.
From there, you can consider other factors like what type of backcountry skiing is nearby, or the specific amenities that each hut has. Most are pretty rustic, but some huts include unique comforts like saunas and running water.
Each hut trip group should designate a trip organizer. This is the person who books the hut and is responsible for sharing information with the rest of the group. Payment in full is required at the time of booking. All visitors need to sign a waiver before the trip.
Each group should also designate a trip leader, which is typically the person with the best backcountry knowledge. They will be in charge of route finding and navigation during the trip (more on this later).
The trip organizer and trip leader do not have to be the same person, though they often are.
Booking A Hut Trip
Booking huts is relatively easy with the variety of tools on Huts.org. Each year, on June 3rd, the general public booking window opens for one calendar year.
When you are just in the initial planning phase, the best page to start on is “The Huts” page. It shows all the huts which you can filter by different criteria in the sidebar. This helps narrow it down by hut capacity, distance, date, etc. Or maybe you are only interested in the huts with a sauna (who can blame you?).
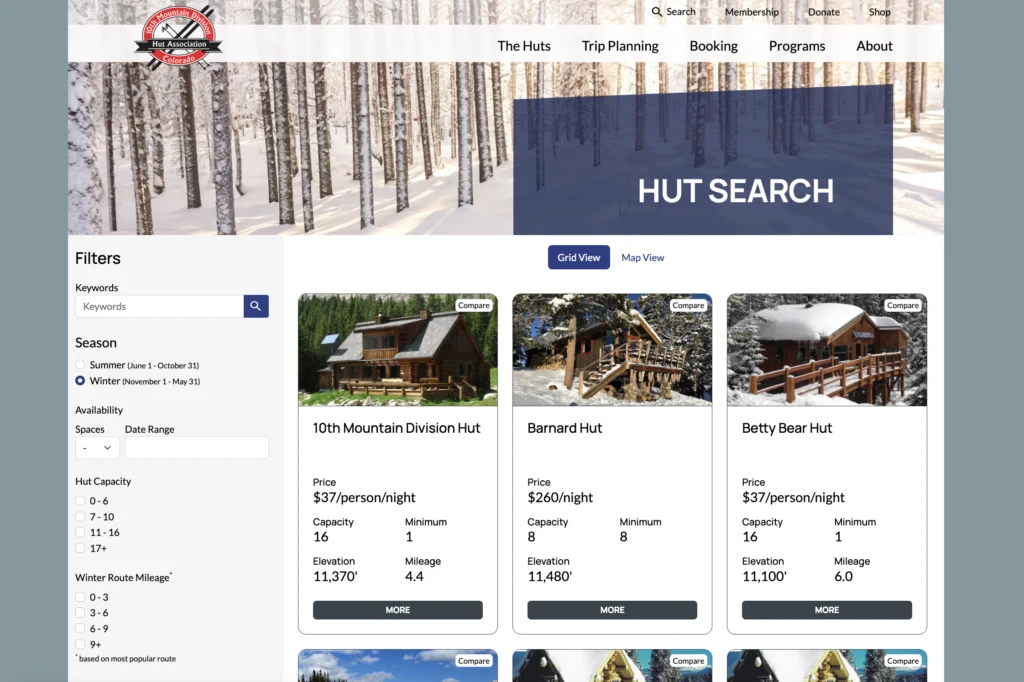
Huts book up quickly, especially on desirable weekends. And the most easily accessible huts are commonly booked first. So you may need to be ready to book well in advance for larger groups and prime time slots.
If you are a little late to the game, you may just want to begin with the “Browse Availability” page. If your options are already somewhat limited, it’s nice to not waste time browsing huts that are already fully booked.

When you see a number next to the hut, that refers to the number of beds it has available.
Some huts are designated as ‘single-party’ or ‘multi-party’. Meaning that for some huts you can book just a few beds within a hut, or book the entire hut. Single-party huts are usually priced at a nightly flat rate, while multi-party huts can have ‘per bed’ nightly rates.
Obviously, if you only book a few beds in a multi-party hut, you may end up sharing the hut with strangers.
Once you find some huts that you are considering, you can dig deeper on the dedicated page for each hut. This is where you can really learn all the information about a specific hut. (Basic stats, amenities, routes/trailheads, location-specific weather, and more).
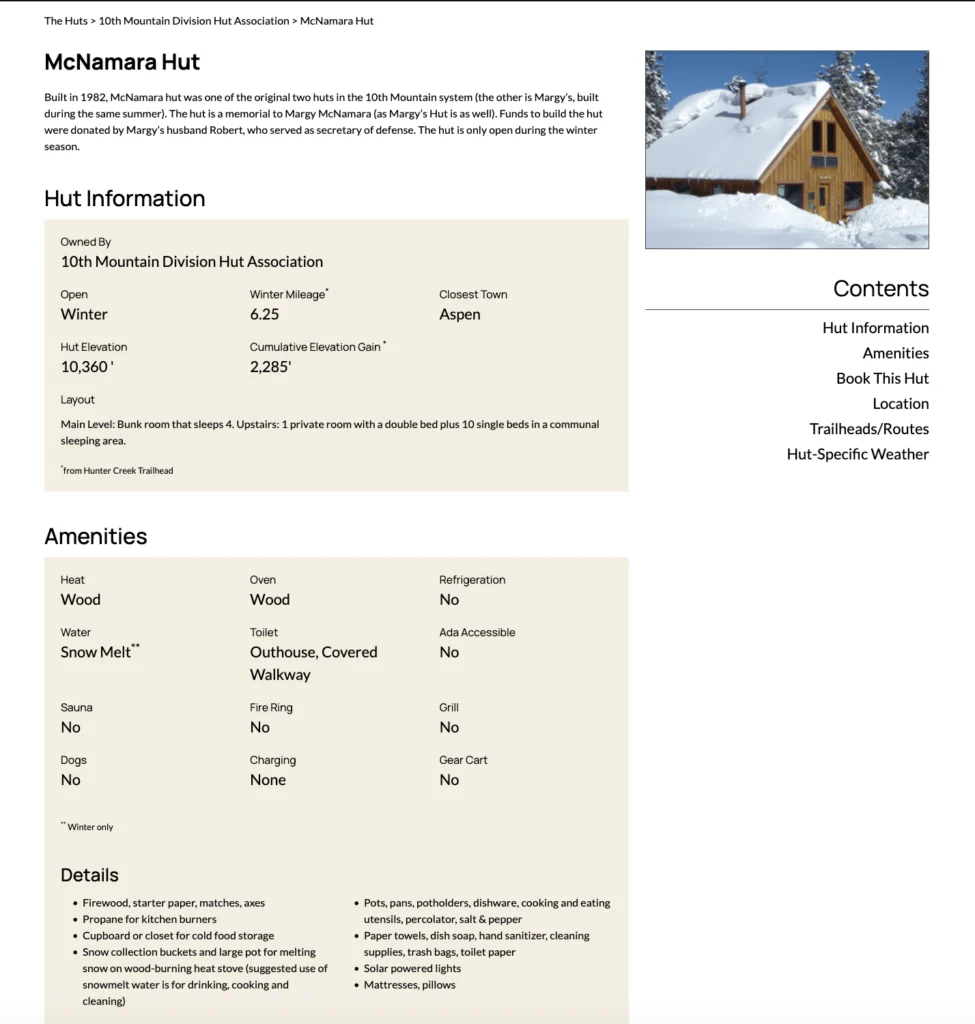
If you are looking for an easier hut trip for your first time, these huts are all less than 3 miles from the trailhead: Continental Divide Cabin, Point Breeze Cabin, The Broome Hut, Francie’s Cabin, High Lonesome Hut’s, Shrine Mountain Inn, and Vance’s Cabin.
When it’s time to actually book your hut, navigate to the “Book Online” page. This page also presents a variety of filters for narrowing down your search query.
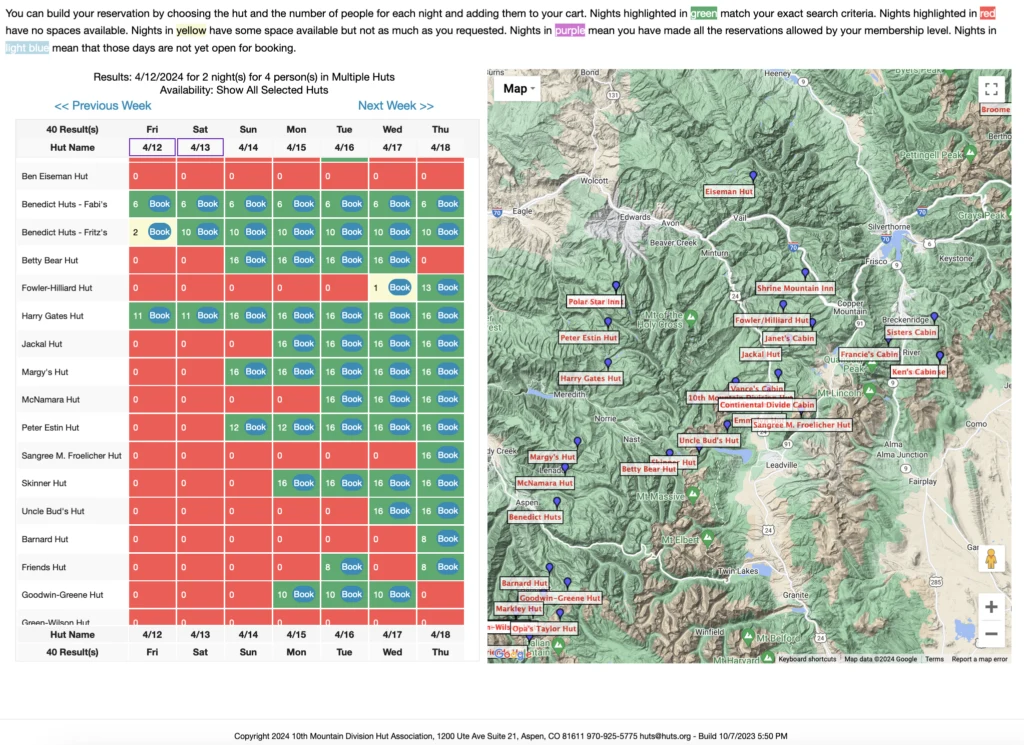
The results will show which huts are available based on your dates and criteria. Dates highlighted in ‘green’ match your exact search criteria. ‘Yellow’ only has some availability but not the full amount you requested. And ‘red’ means there are no beds available for that date.
There is also a waitlist if you want to be notified of cancellations.
Membership for the 10th Mountain Division Hut Association
If you are really serious about hut trips, you should consider becoming a member of the 10th Mountain Division Hut Association. There are three different membership tiers, the cheapest being $35/year. Membership grants you special access to a pre-booking lottery and also early booking windows.
For the membership lottery, you can submit an unlimited amount of desired trip itineraries listed in order of your preference. These submissions are assigned before open booking begins each year. But for what it’s worth, our friends have never really had good luck with their lottery submissions.
Hut Booking – Important Dates
- February 14th = Lottery submissions are due (members only)
- March 1st-27th = Lottery submissions are sorted and assigned (members only)
- April 1st = Early-Booking (members only)
- June 3rd = Open Booking Begins (general public)
Avalanche Safety Equipment & Readiness
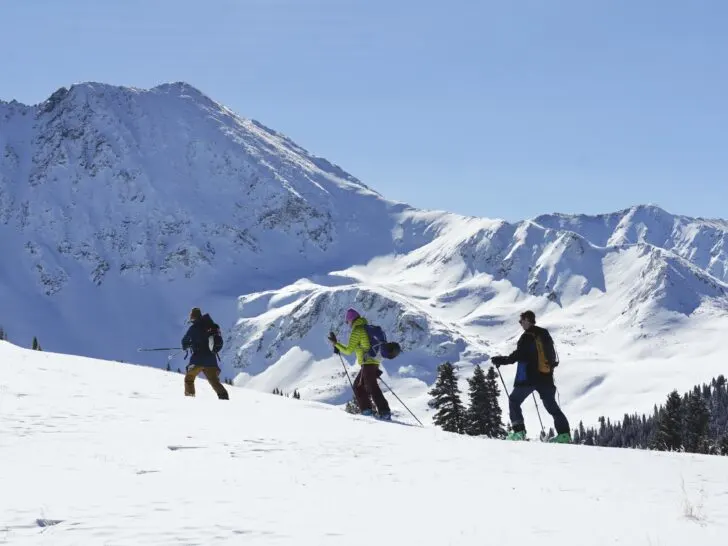
Traveling the backcountry in winter is a unique environment that requires special equipment, skills, and preparation.
Beacon, Shovel, & Probe
The three essential pieces of an avalanche safety kit are an avalanche beacon, a shovel, and a probe. They are the tried and tested tools for locating and rescuing people buried in avalanche debris.
Owning these items is one thing, but being proficient in using them in an emergency situation is also essential. It takes practice and familiarity with avalanche gear to really be confident in using them.
Not to completely scare you off, because most huts (except the Braun Hut System and Friends’ Hut) can be accessed through relatively safe terrain. But even still, avalanche gear (and knowledge) is a requirement for most winter ski hut trips.
Trip Leader Role
Your trip leader should be capable of planning your routes and creating the backcountry plans for your hut trip. Ideally, everyone in your group has extensive avalanche knowledge and backcountry skills. But we know that this isn’t always the case.
Depending on the terrain and the conditions, an experienced leader (or leaders) can provide the necessary guidance for less experienced people in your group. This risk needs to be assessed on a case-by-case basis depending on the routes chosen and current avalanche conditions.
Your trip leader should have either paper and/or digital topographic maps of the region surrounding your hut. Digital GPS maps can be viewed on a dedicated GPS device or on a smartphone. However special precautions need to be taken when relying on an electronic device for GPS.
A highly recommended GPS website and App is GAIA GPS. It’s packed with all kinds of useful map layers that you can use to plan backcountry trips. The 10th Mountain Division Association has also negotiated to get a promo for 3 free months of Premium.
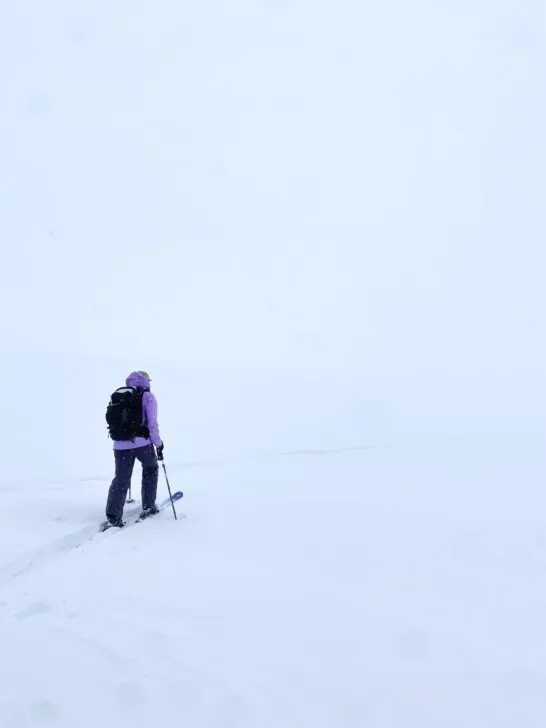
While some hut routes may have trail markers or visible skin tracks, they cannot be counted on for navigation. Groups should be prepared to ‘break trail’ and navigate in white-out conditions if necessary.
Avalanche Related Hut Trip Cancellation
Periods of elevated snow instability and avalanche risk are always possible in the Colorado backcountry.
There is a chance that you may have to cancel your hut trip if the avalanche risk becomes too high. You are responsible for making this decision yourself.
“A hut credit may be issued if a trip is canceled due to avalanche danger associated with an extreme avalanche cycle.” Send a detailed account of your cancellation to the email huts@huts.org to be considered for hut credit.
This blog post is not a sufficient course on avalanche safety. So below are some amazing resources to improve your skills and find in-person avalanche courses.
Avalanche Education Resources
- Huts.org Field Info – (Avalanche Hazard Information, GPS Information, Emergency & Self Rescue)
- National Avalanche Center (Avalanche.org) – (Avalanche Learning, In-Person Courses)
- Colorado Avalanche Information Center [CAIC] – (Avalanche Forecasting, Learning, In-Person Courses)
Ski Touring Equipment
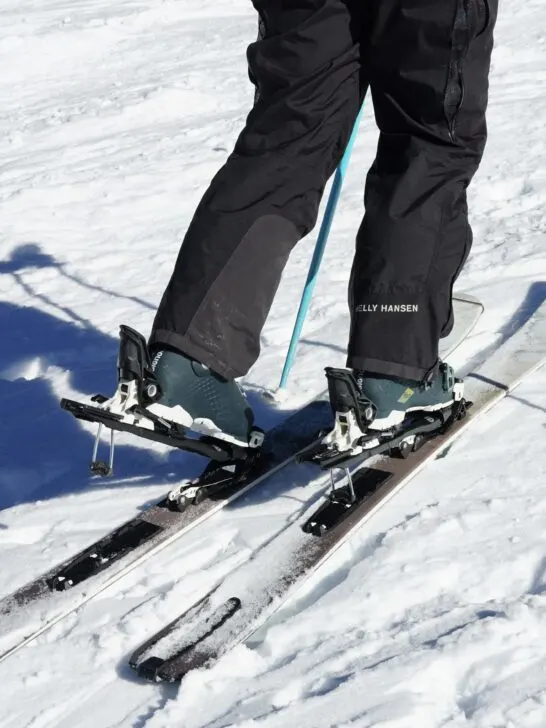
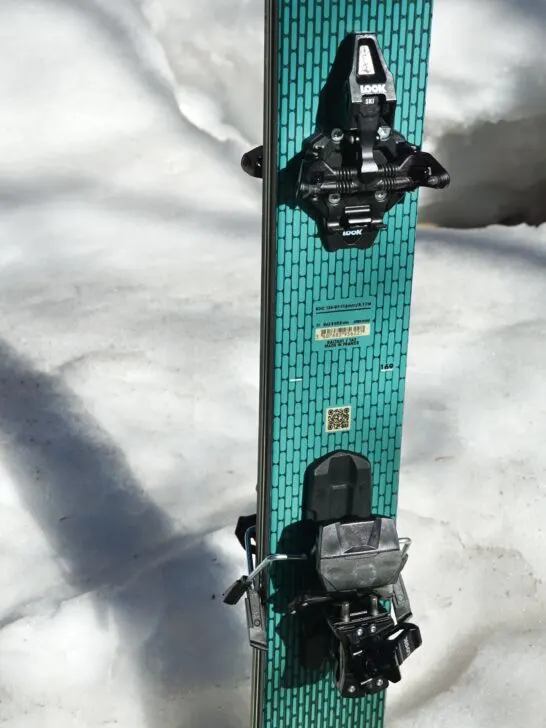
The special equipment needed for backcountry travel is skis with touring bindings and climbing skins. Or the snowboarding equivalent called a split board. And compatible ski/snowboard boots and ski poles with powder baskets.
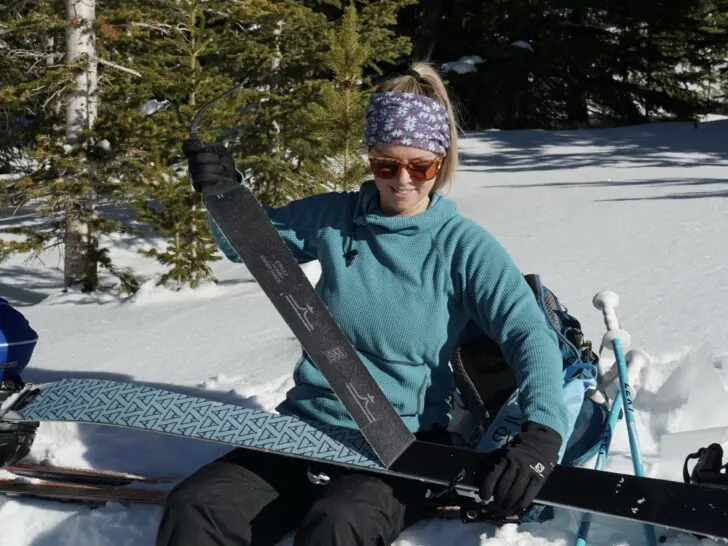
Climbing skins are like directional carpet which, when adhered to the bottom of skis, provide grip for going uphill.
If you don’t have backcountry ski gear, snowshoes are also an acceptable means to reach some of the easier huts. But snowshoeing can be just as exhausting because you have to work for every step uphill and downhill.
And substituting snowshoes still doesn’t excuse you from needing backcountry knowledge or avy gear.
Renting backcountry ski gear is also an option. The best company to rent from is Cripple Creek Backcountry because they specialize in alpine touring equipment.
But again, simply renting the gear does not mean you are ready for a hut trip. Taking some easier day trips with your gear is highly recommended before sending it on a multi-day trip. A hut trip is not a good time to learn or test out new (to you) equipment.
What To Pack For A Ski Hut Trip
Since you are carrying all your gear on your back, it’s beneficial to carefully plan what to bring. The weight of your kit grows quickly when you add up backcountry skiing equipment, avalanche gear, food, drinks, and all your clothing/personal items.
There are so many items that it’s not practical to address each one individually. So that’s why we wrote a separate post dedicated to our detailed Hut Trip Packing List.
Those who are comfortable with backpacking trips can easily modify their existing setup. But some key changes should be made specifically for a ski hut trip.
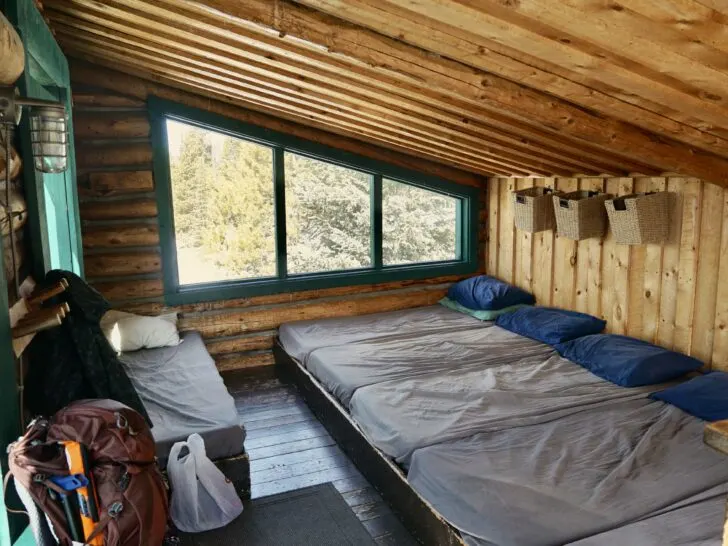
Probably most notably is that your shelter, bed, and pillow are usually taken care of. So you only need to bring a sleeping bag and pillowcase.
Packing clothes for a hut trip is, of course, going to be somewhat weather-dependent. Weather for a winter hut trip can span a huge range, from frigid sub-zero temperatures in the dead of winter to nearly 50-degree temperatures in the spring.
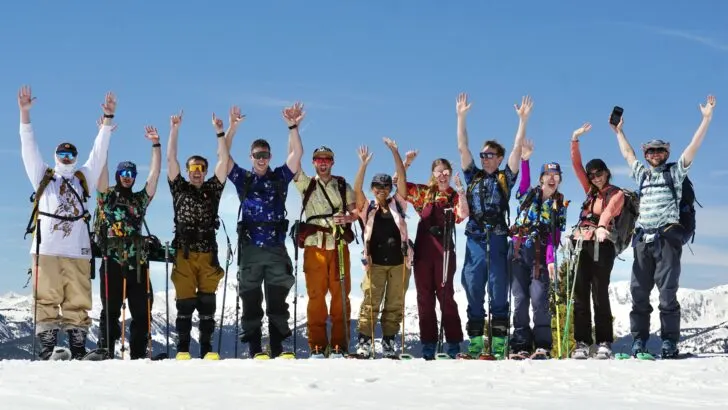
But regardless of weather, it’s easiest to start with the essential base layers and outer layers. And then adjust the amount of insulating middle layers you need based on the expected temperatures.
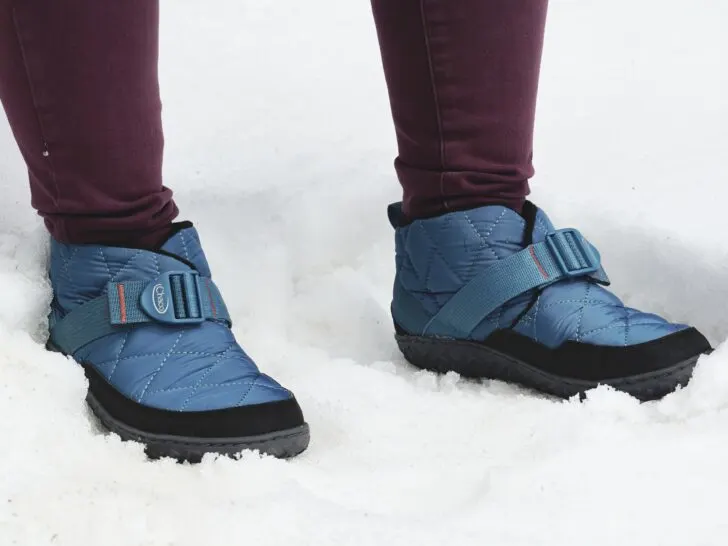
Besides your ski boots, you really only need some footwear for around the hut and going to the outhouse. The perfect type of footwear for the task are insulated booties with a hard bottom. They are kind of a hybrid between slippers and camp shoes.
One super tiny but important thing to bring is earplugs. You will be sleeping in close quarters with many other people, and earplugs can help you sleep much better.
Another often overlooked item is tape. If (when) your feet begin to blister, you can survive the rest of the trip by putting tape over your blisters. (The three best options are Leuko Tape, Duct Tape, or Hockey Tape)
Kitchen & Food Packing
Secondly, huts provide a variety of kitchen amenities. Every hut has a propane stove, coolers for perishable food, and a set of kitchen wares (like pots, pans, plates, bowls, cups, utensils, etc). Many ski huts also have ovens and propane grills.
So when it comes to meal planning, you have more options available. For trips like this, we always prefer to break into smaller groups, each responsible for one night of dinner. And then everyone is on their own for breakfast, lunch, and snacks.
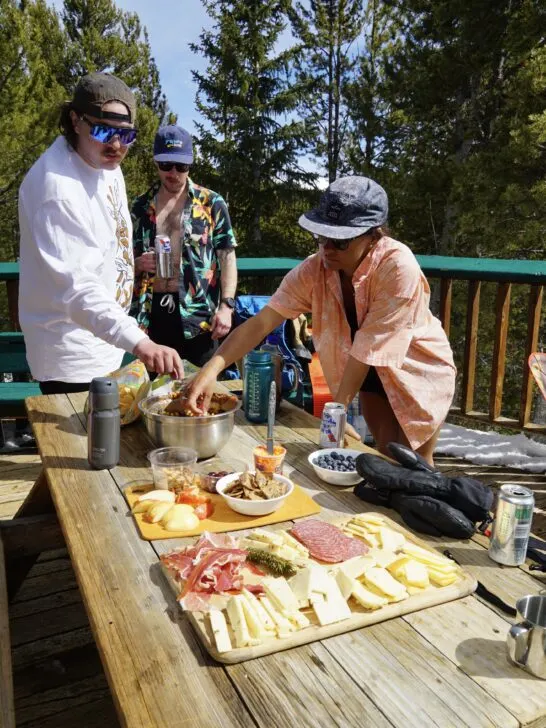
When choosing food to bring, it’s still important to be weight conscious. Begin with the most common backpacking foods that are very calorie-dense, like trail mix, jerky, oatmeal, fruits, dehydrated meals, etc. And then add some more ‘luxury’ food items if you like. But just be conscious of the additional weight you are adding.
What Drinks To Bring On A Hut Trip
Bringing drinks on a hut trip poses one of the biggest challenges. Quite simply, liquid weighs a lot!
Pro Tip! – Powdered drink mixes are an excellent way to have something other than water. (i.e. hot chocolate, hot cider, Gatorade powder, Liquid-IV, Noon, etc.)
When it comes to alcohol, there is definitely a hierarchy for drinks. When considering ABV per weight, the list goes; liquor, wine, and then beer. Light beer especially has a terrible ratio of alcohol to weight.
So use that information wisely to decide what kinds of drinks you want to bring.
Gear Sled
Depending on the terrain and distance, it can be beneficial to use a sled for transporting gear. Pulling the sled uphill is generally pretty straightforward. You can attach a rope from the front of the sled to your backpack.
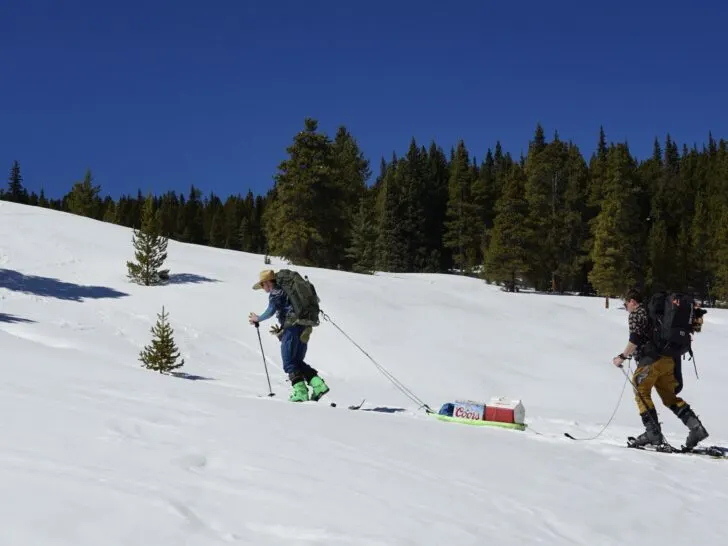
But it’s important to also have a tail rope so that two people can work together to guide the sled downhill and across slopes. This prevents the sled from sliding sideways. You also need to ensure that all the gear is secured to the sled with rope, bungee, etc. So if it does tip over you wont lose everything.
Daily Life On A Ski Hut Trip
When you first get to the hut, you need to unlock the door. The 10th Mountain Ski Huts are typically locked with a door code. That code will be sent to you after booking. Make sure that you have the code saved and written down in multiple places so that you can get in even with a dead phone or no cell service.
Fire & Drinking Water
The first thing to do when you get to your hut is get the fire and water going. (And shovel snow off the deck if necessary.)
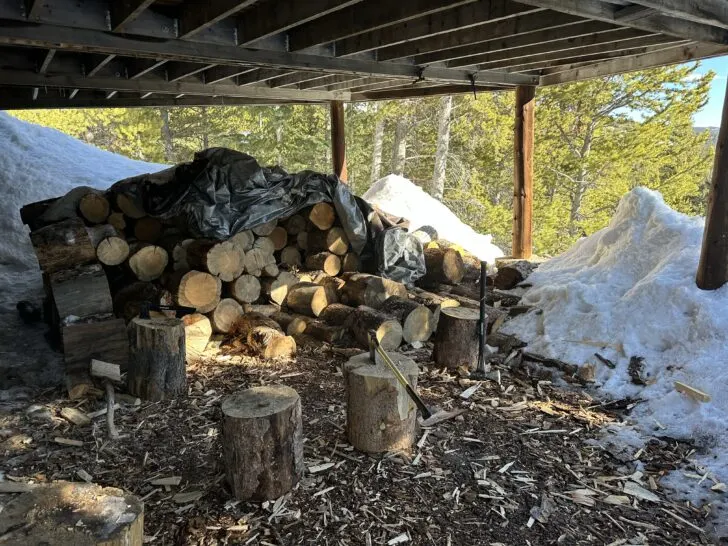
It’s a common courtesy that you restock the firewood and leave some melted snow for the next group.
All huts have some combination of wood stoves and fireplaces. There should be a stack of chopped firewood and some kindling. As well as axes and a pile of unchopped firewood that you can use to replenish.
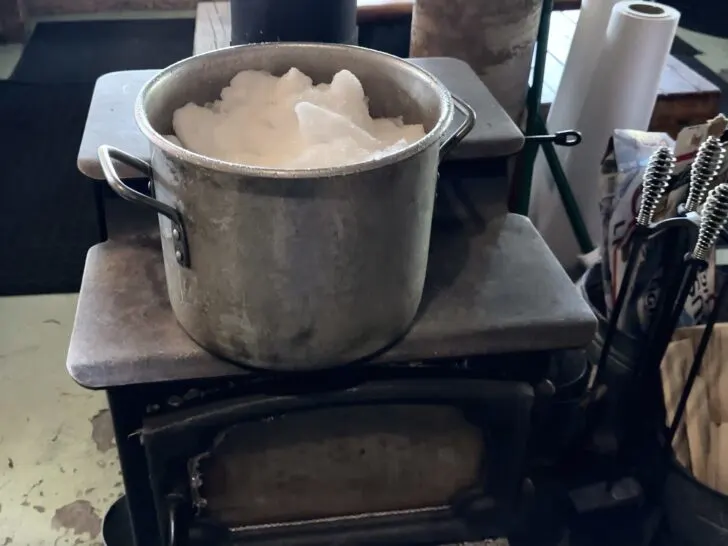
Woodstoves keep the hut toasty warm and also serve as a good place to melt snow for drinking water.
Huts provide large pots for collecting snow. And many have a giant pot with a spigot that sits permanently on top of the wood stove.
After the snow is melted you can either filter it with a water filter or boil it on the propane stove so that it’s safe to drink. It’s faster to move water from the big pots into the smaller kettles provided. But even still, with a big group, it’s nearly a constant chore that has to be managed.
In our experience, the snowmelt contains lots of particles like dirt, pine needles, etc. So personally, we think it is worth the effort to filter the water for drinking. It also allows you to skip the boiling step. Our favorite water filter for backpacking and huts trips is the Platypus Gravityworks (read our Full Review Here).
Doing Dishes At The Hut
Most huts use a three-basin system for dishwashing (Soap, Rinse, Sanitize).
The first basin should be filled with warm soapy water, the second with just water, and the third with light bleach water (there should be an indication of the proper ratio).
Don’t forget to consider the amount of water you need for doing dishes. Though, dishwater does not have to be filtered or boiled.
Outhouses
Every hut has an outhouse for doing your business. Outhouses are stocked with toilet paper and hand sanitizer.
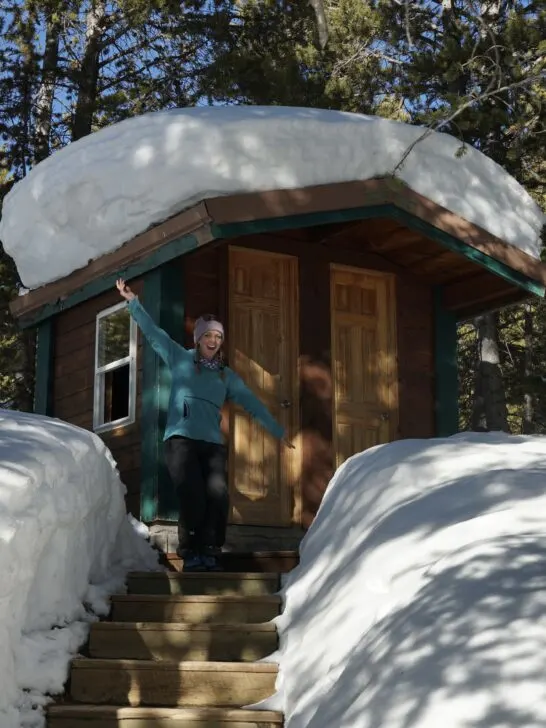
It’s a cardinal rule that you don’t pee around the hut, since that’s the water that you will be collecting for drinking. Make sure everyone knows this rule!
Bear and Animal Safety
Keep all your trash and food inside the hut unless it is stored securely in the coolers provided. While bears typically aren’t active in the winter, other critters may get into your trash or food.
Activities Around The Hut
For most people, backcountry skiing is the main activity to participate in. Using the hut as a home base allows you to ski some backcountry terrain that you wouldn’t otherwise be able to accomplish with a day trip.
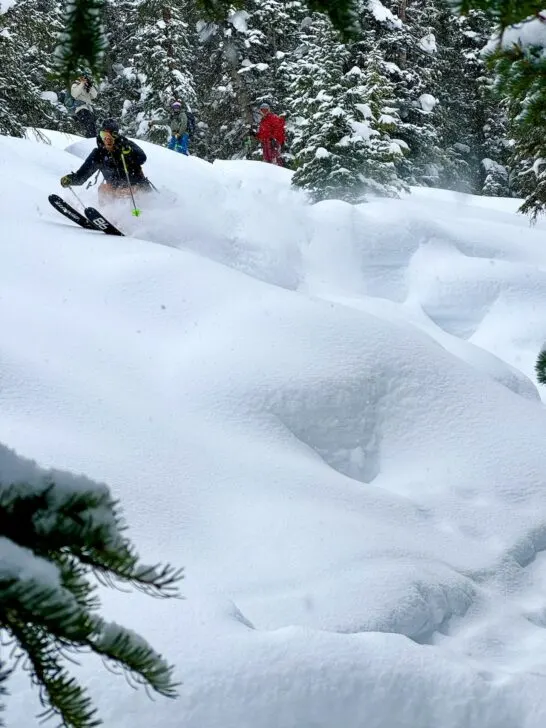
Before your hut trip in Colorado, you can do some research on the terrain nearby. Find some potential backcountry routes that you can ski and also research the current avalanche conditions. The Colorado Avalanche Information Center (CAIC) is always the best place to get up-to-date information.
Again, if nobody in your group is capable of safely planning and executing backcountry ski routes, your only option is to hire a guide. If you have the gear and the physical fitness, a professional guide can provide the avalanche and backcountry expertise that you are lacking.
If groups split up to do different activities, this is a good time to use 2-way radios. It’s always practical safety advice to keep a line of communication between factions of a group.
Going for a nighttime ski tour or simply stargazing are two other very profound hut trip activities.
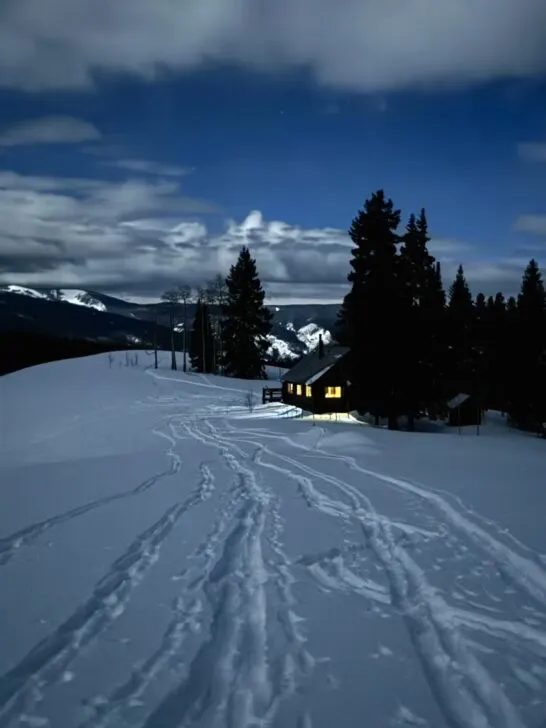
Besides backcountry skiing, you can simply enjoy peaceful downtime away from civilization. Most huts have a deck of cards and some other games for entertainment. It can be fun to just spend some time disconnecting from the world and connecting with friends. Or maybe bring a book to enjoy with the beautiful views from your hut.
Chores Before Leaving
And lastly, there are always a few hut chores you must complete before leaving.
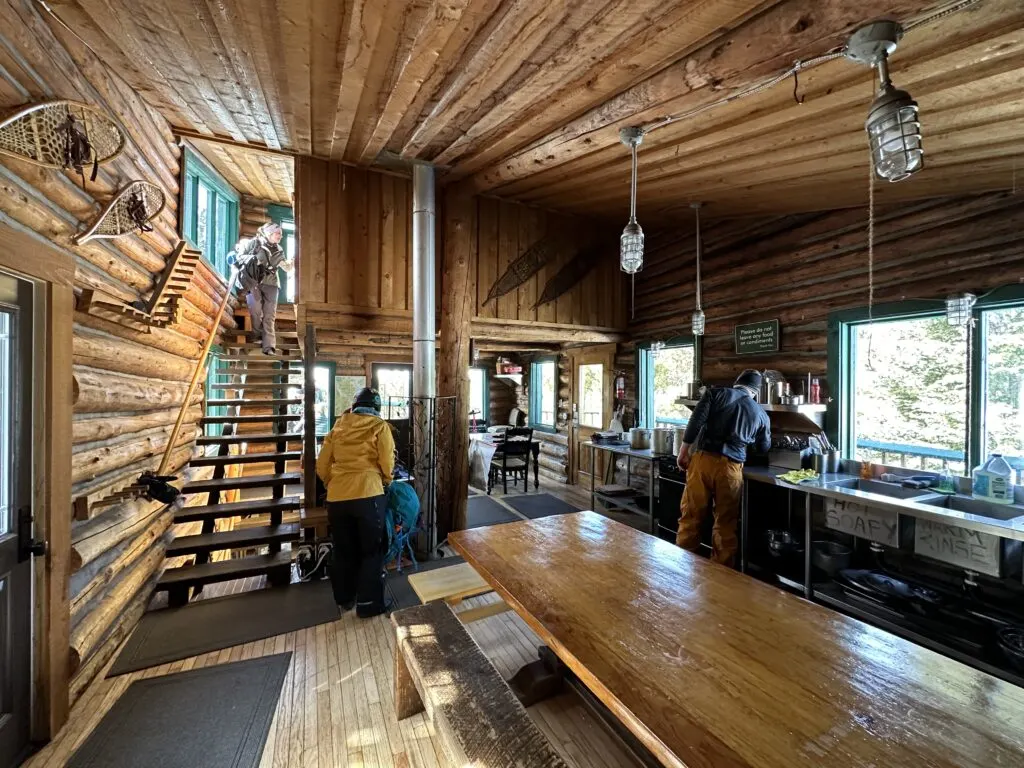
No cleaning crew comes through between groups. So it is your responsibility to prepare the hut for the next group.
- Do the dishes
- Sweep & clean kitchen/dining areas
- Carry out garbage/leftover food
- Split kindling/restock wood
- Put cold ashes in metal drum
- Turn stoves, lights & appropriate solar switches off
- Close/lock all windows & doors
Save This Guide ‘How To Plan A Ski Hut Trip In Colorado’ For Later!


