A somewhat new emerging technology is using an eSIM card for cell phone data plans. When traveling internationally, they provide an easy way to purchase an international phone plan to avoid roaming charges.

We have used eSIM cards for months of traveling abroad and find them to be the best option. eSIM plans are far cheaper than the international plans offered by big US carriers like Verizon, AT&T, T-Mobile, and Sprint.
This guide will explain everything you need to know about how to use eSIM.
This post may contain affiliate links. Disclosure policy.
What Is An eSIM Card
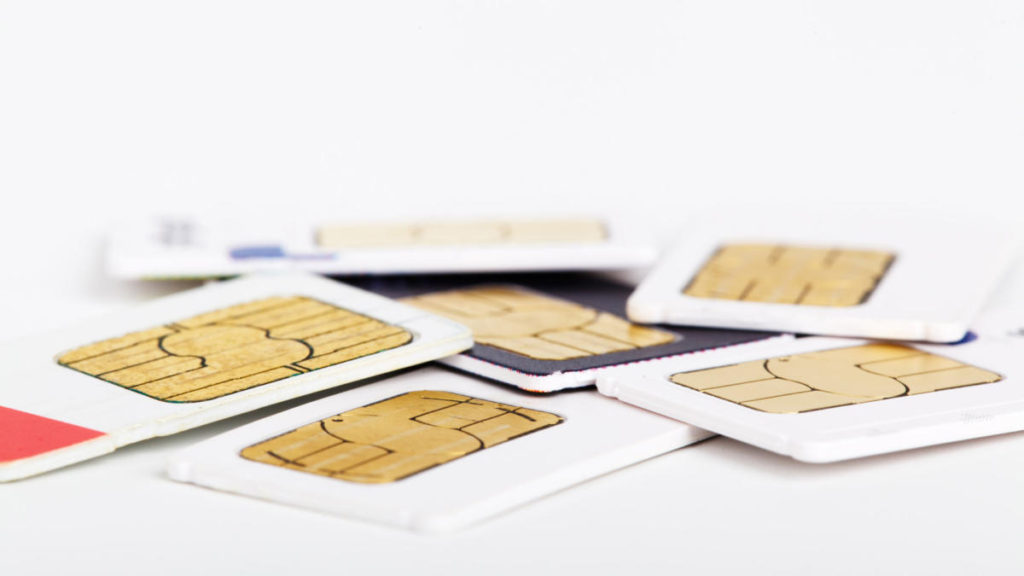
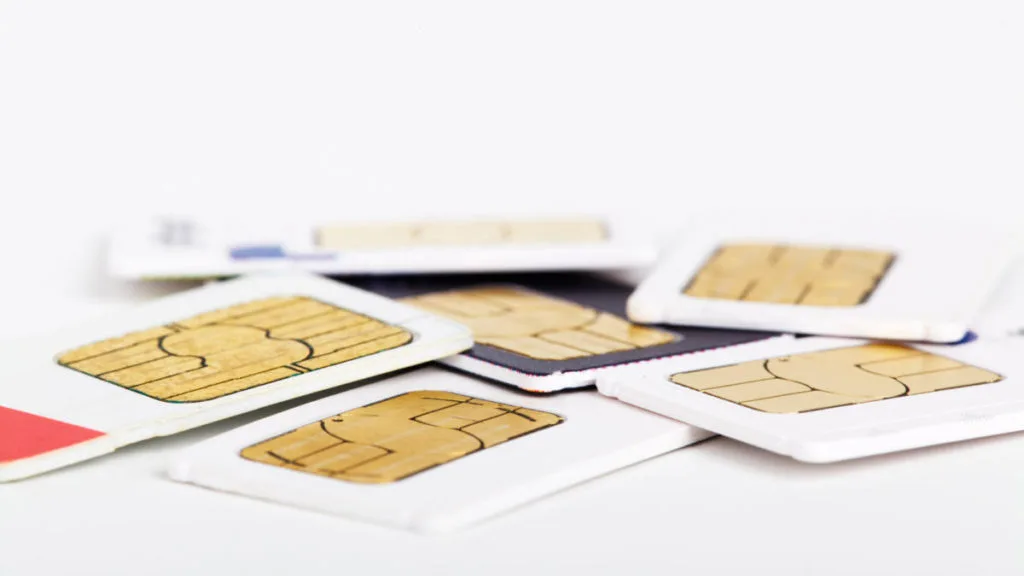
A traditional SIM card (Subscriber Identity Module) is a physical chip that you insert in your cell phone sim tray that identifies the user and allows connection to a mobile network. This allows you to send and receive calls, texts, and data on a specific network. A physical SIM card must be inserted in your phone’s physical SIM card slot.
An eSIM is like a virtual sim. It provides the same functionality as a traditional SIM, but instead of being a physical chip, it is a digital SIM. eSIM stands for “Embedded Subscriber Identity Module”, though many people mistakenly call them electronic sim cards. Basically, you can purchase an eSIM mobile data plan online and activate it anywhere in the world. These virtual SIMs live on your phone like a sim profile.
There are several primary benefits of a new eSIM versus a traditional SIM.
First, with an eSIM you can purchase and activate your mobile data plan before even arriving in a new country. So rather than scrambling to purchase a physical SIM card after you land, your mobile cell phone plan is ready to go before you even travel. Just purchase online and activate in minutes.
Second, since eSIM technology is a digital product, it cannot be lost or misplaced. Which is incredibly easy with a regular removable SIM card. With an eSIM, it’s just one less physical thing to carry and keep track of while traveling.
Lastly, eSIM service can be activated alongside your “home” data plan. So you can still use your regular phone number when connected to WiFi. And easily switch to your eSIM for all your international data. That’s why some people actually use eSIM at home, one line for personal and an eSIM for their work phone, both on the same device.
Hotspot (Tethering)
Some eSIM plans include hotspot or tethering. That is, you can use your phone as a WiFi hotspot for your laptop or other devices (great for digital nomads and remote workers).
Who Can Use An eSIM Card
In order to use eSIM, you need to make sure that:
- your phone is eSIM compatible
- your phone is unlocked (not under contract with a specific wireless carrier)
Be aware that eSIM cards are not available for ALL phones and ALL countries. But that is quickly changing. Most newer smartphones are compatible with eSIM. And more countries and carriers continue adopting the technology.
E-SIM has been available on all new iPhone models beginning with iPhone XR and XS. And actually, beginning with the iPhone 14, eSIM is the ONLY option (North American version).
So we may reach a point where physical SIM cards are completely phased out, and eSIM is the new standard.
Check the list of phones that support eSIM to see if your phone qualifies.
Then, if your phone is unlocked, you are good to go.
If your phone is locked into a contract with a specific carrier, then you can explore options for getting it unlocked. This usually involves paying off the remaining balance, reaching the timed ending of the contract, or requesting release from your network provider.
Here’s a list of countries and carriers that support eSIM cards.
Where To Buy eSIM Mobile Data Plans
Purchasing an eSIM is most commonly done through an online eSIM marketplace. You can browse a huge variety of different plans.
Our favorite eSIM marketplaces are Maya Mobile and Airalo.com. They both make shopping for and installing eSIMs incredibly easy.
eSIM Plans typically include several key factors:
- Geographic location of service (country, region, or global data plans)
- Data allowance (1GB, 5GB, 20GB, Unlimited)
- Time of validity (7 days, 14 days, 30 days, etc)
ESIM data plans are typically broken into different geographic regions. You can choose just a single country, a region of the world (like Caribbean), or global.
When choosing an amount of data, you don’t have to stress too much, since most eSIM plans allow you to “top-up” with more data if you run out. However, you usually get better value buying in larger increments of data. Like pretty much any cellular plan, the more data you want, the more money it costs.
Data usage varies from person to person and device to device.
But if you are looking for some general guidance, about 5-10GB per month is a comfortable amount. This will allow you to do all the essential tasks when traveling (i.e. GPS directions, messaging, emailing, minor web browsing, etc).
But more data-consuming activities should be reserved for WiFi only (i.e. streaming, gaming, downloading large files, video chatting, etc).
And lastly choosing the the duration is easy to select based on the length of your trip. If you are going to be in a country for two weeks, then simply select a plan with 14 days of validity.
How To Activate An eSIM Data Plan
Once you have purchased your eSIM, typically you will receive an email with instructions for installation.
Activating eSIM With A QR-Code
Installing a new eSIM plan is usually as easy as scanning a QR code. However, this presumes that you have a second device like a computer, tablet, or other phone connected to WiFi.
Pull up the activation email on your computer, tablet, or other device. Then open the camera app on your phone and point it at the QR code in the email.
Activating eSIM Manually
If you don’t have a second device, you can activate an eSIM manually. This generally involves opening the setting on your phone and manually entering a code.
Here are more precise instructions for manually activating an eSIM for iPhone or Android.
Device Settings For Using eSIM
Next, make sure you have your settings correct so that your eSIM will work and you will not incur roaming charges.
iPhone eSIM Settings
Go into Settings -> Cellular
Look under the heading “SIMs”
If you still have an active home data plan, it will show up as Primary (Or whatever name you may have assigned it). And next to it will either say “On” or “Off”. You can leave it “On”, but click on it to bring up more settings.
For your Primary SIM, make sure you turn Data Roaming “OFF”. This will ensure that you don’t incur any roaming charges while traveling. You can still use your Primary SIM with WiFi.
Listed under your Primary SIM will be the ability to “add eSIM” plus any eSIMs that you have already added.
Click on your new eSIM plan and turn Data Roaming “ON”. This allows your eSIM data plan to switch to the best available wireless network in your area. As long as you are within the county or region dictated by your eSIM plan, you will not incur roaming charges.
Click on Cellular Data
Then choose your eSIM profile as your desired cellular data plan. This will make your phone use your eSIM for mobile data.
Then make sure you turn OFF “Cellular Data Switching”. This will make sure you don’t incur roaming charges on your Primary line.
Here are more detailed instructions for installing an eSIM on iOS devices.
Android eSIM Settings
For more eSIM Andriod support you can visit the FAQ sections at Maya Mobile and Airalo.
Renaming Your SIM Plans To Avoid Confusion
You can rename a SIM or eSIM plan at any time. I recommend creating a custom label with some key descriptive details to help you remember what each plan is.
The three most important things to include in the name are:
- Provider
- Country/Region
- Data Limit
Example: So an eSIM name might look something like “Maya Thailand 5GB”
Including some descriptive details makes it easier to keep track of your eSIMs and SIMs.
By including the provider, you know what website portal to log into for help, troubleshooting, tracking data usage, or just reminding yourself about the details of the e-SIM plan.
By including the country or region, I know precisely where that eSIM is for.
And lastly including the “5GB” reminds me what the original data allowance is. However, if you decide to add more data in the future, you can update the name.
(Optional) You might also want to add the “time validity” of the eSIM plan, so you know when it expires (7 days, 30 days, etc)
How To Track Your Data Usage
The most reliable way to track your data usage is to log into your account via your eSIM provider.
Or, you can also track your data usage right on your phone.
On iPhone:
- Open the Settings App.
- Click on Cellular.
- Scroll down to Current Period, which shows the total of all data usage. And below that it is broken down by App.
However, we noticed that our VPN (Surfshark) artificially doubled our data usage. But when we checked data usage via the eSIM provider, it was always half as much as the phone stated. We think it’s because all our network usage is funneled through the VPN and gets counted twice.
On Android:
- Open your phone’s Settings app.
- Tap Network and Internet
- Tap Data usage or Mobile Network
How To Conserve Data
Lots of modern phone apps consume data in the background (updating automatically, downloading content, syncing with the cloud, etc).
These are sneaky ways that you might use up your eSIM data without realizing it.
Here are a few tips for how to save data to make your eSIM plan last longer.
Data Settings For iPhone and iOS Devices
Turn On Low Data Mode
- Open the Settings app, and then Tap Cellular
- Tap your new eSIM.
- Tap Data Mode.
- Select Low Data Mode.
Select Which Apps Can Use Mobile Data
I pretty much limit it to Maps, a web browser, VPN, and Google Translate. All other apps will require WiFi to use. But you can set it up to fit your travel priorities.
- Open the Settings app, and then Tap Cellular
- Scroll down to where individual apps are listed.
- Toggle OFF every app you don’t want using mobile data.
There are three other optional iOS settings that you most likely want to turn off.
- Open the Settings app, and then Tap Cellular
- Scroll all the way to the bottom.
- Turn OFF Wi-Fi Assist, iCloud Drive, and iCloud Backup.
Data Settings For Android Phones
Note you can’t completely turn off an apps usage of mobile data on Android without a third-party app (more details below).
Samsung Galaxy Phones:
- Open the Settings app, and then Tap Connections.
- Tap Data usage.
- Tap Data Saver.
- Tap the toggle next to ‘Turn on now’ to activate the Data Saver mode.
Google Pixel Phones:
- Open the Settings app, and then Tap Network & Internet.
- Tap Data Saver.
- Tap the toggle next to ‘Use Data Saver’ to activate the Data Saver mode.
Prevent Apps From Using Data In The Background (Android)
- Open the Settings App.
- Tap Network & Internet in the settings menu.
- Scroll down and tap Data Usage.
- Select the Mobile tab and tap the three-dot menu in the top-right corner.
- Tap Restrict Background Data from the menu.
Prevent Apps From Using Mobile Data (Android)
Currently, Android devices require a third-party app to prevent apps from using mobile data.
The Netgaurd app can help you implement this on your Android phone.
You can set data limits on each app or prevent them from using mobile data at all.
Negatives Of An eSIM Plan
There are however a few downsides of eSIM card plans.
No Local Phone Number
Most eSIM plans do not include a local phone number. That is, they are data-only (only internet-based text messages and calls).
Luckily, apps for internet-based texting & calling have become widely adopted around the world. You can make calls on WhatsApp, Skype, Google Duo, Snapchat, and more. So there are plenty of ways to call and video chat without a local phone number.
But in our experience, WhatsApp is probably the most popular, especially for people working in the tourism industry.
More Difficult To Switch Phones
An eSIM makes it more difficult to switch phones.
With a physical SIM you can simply remove the SIM card and pop it into a new device. Switching devices with an eSIM requires installing an app or enter eSIM instructions manually. And you also have to deactivate the existing device.
Trouble Syncing Contacts
We’ve had challenges syncing contacts and using iMessage with an eSIM. Apparently following these instructions should work, but we never have gotten it to work properly.
Save This ‘eSIM Guide For Travelers’ for Later!