Washington State is home to 3 absolutely breathtaking National Parks. There is so much to explore within these areas, that this will simply absorb most of your time along this Washington Road Trip Guide.
Washington is a large state, and you could easily spend a lifetime exploring the ins and outs of this beautiful state. But in this specific Washington Road Trip Guide, we will take you to the coolest spots we found while exploring the state for just over a month and try to condense it into an epic 2-week itinerary.
We are pretty avid hikers, so be aware that this guide is geared towards putting in some serious miles on the trails. But the payoff for hiking in Washington rewards you with some of the most beautiful views in the country! However, we do make time for “rest days,” where you can enjoy some more leisurely activities like eating out, river floating, or going to breweries.
We will include a few additional add-on activities if you have the pleasure to explore Washington for longer than just a couple of weeks! But ultimately, we want to make sure you make it to the 3 National Parks, because well, they are National Parks for a reason after all! So let’s dive into this Washington 2-week itinerary.
This post may contain affiliate links. Disclosure policy.
Accommodation Along This Ultimate Washington Road Trip:
Do note, that we travel in our camper van full-time when we travel on these trips. We will include places we personally camped along the road trip or make a suggestion of locations.
We think this road trip would best be explored via car camping, campervan or RV, since there are so many areas where it will save you so much time camping versus finding hotels or vacation rentals. Therefore, we suggest renting a camper van or RV from Outdoorsy, RVezy or RVshare.
Also, food in some of these National Parks can be few and far between, and honestly be sub-par meals. Therefore having a kitchen with you can be great for making your own meals and honestly saving you some money during this Washington State Road Trip!
Some areas and campgrounds do require advanced reservations, so if you know the dates you will be visiting Washington State, it might be wise to book some of the campsites ahead of time to ensure your accommodation.
We have a Harvest Hosts & Boondockers Welcome membership which allows us to stay at wineries, local farms, breweries, golf courses, museums, local home driveways and more! The membership for harvest hosts is $99 annually, but if you use this Harvest Host Link, you can save 15% off at checkout! We even wrote a whole Harvest Hosts review, where you can learn everything you need to know if it is the right membership for you! And if you add on Boondockers Welcome (which are locals offering up their driveways or land for a place to park), you can combine the two platforms for a lower annual rate.
When there are no Harvest Hosts or Boondockers Welcome locations nearby, we use the app iOverlander. This is a super useful resource for finding camping on the road and can be used offline too. We will suggest places to stay, but you may travel at a little different pace, or choose to drive more or less than us.
Therefore, we suggest downloading and using this free and helpful resource along this Washington road trip!
But if camping isn’t your jam, there are still great hotels and vacation rentals along your route.
We love to compare hotel prices on Booking, Expedia, and Hotels to find the best deals! Or if you prefer Vacation Rentals, use VRBO to find the perfect home away from home.
Especially because this Washington Road Trip Guide is 2 weeks long, you might want to stay in a vacation home rental or a hotel midway through the trip to reset for other camping excursions.
Day 1 | Fly into Seattle & Head To Olympic National Park:
Today will be a long travel day, but I promise it will set you up for a fun adventure day tomorrow!
First stop, Seattle. Unless you border the state and can drive here, it is one of the harder western states to visit. Therefore most of you will be flying here. We suggest using Kayak to get the best deals on flights and rental cars. Or like mentioned above, rent a camper van or RV from Outdoorsy, RVezy or RVshare.
In this ultimate Washington road trip guide, we are going to skip exploring Seattle altogether, because you could easily spend a whole week or so here exploring the wonders of the city. There will be time at the end of the trip if you really want to explore Seattle.
We just feel like the surrounding areas are not to be missed, and when you only have a week or so to explore, then you might want to skip the city. But if you are able to explore Washington for longer this Washington 2-week itinerary, then here are some great Seattle travel guides.
Once you get settled with your rental car or camper van/RV rental, we suggest heading to Olympic National Park via the North Route through Port Angeles.
Either stock up on groceries in Seattle or Port Angeles, unless you want to eat out for most meals. But having snacks for some of these hiking adventures is a good idea. And there aren’t a ton of restaurant options in some of the more remote areas of the National Parks.
Camping on Day 1 Of This Washington Road Trip:
Tonight’s stop will depend on the time your flight gets into Seattle and how far you want to drive. If you have the energy to drive to Port Angeles, then some great Harvest Host locations are: Fleurish Lavender of Lost Mountain or Rain Shadow Lavender Farm.
If you have a little extra energy, a great campground near Lake Crescent (a destination for tomorrow’s adventure) is Fairholme Campground. The cost is $24 and advanced reservations for Fairholme Campground can be made online at recreation.gov.
If you are looking for a free place to stay there is a large pull-off near Highway 101.
Day 2 | Mt. Storm King
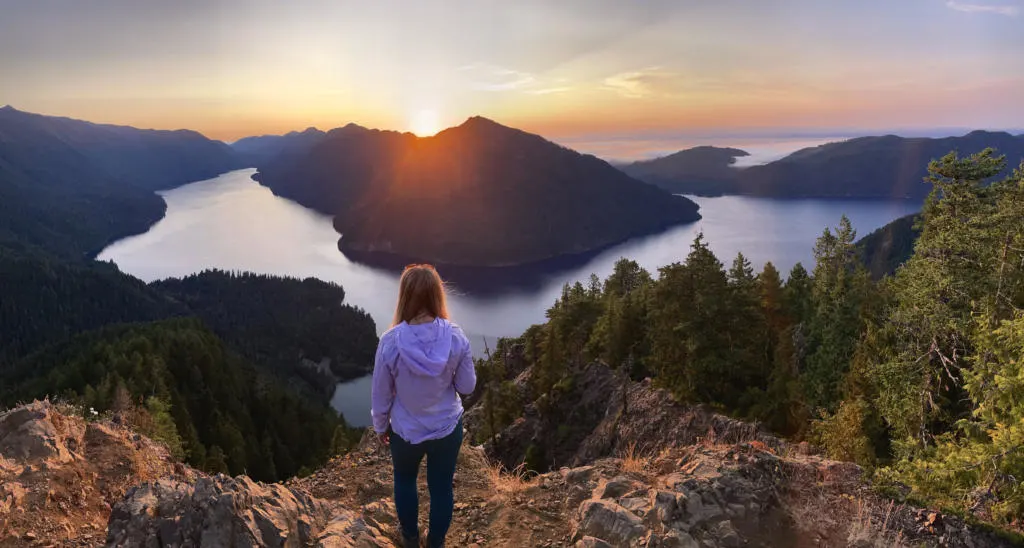
One of my absolute favorite hikes in Olympic National Park is Mt. Storm King. It is a challenge, but one of the most rewarding hikes. The hike is 5.3 miles with 2076 ft elevation gain. Don’t forget to add the short detour to Marymere falls, which will add on about .7 miles round trip.
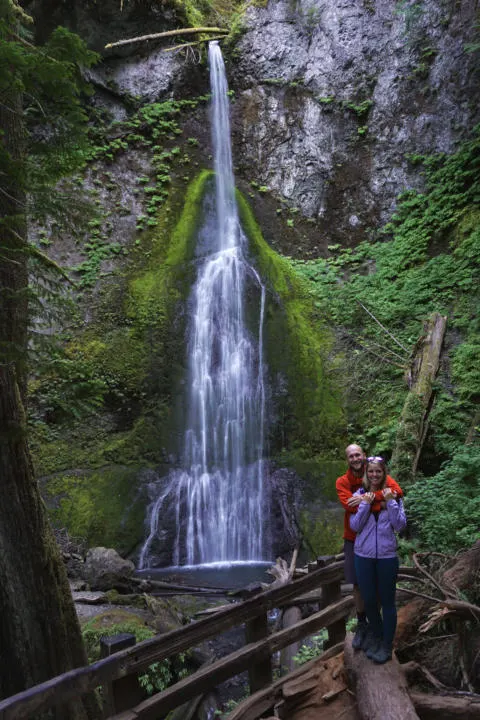
The hike starts off pretty mellow till you reach the intersection to head up to Mount Storm King or head toward Marymere Falls. So once you make the detour and reach this intersection on your way back, the trail heads up which is a steady incline to the top.
About 1 mile from the intersection you will get a sneak peek of Lake Crescent from above. But I promise it only gets better at the top. Another .2 miles is where you will run into the “end of maintained trail” sign.
Here you will run into the most difficult part of the trail. It’s best for experienced and confident hikers. There are ropes in place to help you safely climb up this section.
If there is recent rainfall, then the trail might be impassible at this point. As it would get pretty muddy and slick. But there are leftover gloves left by other hikers to help keep your grip on the rope to the top.
This section will most likely seem longer than it actually is (.2miles). But literally, the hard work will pay off instantly when you reach the top. Bonus if you can get here for sunrise or sunset. The hike is an out and back, therefore you return down the steep decline back to the parking lot.
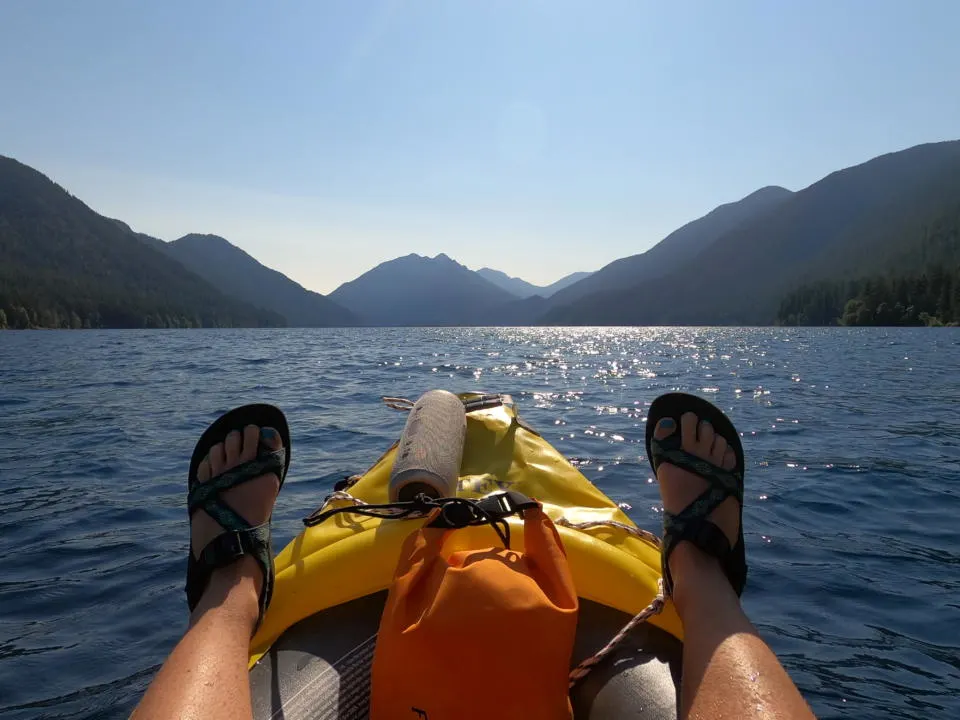
After hiking Mount Storm King, it’s time to jump into the refreshing Lake you were just looking down upon. Or even better, rent a kayak to get out on the water. And if the timing works out, you can get a magical sunset over the lake.
Camping On Day 2 Of This Washington Road Trip:
You will probably be pretty tired after hiking Mt Storm King. So you might just want to head back to one of the camps near Crescent Lake: Fairholme Campground, Klahowya Campground.
For a free dispersed camping option, you could check for some spots down Forest Road 29.
Day 3 | Visit the Washington Coast
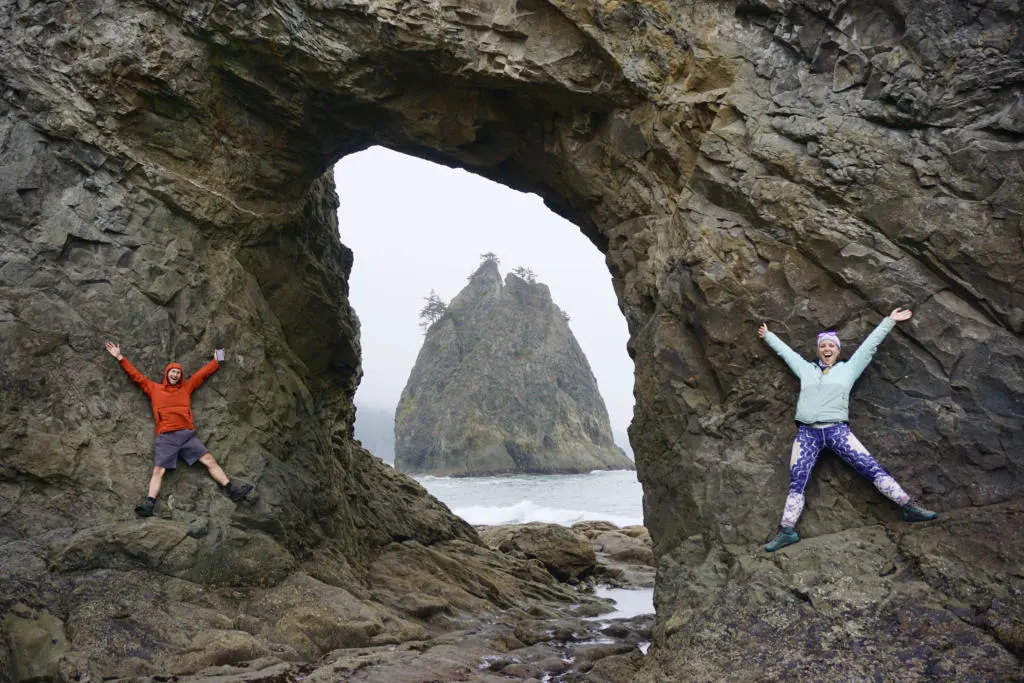
On Day 3 of this Washington Road Trip, we are going to be heading to the coast. But first, there is one more cool hike in Olympic National Park that should not be missed.
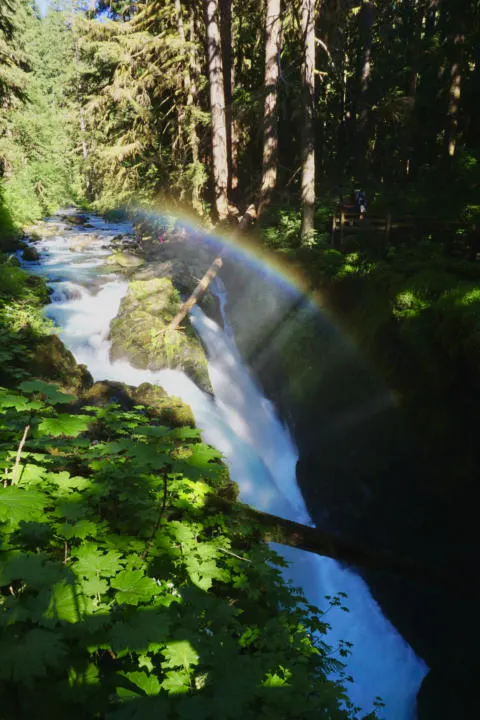
Sol Duc Falls is 1.6 miles with 226 ft elevation gain, so it is a rather easy stop as we head to the ocean. It’s great for getting a little exercise before driving to the coast. The hike starts through dense lush forest and leads to 3 gushing falls. You might even be able to see a rainbow above the waterfalls.
Next, head back into the car and we are headed toward Rialto Beach. A popular destination is Hole in the Wall.
The hike is 3.3 miles with 108 ft elevation gain. Jake and I had our backpacking stuff with us, so we decided to backpack to this location (permits are required). But as you can see the mileage is rather easy, so by no means does this need to be done as a backpacking trip (most people hike much farther down the beach, but we just took the only permits available).
You will want to check for low tide, so you can safely cross to the other side and at least walk through the hole.
If you have more time on your trip, some other great stops are Ruby Beach and the Hoh Rainforest. The only reason we don’t include these stops is because we include Rialto Beach which we personally found cooler. And there is so much dense and lush forest in Washington that you could maybe save the Hoh Rainforest for a different time. But if these two spots are of high interest to you, then they could easily be worked into the Washington Road Trip Guide.
Camping On Day 3 Of This Washington Road Trip:
Camping or accommodation for this evening will depend on what time you got done with today’s activities. But tomorrow we will be heading to Mt. Rainier National Park and it’s about a 5+ hour drive. So we suggest choosing a camping spot on iOverlander that you think you can reach tonight.
A good midway point would be near Rock Candy Mountain. There are 2 free primitive spots along the route. One being right off the highway, but you will need a Washington Discover Pass. And another one being about 15 minutes off the highway with nice mountain views.
There is also a Walmart in Aberdeen, WA, but it is a little out of the way and you will need to be in a self-contained camper van or RV to park here.
Day 4 | Mt. Rainier

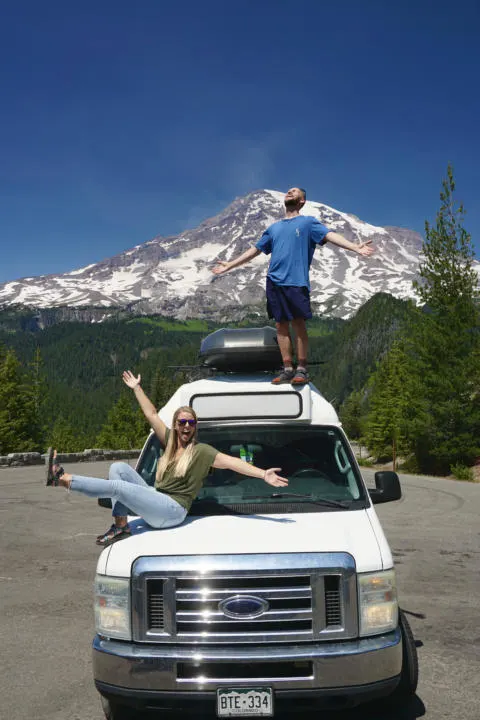
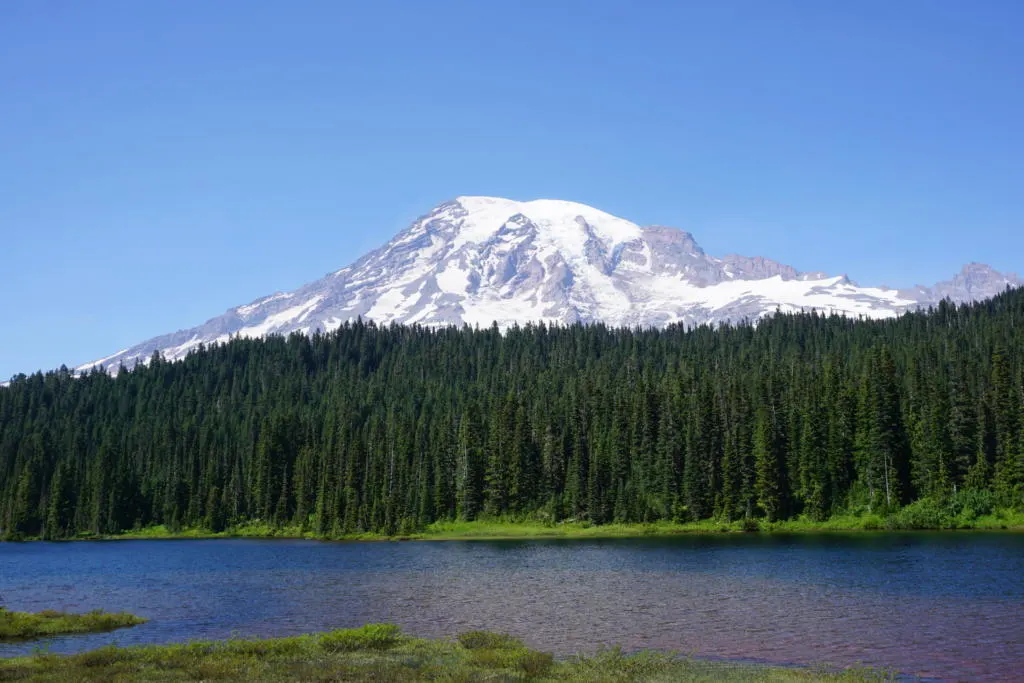
Mt. Rainier is seriously one of the most mesmerizing mountains to look at. Jake and I have lived in Colorado in previous years where 14’ers (mountains over 14,000 ft high) are everywhere. But I think what makes Mt. Rainier so majestic is because it sits alone making it look so grand!
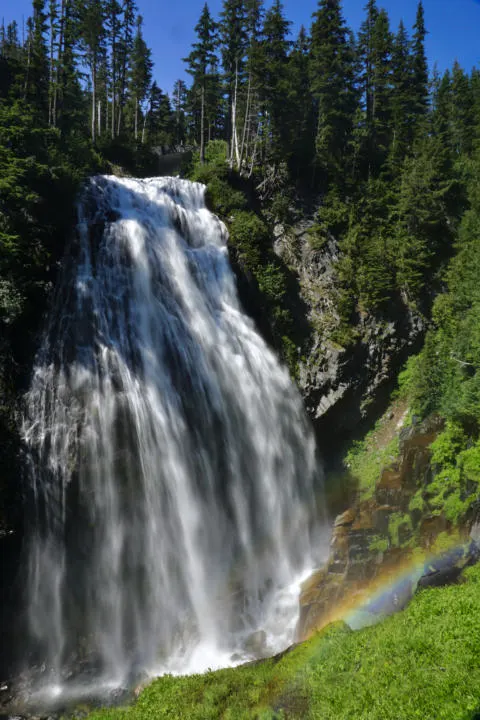
Today we suggest driving into the park and stopping at a few viewpoints on your way to Skyline Trailhead. Some scenic stops are Christine Falls, Ricksecker Point, Narada Falls, and Reflection Lake.
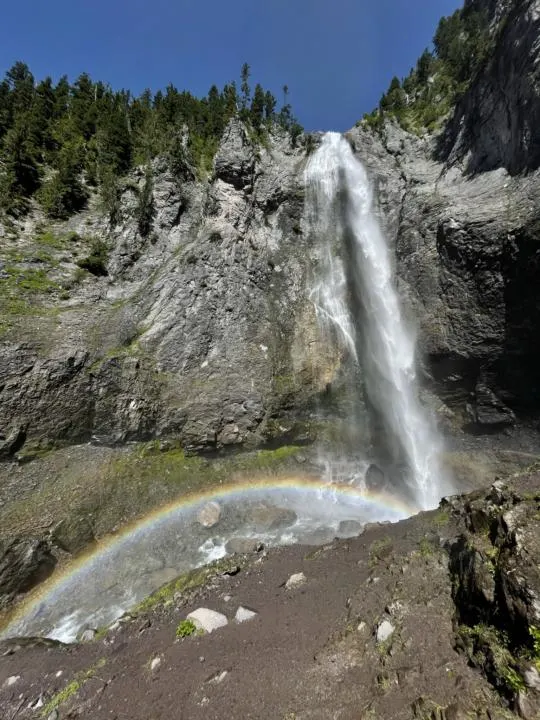
Also, if you are up for doing 2 hikes in one day, then you should consider doing Comet Falls before Skyline Loop trail. T
he Comet Falls hike is 3.2mi with 1279ft elevation gain. It may seem like an easy and short hike, but it has a decent climb up to the falls. But it will definitely be worth it with the beautiful rainbow that comes off the falls.
Next, head up to the top where you will find Skyline Trail Loop Trailhead. This is where you will find one of the main lodges (Paradise Inn) and the ranger station.
If you decided to indulge in Comet Falls first, then maybe consider getting a nice lunch break/early dinner at Paradise Inn. Which offers American-style cuisine.
Or you will also find the Tatoosh Cafe here too. This area has a large parking lot, but during peak season, it can be hard to even snag a spot. Although people do come and go rather often, so you might just have to wait a few minutes for someone to leave from their hiking adventure.
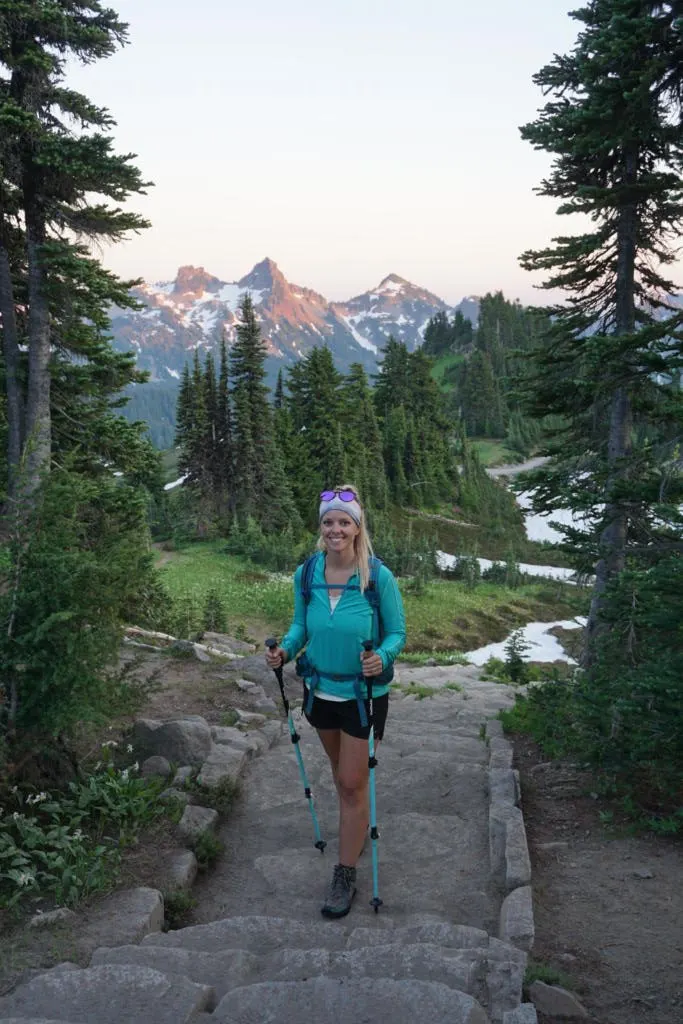
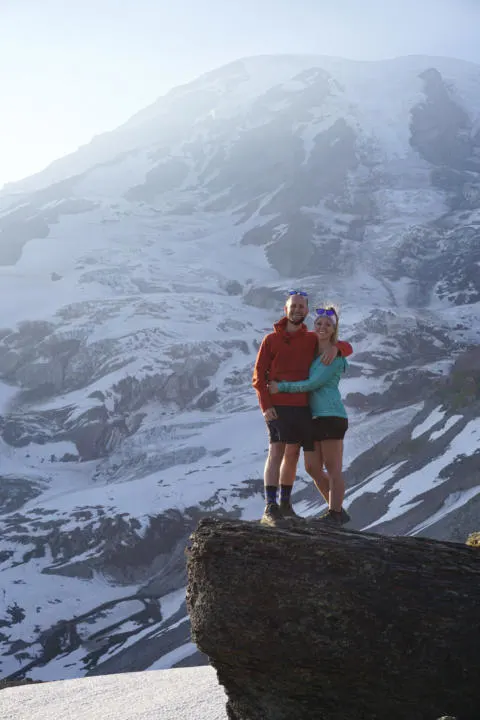
The Skyline Loop Trail is one of the best hikes in the park, offering absolutely stunning views of Mt. Rainier while it towers over you.
The hike is 6 miles with 1700 ft elevation gain. You can either go clockwise or counterclockwise.
Jake and I chose counter-clockwise to ease into the accent versus the other route. But nonetheless, they both lead you up with epic views of Mt. Rainier. And don’t forget to look back occasionally, because you get 360 views of breathtaking mountainous wilderness.
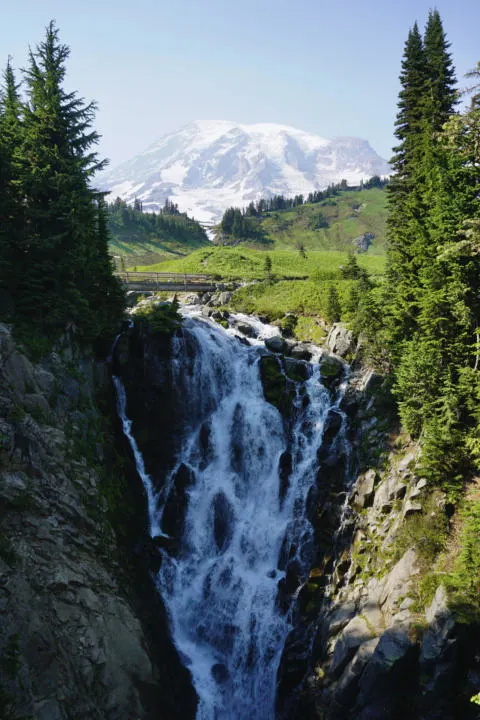
If you choose to go counter-clockwise, you will run into Myrtle falls about .4 miles along the trail. A rushing waterfall with a view of Mt. Rainier directly behind it! If you go clockwise, then you can hit this stop on your way out.
Camping on Day 4 Of This Washington Road Trip:
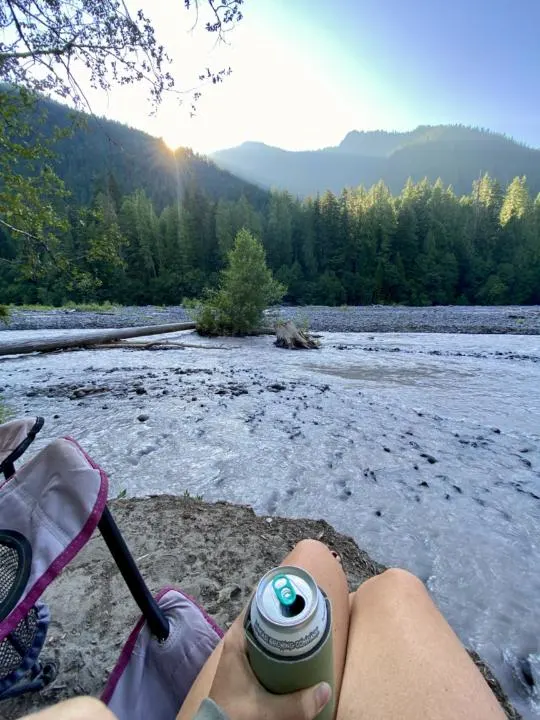
Tonight, you are going to be heading out of the park and staying on National Forest Land right outside the park. The camp is along the White River and has some great views right from your campsite. And if it’s warm, you can even take a dip in the river.
The road can be a bit rough if you want to get super close to the river, but there are a few spots closer to the road if you don’t have high clearance.
Day 5 | Sunrise Hike to Mount Fremont Lookout:
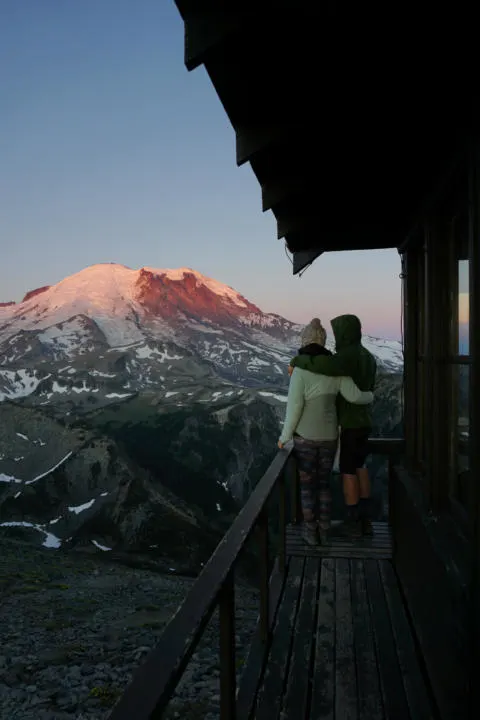
Day 5 on this Washington road trip is going to be an early one. That’s because this location can have some awesome cloud inversion if you get here early enough. And the sunrise over these mountains is unreal.
Oh and you will be hiking with the view of Mt. Rainier right next to you, so it’s pretty epic!
You might even see the light from some headlamps of people summiting Mt. Rainier. The hike is 5.6 miles with 1200 ft elevation gain.
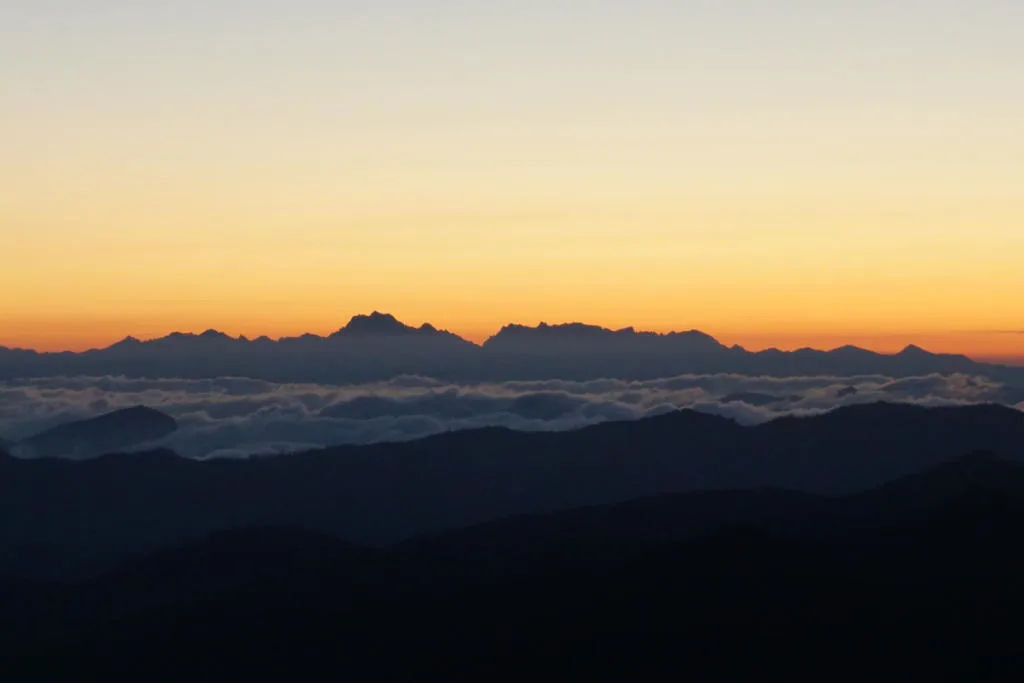
Depending on the time of year you are doing this hike, check the sunrise time. Plan for this hike to take you at least 1.5 hours to get to the top and maybe add in a little extra buffer time.
The hike climbs steadily the whole route. It’s rather well-maintained but there are a few spur trails to be aware of. You will follow the Sourdough Trail until you reach Frozen Lake.
Here there are 3 different trails that merge. This is where you follow Mount Fremont Trail. This leads you up to a fire lookout. You can’t go inside, but you can see how rangers used to post up and look out for wildfires (and sometimes still do).
After this hike, you will probably be pretty tired from waking up super early. So either grab a coffee at the Sunrise Day Lodge or consider taking a quick nap in your car. Because we have a drive ahead of us for the second portion of the day.
Camping On Day 5 Of This Washington Road Trip:
Depending on how much driving you want to do today, there are a few different camping options along your drive. The drive from Mt. Fremont Fire Lookout trailhead to Leavenworth is just under 4 hours. Just past Liberty, WA there is a decent spot off the highway where you can camp for free. Or another one a little closer to Leavenworth.
Or if you want to drive the whole way to Leavenworth, then refer to camping on Day 6.
Day 6 | Exploring the Town Of Leavenworth
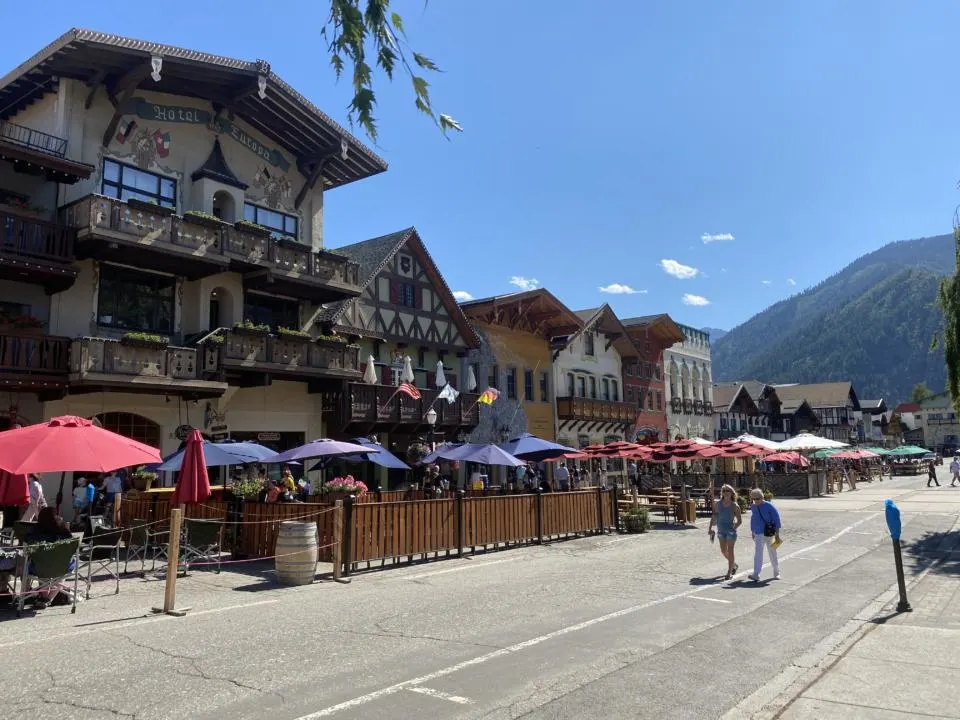
Leavenworth, WA is one of my favorite towns in Washington and has honestly been one of the highlights of vanlife. I think when we run into a super cool town that wasn’t completely on our radar is super special.
Jake and I plan our road trips thoroughly, so we don’t miss anything. But this town was super cool and something we found as we were traveling North. And honestly ended up spending a few days here enjoying the amazing vibe.
It’s a Bavarian-styled village in the Cascade Mountains. You will get the feel as soon as you enter this unique town because even the fonts on all the business signs are the same, the building structure, and the restaurants are all Bavarian-styled.
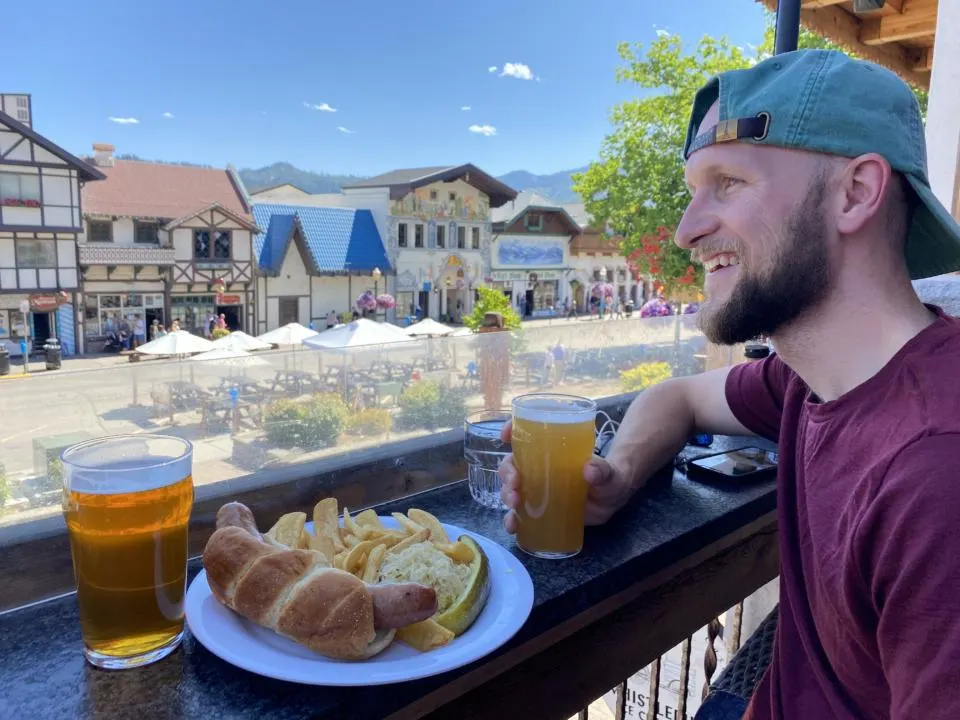
Today is going to be more of a touristy day, and after the hiking you’ve done, I’m sure you could use a nice break.
Check out our post for the Ultimate Guide to Leavenworth Washington for everything you gotta do while you are here! Including the best restaurants, bakeries, museums, breweries, and more.
A couple highlights from our trip are the 3 breweries (Blewett Brewing Co, Icicle Brewing Co, & Doghaus Brewery), Rhein Haus restaurant for a pretzel and bratwurst, waterfront park trail, Munich Haus and the Danish Bakery. There are also various shops you can explore which can easily kill a whole days worth of your time.
Camping On Day 6 Of This Washington Road Trip:
If you are traveling in a camper van or RV, then Leavenworth has an awesome opportunity for an overnight stay. If you are tent camping, then there is National Forest Land nearby where you can stay for the night.
There is a free parking lot on the Southwest edge of town (walking distance) where you can park for 24 hours. So you can grab that extra bier stein at one of the bavarian pubs because you don’t have to drive tonight!
There are also two great campground options near Leavenworth Washington. Alpine View RV Park is located less than 1 mile from downtown. There is a dump station on-site, complimentary showers for guests, and free wifi.
There is also the KOA Holiday Leavenworth, which is also less than a mile from town. They offer a luxurious style of camping with both RV and tent sites. It’s located just a short walk from the Wenatchee River, so during those summer months, you can take a nice dip to cool off. There is complimentary wifi, cable TV, pool, hot tub, and even fun campground recreation to keep you and the kids entertained.
Day 7 | The Enchantments
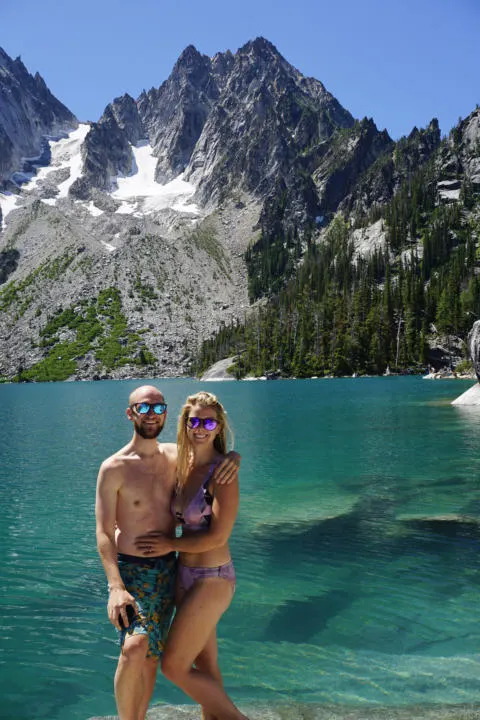
The Enchantments are one of the most popular backpacking trips in Washington. And if you are lucky enough to snag a permit, there is an amazing thru-hike, which you absolutely should do. But you can also hike to one of the coolest lakes on this backpacking trip as a day hike. So that is what we suggest doing on Day 7 of this Washington Road Trip.
The day hike leads up to Colchuck Lake which is 9 miles with 2283 ft elevation gain. The hike starts off as a mellow incline and gradually gets steeper along the route.
Especially during peak summer, getting to the lake is so worth it, because you can take a dip in the majestic aqua blue water with towering mountains along the opposite shoreline. It can be a challenge to find an accessible spot to the lake, but there are various paths that will lead you to one.
Be sure to pack along a snack or lunch to enjoy the beautiful mountain views.
Because the weather was so nice Jake and I spent a few hours enjoying this beautiful setting. But the hike back down was a little buggy, so I would assume during certain times in summer, the bugs could be a problem up at the lake (which we experienced hiking to various other lakes throughout the summer).
Camping/ Accommodation on Day 7 Of This Washington Road Trip:
There are a few campgrounds in Leavenworth that could be worth reserving in advance, so you can explore more of the lovely town of Leavenworth. Otherwise, consider checking out a spot nearby via the iOverlander app.
Day 8 | Float The Wenatchee River
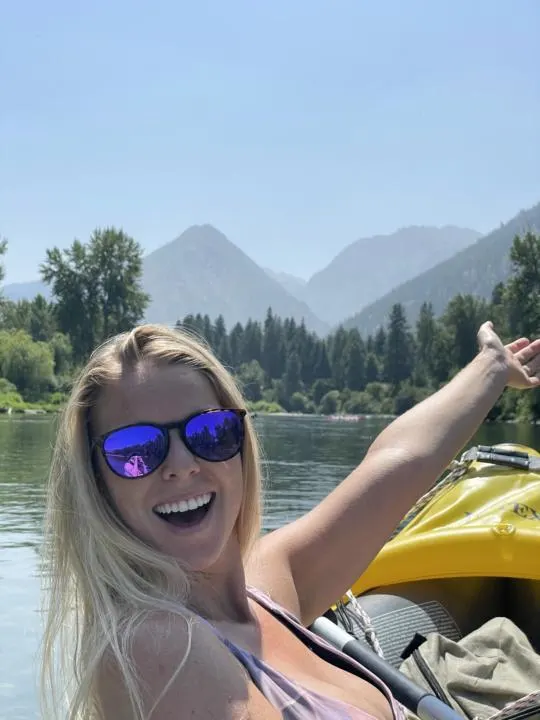
One of our favorite things we did besides hiking on this Washington Road Trip was floating down the Wenatchee River. There are a few tours that you can pay for that provide the tubes and a shuttle ride to the start of the float trip.
Or you can choose your own adventure. Jake and I have the Intex Explorer K2 Kayak, so we decided to park at the “take out” and walk to the start of the float trip to get some extra exercise, and float down the river back to our car. The hike was a bit longer than we thought, but worth it if you are on a budget and want to save a few bucks.
One of the tubing rental companies is the Leavenworth Outdoor Center. You can park in their grass lot for $10 or somewhere in town and they will shuttle you to the launch point. You can choose between a 2-mile or 4-mile float trip. But do note the 4-mile float trip is only offered in July due to water levels. The price ranges from $25-$30 per person.
Other companies that offer tubes and shuttle services are Blue Sky Outfitters, River Riders, and Osprey Rafting Co. If you want to step up your game from the lazy float down the Wenatchee River, each of these companies also offers White Water Rafting earlier in the season.
Camping on Day 8 Of This Washington Road Trip:
If you are like us, then you might have indulged in a few beverages along the float trip, making it not a great idea to drive afterwards. So we suggest either staying at the campgrounds in town, a discount hotel from Kayak, or a VRBO.
You could try out one of the various breweries or check out a different local cuisine in the area.
Day 9 | Head Toward The North Cascades:
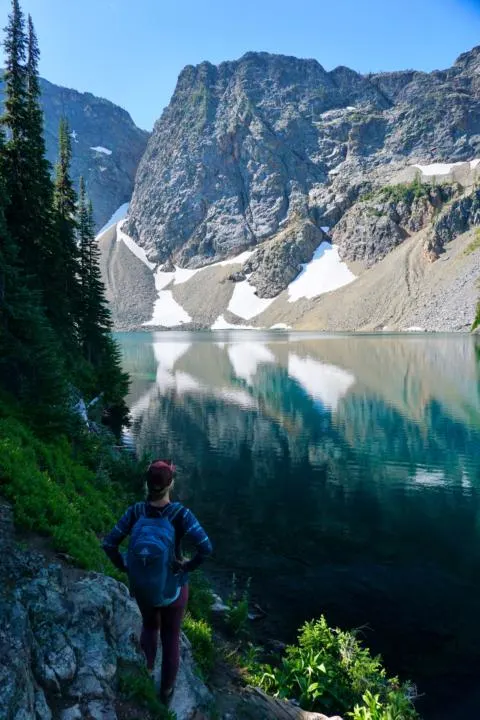
On Day 9 of this Washington Road Trip guide, we are going to head to The North Cascades National Park. Once you get here, take a drive through the park.
The first stop on the drive is Blue Lake Trailhead. Another stunning blue lake with gorgeous mountain peaks along the lake’s edge. The hike is 5mi with 1100ft elevation gain.
The hike meanders through open meadows and subalpine forests with beautiful wildflowers during the summer season. Blue Lake Trail is rather mellow and well-maintained. Definitely bring a packed lunch or snacks to enjoy at the lake.
Camping On Day 9 of This Washington Road Trip:
If you are traveling in a camper van or RV, then you can park in the Blue Lake Trailhead (there weren’t “No Camping” signs at the time we visited). There were also a few other campers and RV’s sharing the lot with us as well.
If you want a more official campground for the night, Lone Fir Campground is based on a first-come, first-serve system. There are 27 sites, but during peak season, this campground tends to fill up quickly.
Day 10 | Hike Maple Pass Trail:
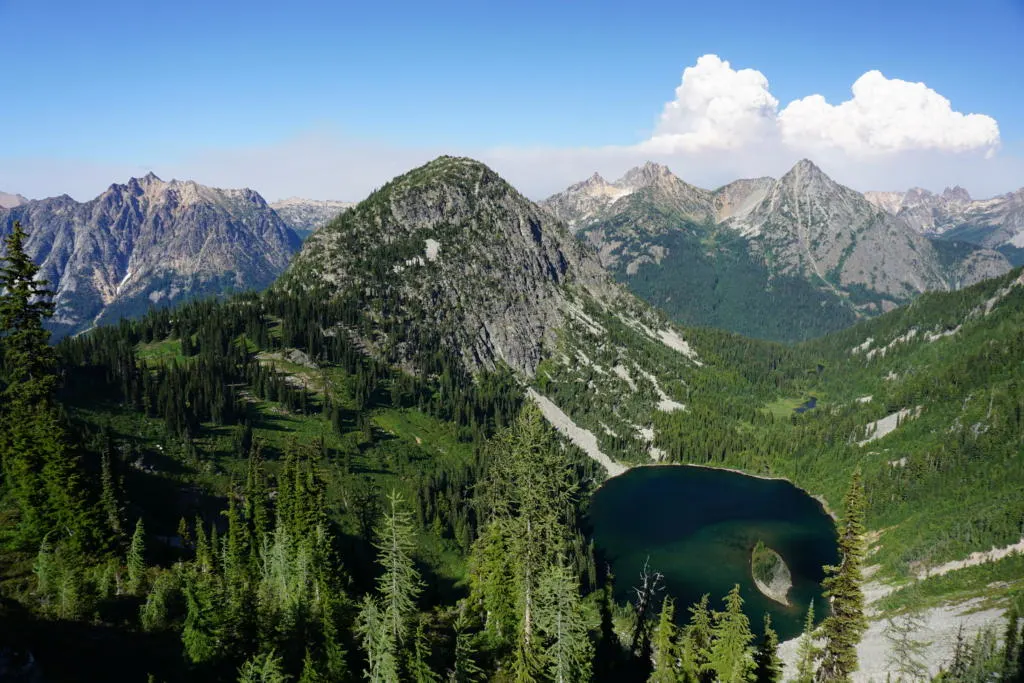
Day 10 of this Washington Road Trip Guide brings you to one of the most popular hikes in the park. And for good reason. Maple Pass Trail hike is 6.6mi with 2145ft elevation gain. It is a bit more challenging, but amazing views as soon as you leave your vehicle.
The hike starts from Rainy Lake Trailhead and can be done in either direction. The trail starts off as a steady incline through a forest and opens up to a meadow with beautiful wildflowers in the summer season. If you go counter-clockwise, which is a more gradual ascent, you run into Lake Ann.
There is a short detour to Lake Ann if this is of interest. We decided to forgo the detour, but if it’s a hot day, it could be a nice place to stop for a swim.
At 2.5 miles into the climb, you will encounter Heather Pass Trail. Continue to the left on Maple Pass Trail. Here the trail circles around Lake Ann and continues the climb to the summit of Maple Pass where you will have panoramic views of the area.
Then, the descent starts, which can be slow going miles. It was super nice to have hiking poles on this section of the hike. Lastly, toward the end, you will be blessed with a top-down view of Rainy Lake.
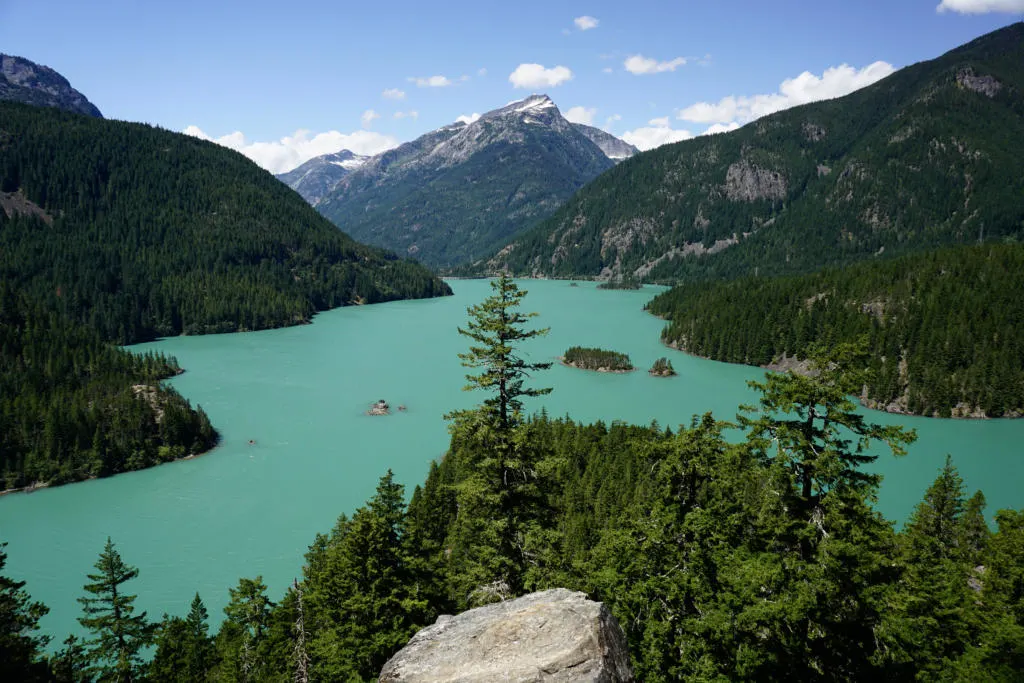
After the hike, there are a few cool viewpoints to check out on your way out of the park. Of course, if you come to North Cascades National Park, you have to stop at the famous Diablo Lake Vista Point. You get to look down upon the aqua, blue-green water surrounded by mountain peaks.
There is a cool waterfall along the bridge that goes over Gore Creek. You can park on either side of the bridge in the designated parking lots and walk along either side of the bridge.
If you don’t like heights, you may want to skip this one or at least “don’t look down”. The bridge pathway is see through and a long way up from the ground.
The waterfall is roughly halfway along the path.
Camping on Day 10 Of This Washington Road Trip:
There are a few great campgrounds in the park for camping on day 10 of this Washington Road Trip. Two great campgrounds that are near Diablo Lake are Gorge Lake Campground and Colonial Creek South. Reservations can be made in advance at both campgrounds.
North Cascades National Park also has some unique camping options if you have the time. There are a few locations that allow boat-in camping to Ross Lake, Diablo Lake and Lake Chelan. A backcountry permit is required for each wilderness area.
If you have more time on your road trip, you can also visit Mount Baker Snoqualmie National Forest & Mount Baker Wilderness. Sadly when we visited we ran out of time, and quite frankly, got a little burnt out from mountain hikes. But again, pretty high on our list of awesome places to visit when we come back to Washington. Some hikes that are on our bucket list are Chain Lakes Loop Trail and Heather Meadows & Artists Point Trail.
Day 11 | Head To Anacortes:

One activity Jake and I regret not doing while visiting Washington was kayaking the San Juan Islands. But it is definitely high on our list for the next time.
Kayaking the San Juan Islands does take some extra planning because in order to get to the islands you need to take a ferry. And then you can get a kayaking tour from there.
Friday Harbor and Roche Harbor are two of the more popular starting locations for kayaking the San Juan Islands.
The ferry for passengers from Anacortes to Friday Island is about an hour long and costs $15/person.
Therefore, we suggest after visiting the North Cascades heading to Anacortes. This could be a relaxing day before your last adventure exploring the San Juan Islands. You can either choose to explore the small town of Anacortes or Friday Harbor.
Tonight you should treat yourself to a nice seafood dinner since you are near the coast.
Some restaurants you could try out for fresh seafood near Anacortes are Secret Cove, Adrift Restaurant or Bob’s Chowder Bar & BBQ Salmon. Sadly, I can’t personally recommend one of these locations from personal experience, but these places come highly reviewed for seafood restaurants.
Restaurants you could try in Friday Harbor for fresh seafood are The Bait Shop, Downriggers, or Coho Restaurant. You could also check out the San Juan Island Brewing Co if that is of interest to you!
Camping/ Accommodation For Day 11 Of This Washington Road Trip Guide:
Camping near cities gets a bit more difficult. If you want to stick with the camping theme of this trip, then you could ride the ferry over to Friday Harbor the night before your kayaking trip around the San Juan Islands.
If you are traveling in a camper van or RV, you can also ferry your vehicle over, it will just cost more. The fares for taking your vehicle across start at around $43, but you can check the ferry fares here for your specific vehicle details. But Friday Harbor has a nice campground called Lakedale.
If you have a Harvests Host Membership, then you could stay at the Amaro Farms on Friday Harbor.
Or if camping isn’t your desired travel style, there are tons of great hotels and vacation rentals to choose from along your route.
We love to compare hotel prices on Booking, Expedia, and Hotels to find the best deals! Or if you prefer Vacation Rentals, use VRBO to find the perfect home away from home.
Day 12 | Kayak The San Juan Islands

Now is for the final fun adventure to truly explore Washington State. There are a few different guided tours around the islands. One company that stands out is the San Juan Kayak Expedition. They offer both day trips and multi-day trips. So you can choose your own adventure.
But on this specific Washington Road Trip Guide, we suggest the full-day tour where you can either visit the Lime Kiln or Griffin Bay. The price for a full-day tour is around $150/person.
A full-day tour is about a 6-hour journey, with 4 hours on the water, 2 hours for lunch and a coastal hike at the Lime Kiln Point State Park. You will often witness marine wildlife such as River Otters, Porpoises, Harbor Seals and even Orca Whales.
Camping / Accommodation on Day 12 Of This Washington Road Trip Guide:
Refer to Day 12 for camping info about Lakedale or Amaro Farms with Harvest Hosts. Or use the links above to find a great deal on a VRBO or a great hotel deal through Kayak.
Day 13 | Head Back Toward Seattle

Day 13 is a travel day back to Seattle. Here you could catch an evening flight out, or get a hotel close to the airport and take off the next morning.
Some popular tourist attractions are the Space Needle, Museum of Pop Culture, Pike’s Place Market, The Gum Wall, etc. And of course, they have a great brewery scene which always entices Jake and me!
As mentioned above, Jake and I mostly avoid cities when we travel (not a great fit with vanlife), so here are some great Seattle guides if you want to explore more of the city when on this Washington Road Trip.
Day 14 | Traveling Home
Sadly, this Washington Road Trip has come to an end. And while you are probably exhausted from this awesome adventurous Washington Road Trip, it will probably leave you craving to see more of this beautiful state.
But this is one absolutely EPIC Washington Road Trip and in my opinion, gives you such a great idea of what Washington State has to offer. Obviously, there is so much more to explore, but you can leave that for next time.
We hope you enjoy this comprehensive guide for a Washington Road Trip and that you are able to explore the beautiful wonders of this state. Let us know if you are planning a trip or if you have visited and we missed something epic! Have a great road trip! 🙂
Honorable Mention For A Washington Road Trip Guide:
All of these honorable mention hikes deserve a spot on this Washington road trip guide, but like mentioned above, sometimes there just isn’t enough time. But if you get lucky and have longer than 2 weeks to travel the beautiful state of Washington, these should totally make it into your Washington Road Trip!
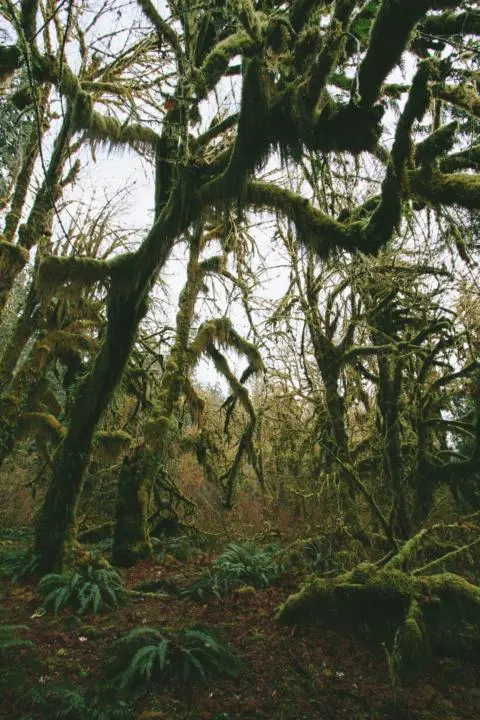
Hoh Rainforest:
Fit this after Day 3. There is a pretty easy 1-mile loop that goes through the Hoh Rainforest called Hall Of Moss. I think the Hoh Rainforest is a unique vibe of Washington State and offers lush green forest.

Ruby Beach:
Fit this in after Day 3. Ruby Beach is another cool beach along the Olympic National Park Coast with unique formations along the coastal shore. You can explore the area and make the walk as short or as long as you would like.
As mentioned above, we just felt Rialto Beach was a bit cooler, and this gives similar vibes to that scenery. And like our picture above, during mid-day cloudiness, it didn’t quite do it for us. But if you can fit this in for a sunrise or sunset with beautiful colors, then this could be a great stop along this Washington Road Trip Guide.
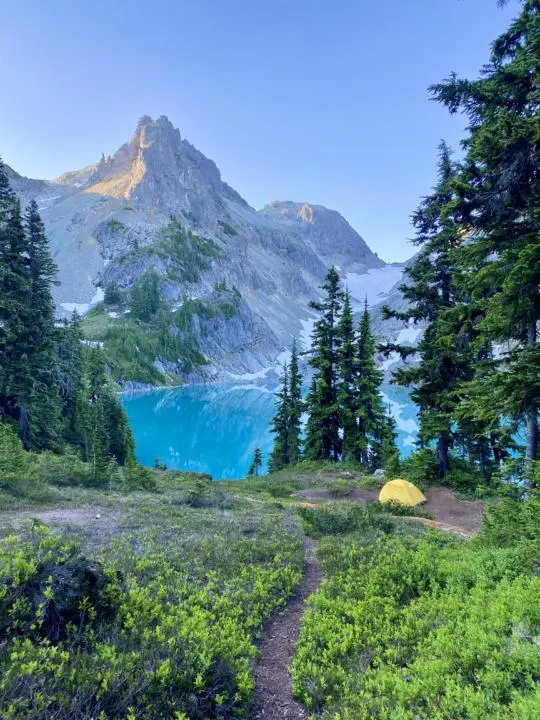
Jade Lake & Marmot Lake:
Fit this in after Day 5. Jade Lake and Marmot Lake is probably one of the coolest backpacking trips Jake and I have ever been on but also one of the most challenging. Jade Lake is simply breathtaking and extremely rewarding once you get there. BUT, the bugs on this backpacking trip are some of the worst we have ever encountered in our life. And I’m from northern Wisconsin, where the bugs are ruthless. To say we each ate about 5+ bugs is probably an understatement.
There is also a creek crossing in order to get to the trailhead. Therefore, it is often impassible until mid-summer.
As I said, this hike is a challenge. The length of this hike is 20.7 miles with 4284 ft elevation gain. So with a heavy backpack on, this is no easy task.
The main reason we leave this backpacking trip out from this Washington Road Trip Guide is because it will take up about 3+ days of your road trip. And there is just so many amazing stops along this trip that we don’t want you to miss out on. We did the backpacking trip as a 2 day trip, but we would most definitely suggest doing it as a 3 day trip if possible. (AND BRING BUG NETS).
We were absolutely exhausted when we got back, so we had a whole rest day before moving on to the next adventure. But with that being said, it is absolutely one of the most stunning aqua blue lakes we have ever witnessed. So if you crave an absolute adventure, then check out our Jake Lake & Marmot Lake Backpacking Guide.
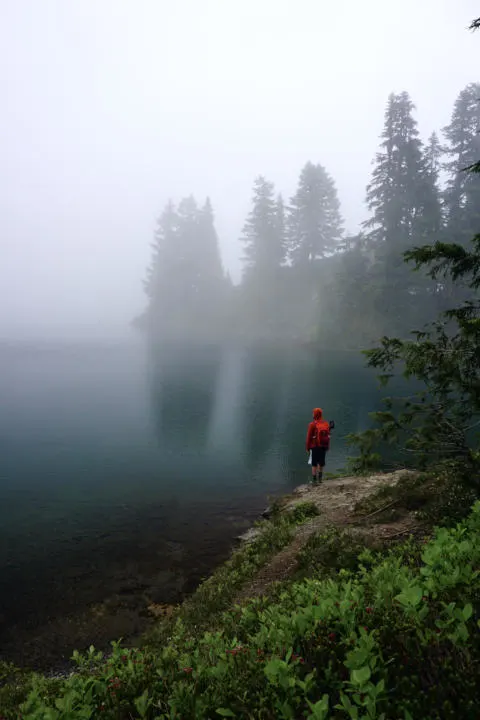
Tolmie Peak Fire Lookout:
Fit this in after Day 5. This hike will be a fair amount out of the way as it is not located near many of the other hikes in Mt. Rainer National Park. The hike up to Tolmie Peak Fire Lookout is 5.5 miles with 1600ft elevation gain. The time we visited this area the weather wasn’t totally cooperating with us and was super foggy. Therefore, we almost felt like the long trek out here wasn’t totally worth it. But that is not to say, you will have the same luck. It was definitely still pretty cool with the mystic fog.
Thornton Lakes Trail:
You can fit this adventure in after Day 10. The hike up to Thornton Lakes is 10.9 miles with 3057 ft elevation change. The reason we left this hike out is because of its difficulty, especially toward the end of the trip. We found Blue Lake and Maple Pass Loop to be the two best hikes in the park, and assume you might be pretty tired after this trip to add in a challenging hike to another lake. Therefore, if you have time, this hike looks absolutely beautiful but could be worth saving for another time.
Save This Washington Road Trip Guide For Later:
