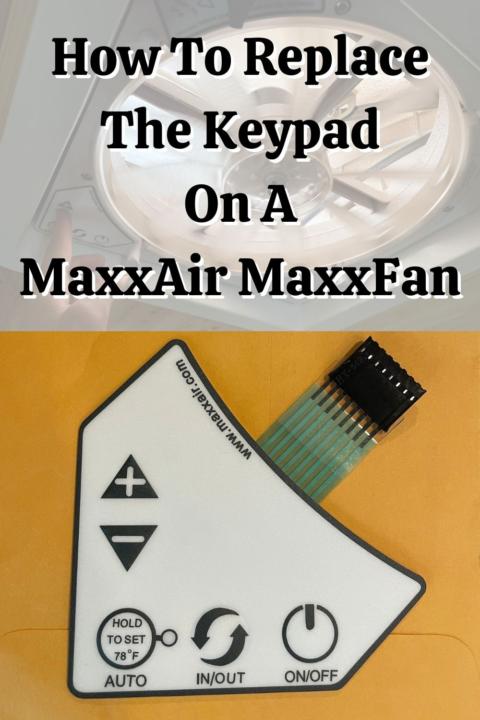
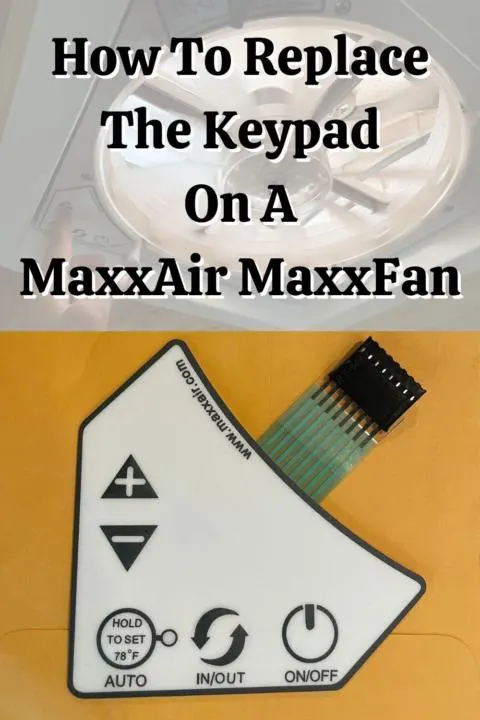
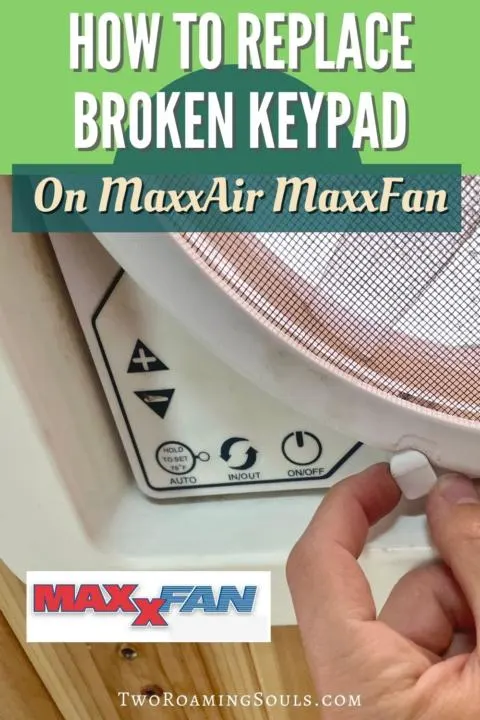
This post shows you step-by-step how to replace the keypad on a Maxxfan. The Maxxair Maxxfan is the most popular lineup of roof vent fans for campervans and RVs. If you have owned a MaxxAir Maxxfan for a while, it’s possible that the keypad’s buttons are getting sticky or malfunctioning. This guide will show you how to replace the broken or failing keypad on a MaxxAir Maxxfan.
It’s a relatively straightforward DIY project, however special care is needed not to damage anything. This guide is demonstrated on our Maxxair Maxxfan Deluxe 5100K model (Full Review), though I’m fairly confident that this job is identical across all Maxxfan models.
This post may contain affiliate links. Disclosure policy.
Step 1: Acquire A Replacement Button Keypad
Purchase a replacement keypad, or file a warranty claim.
(You will need your fan’s serial number for a warranty claim. It can be found under the fan screen. Steps to remove the fan screen are below).
Step 2: Disconnect The Maxxfan From Power
To ensure your safety and less chance of damage to the MaxxAir Maxxfan, disconnect your fan from power. I do this by removing the fans fuse from the fusebox. Or you might have installed a switch for your DC electronics or each individual appliance.
Step 3: Remove Fan Screen

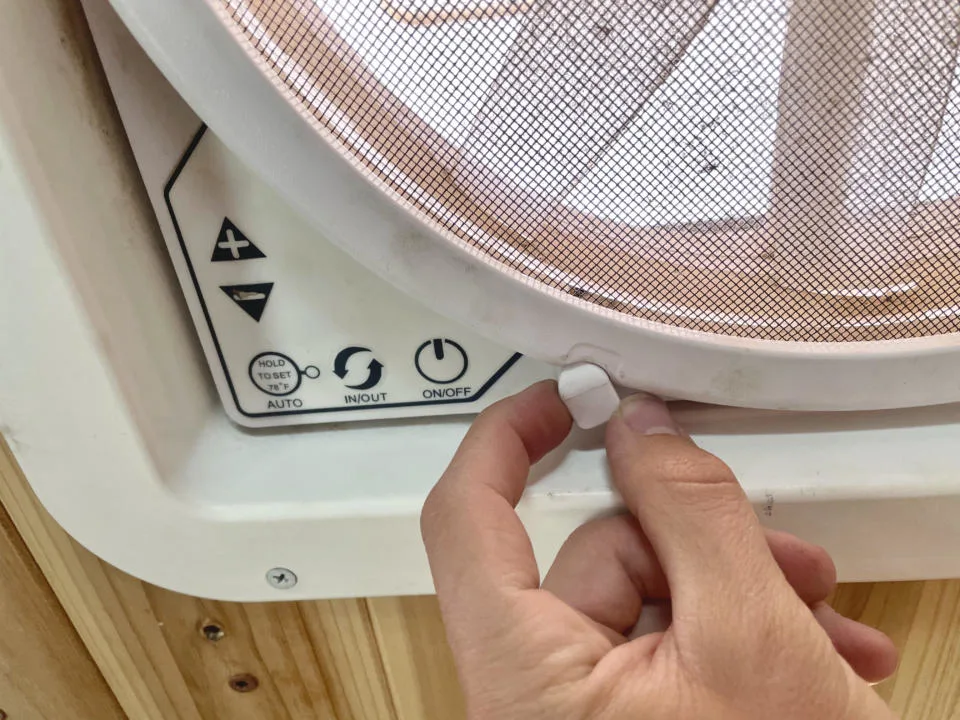
To remove the fan screen, first, twist the four securing tabs 90 degrees. Then pull the fan screen off and set it aside.
Step 4: Remove Fan Blade

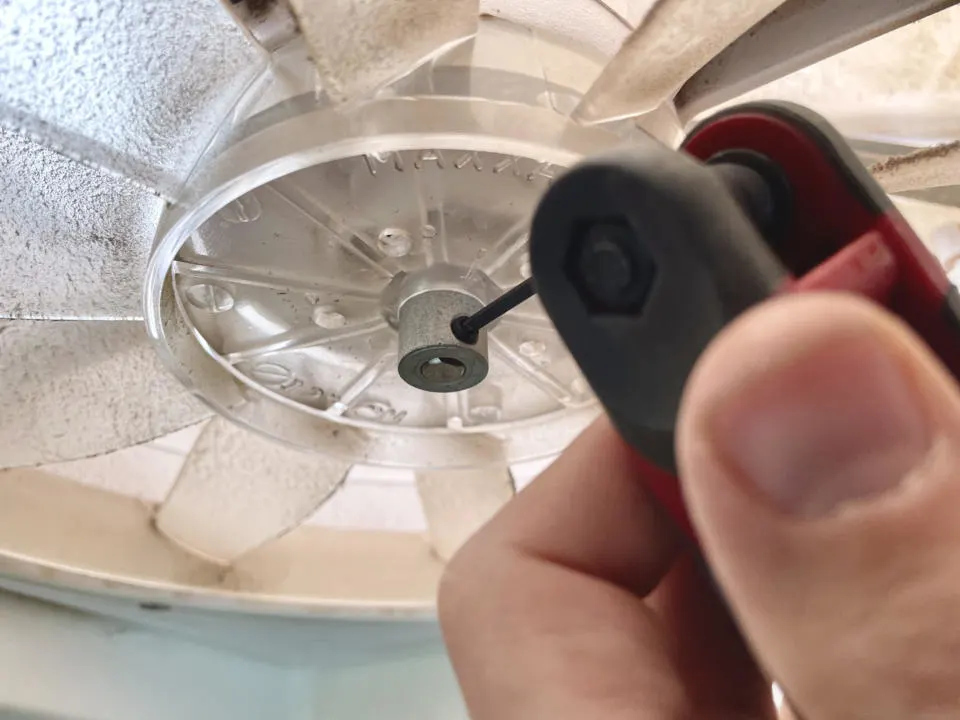
To remove the fan blade, you neeed a 3/32nds allen wrench. The fan is held in place by a single set screw in the center of the fan blades. Once loose, the fan blade can slide down and be set aside. (This is not a bad time to clean the fan blades and fan screen if they are dirty).
Step 5: Remove The Screws On The Faceplate

Use a Philips head screwdriver to remove all four screws around the perimeter of the fan opening.
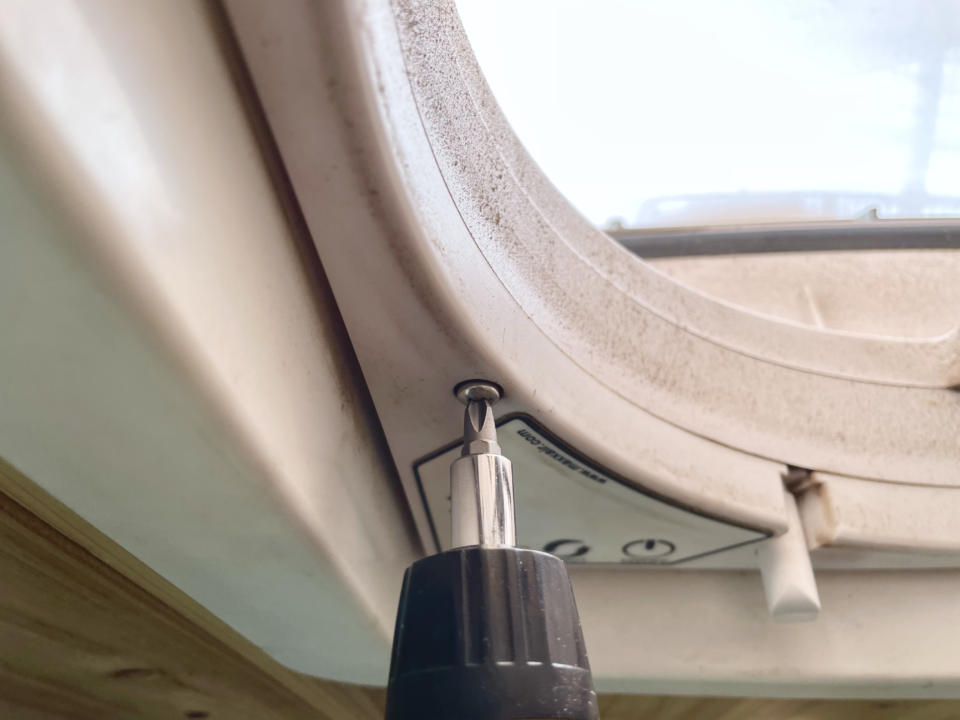
Step 6: Remove The Screw Inside The Crank Knob
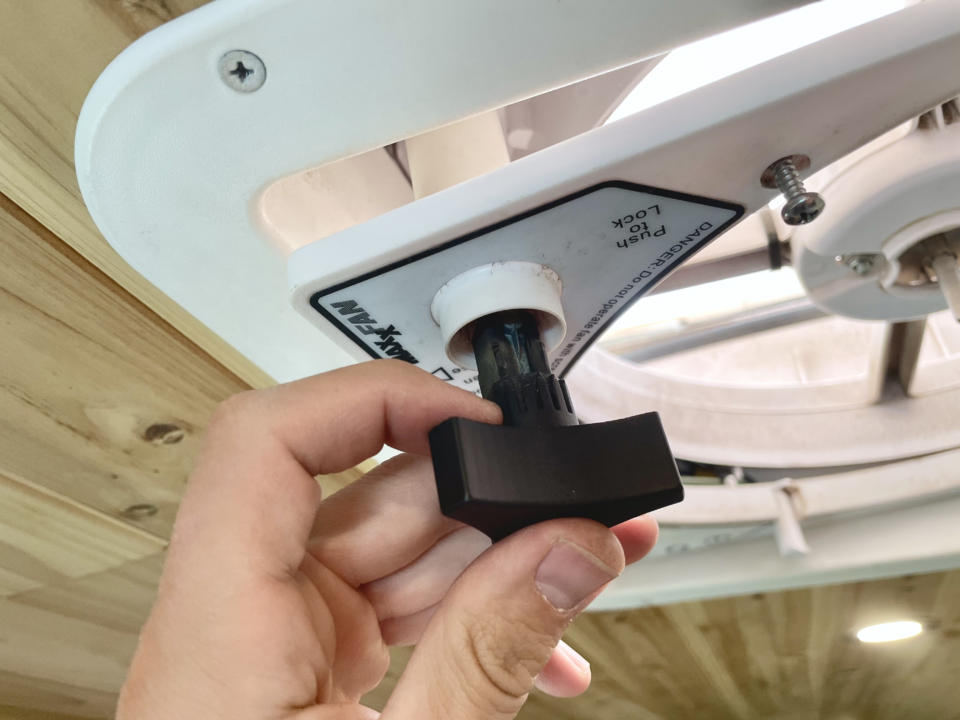

Then loosen the long screw that sits inside the open/close crank knob. Set all the screws aside in a safe place where they won’t get lost.
NOTE: Careful Of The Dangling Faceplate
Once all the screws are free, the faceplate of the fan housing should come free. However, it will still be attached and dangling from the attached wires. It’s not a bad idea to have a second person hold it up so you don’t put strain on the wires. Or use some tape/string/or a strap to hold the piece in place. I just used a velcro strap around one of the crossbars to hold the piece up during the following steps.
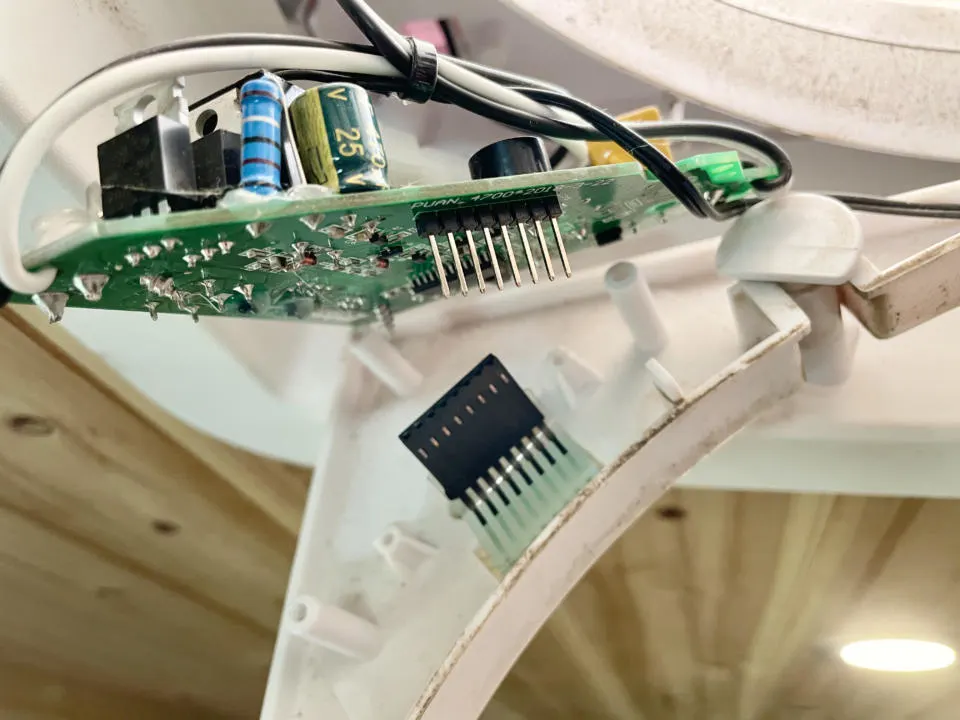
Step 7: Remove Three Screws On Microchip

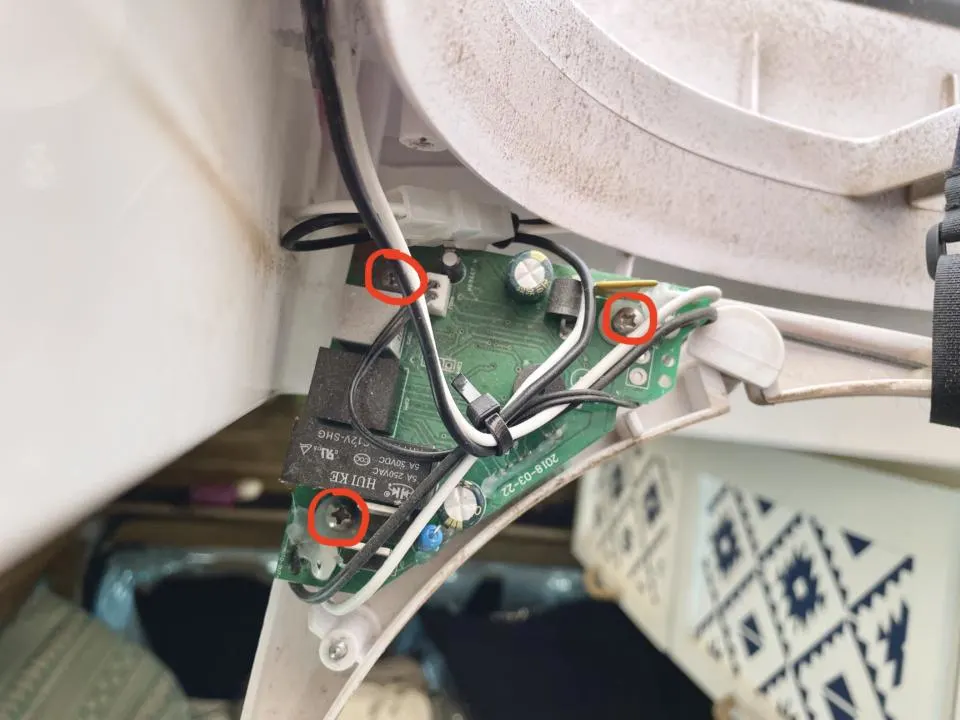
Remove the three screws on the microchip. There is one in each corner of the triangle-shaped chip.
Once the microchip is free, it will only be attached by the connector for the keypad. The keypad’s connector is quite delicate (as well as some components on the microchip).
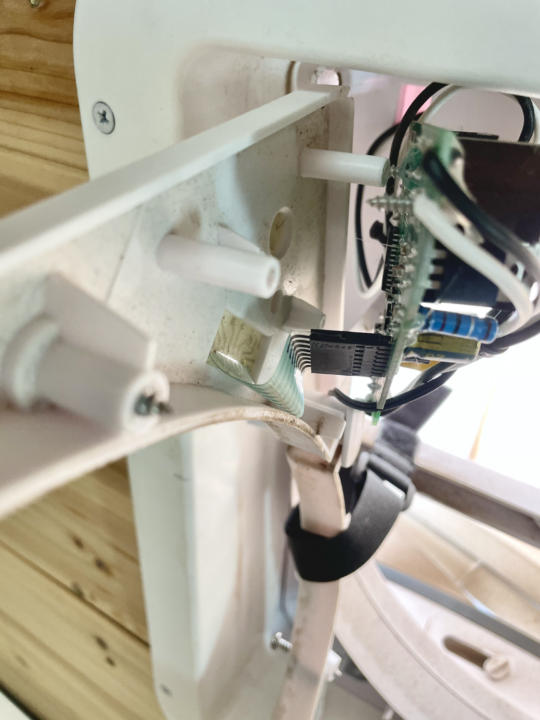

Step 8: CAREFULLY Detach The Keypad Connector
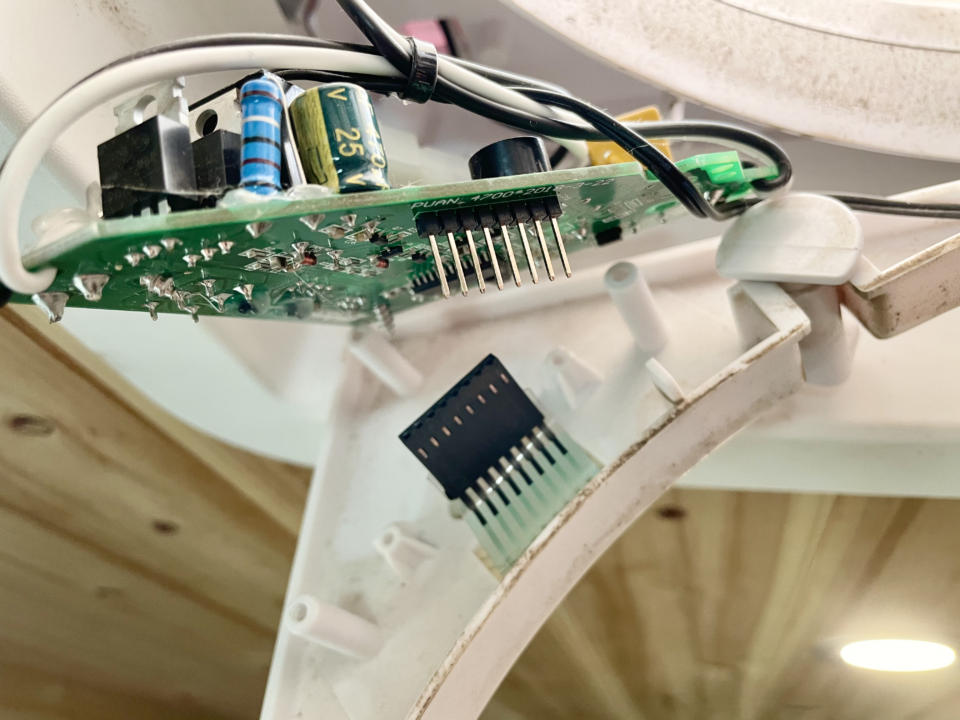
So carefully, detach the old keypad by pulling the black casing away from the microchip perpendicularly. It may require a slight wiggle left and right in order to remove completely. But be very careful not to apply force in the wrong direction because you could easily snap the pins off.
Also, the connector has a little edge of tape protruding from each side that makes a really sharp edge where your thumb and forefinger need to go. You can fold these edges down to make it a more comfortable grip.
Step 9: Remove The Broken Keypad
Next, remove the Maxxfan keypad with the broken buttons. The keypad is just held on by adhesive. Once you pry under a corner it will come free by just peeling off.
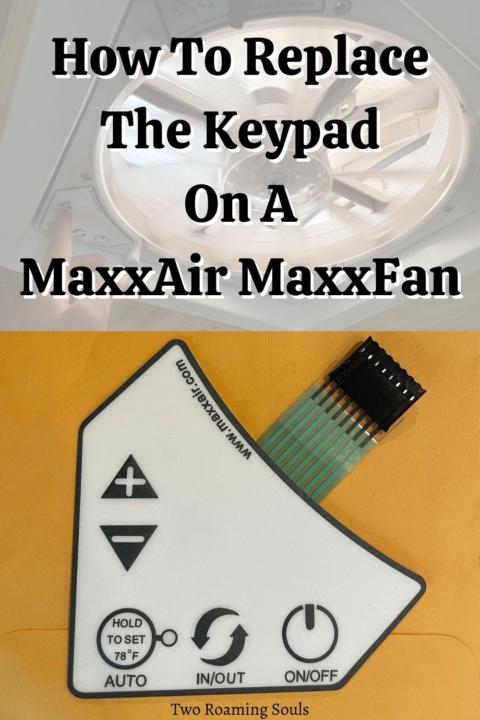
Step 10: Affix New Maxxfan Keypad
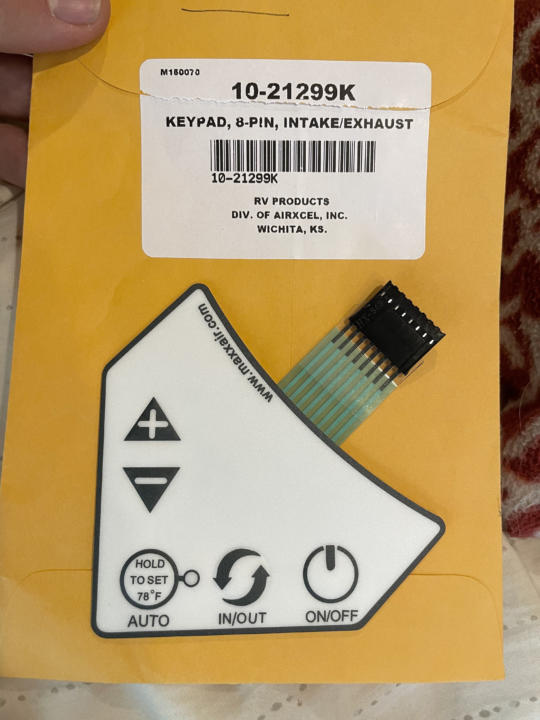

Take the new keypad and remove the backing that protects the adhesive. While carefully handling the keypad on its edges so you don’t ruin the adhesive, insert the keypad connector through the hole. Then adhere the new keypad in place, just as the old one was.
Step 11: Connect The New Keypad To The Microchip
Carefully slide the keypad connector onto the pins. Again, the pins are delicate, so do this with care.
Step 12: Put It All Back Together
Then reverse the steps to put everything back together. The keypad connector needs to be bent into an “S” shape in order to fit. It may be helpful to have a second person hold the microchip in place until you can tighten the screws. Retrace the initial steps to finish putting the Maxxfan back together.
Conclusion | How To Replace The Keypad On A Maxxfan
Now pray that everything works! Replacing a broken keypad on a Maxxair Maxxfan isn’t very difficult. But some of the components are delicate, so it’s important that you handle the microchip and keypad connector with care. We hope you found this tutorial helpful.
Or if you decide you want to move on from your current MaxxAir Maxxfan, these are the best vent fans on the market.
Help Share ‘How To Replace The Keypad On A Maxxfan’ On Pinterest!


MaxxAir MaxxFan 5100K: Product Review - tworoamingsouls
Tuesday 22nd of March 2022
[…] {Read: How To Replace Keypad On Maxxfan} […]