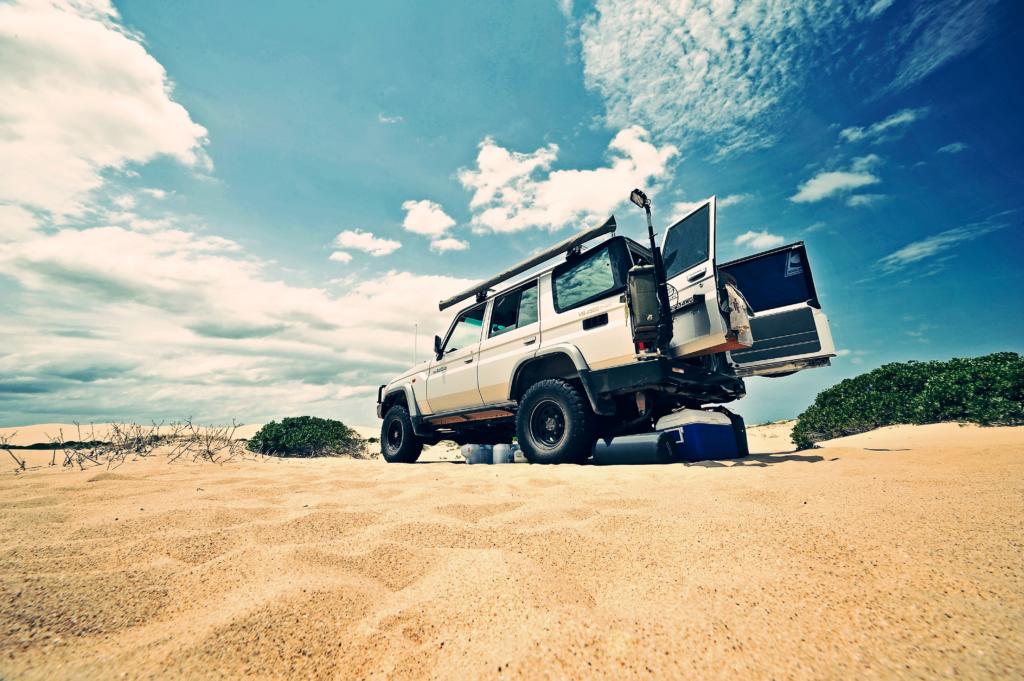
Start chillin’ like a pro by adding dry ice in your cooler. It will keep things frosty cold for days instead of hours. When you’re camping, road tripping, or at the park or beach, it can be a real challenge to keep the food and drinks in your cooler cold.
Most people just use cubed ice because it’s cheap and readily available. The problem is that cubed ice melts really fast and then you are left with a ton of water in your cooler. Or you can buy block ice, which lasts much longer, but takes up much more space than cubed ice. Between the cost of buying ice, and the cycle of dealing with pools of water in your cooler, it’s easy to get frustrated.


Luckily, incorporating dry ice in your cooler will keep your goodies colder, longer.
Dry ice is frozen carbon dioxide that can be purchased in blocks. At -109 degrees Fahrenheit, it’s exponentially colder than H2O ice at around 32 degrees Fahrenheit. And instead of melting, it sublimates directly from a solid to a gas (carbon dioxide). This way, it doesn’t leave anything behind once it finally “melts”.
This post may contain affiliate links. Disclosure policy.
Where To Buy Dry Ice
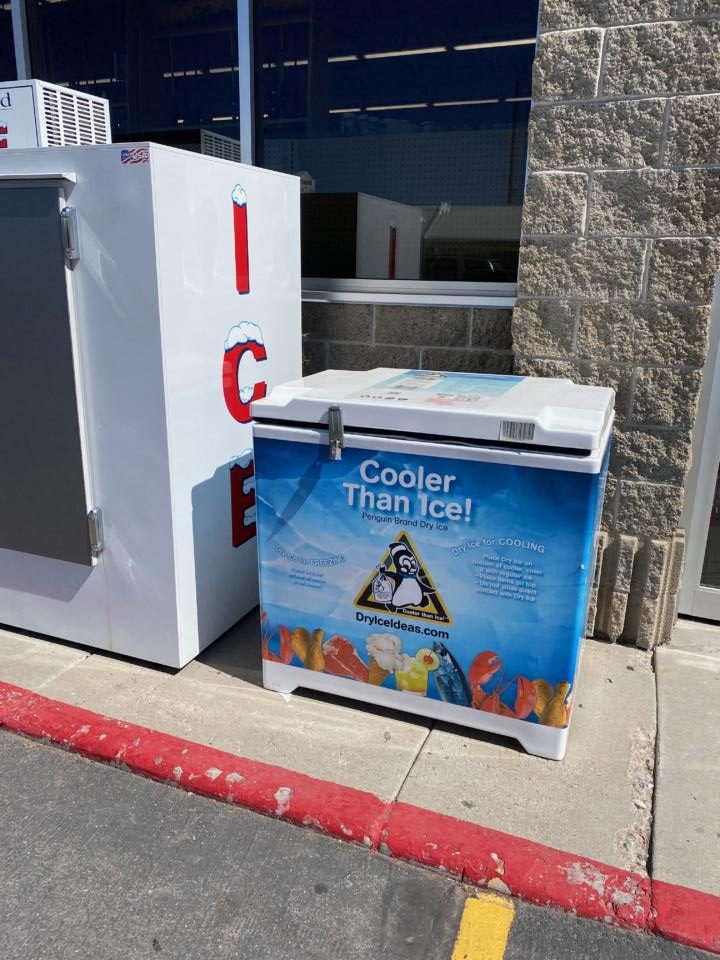
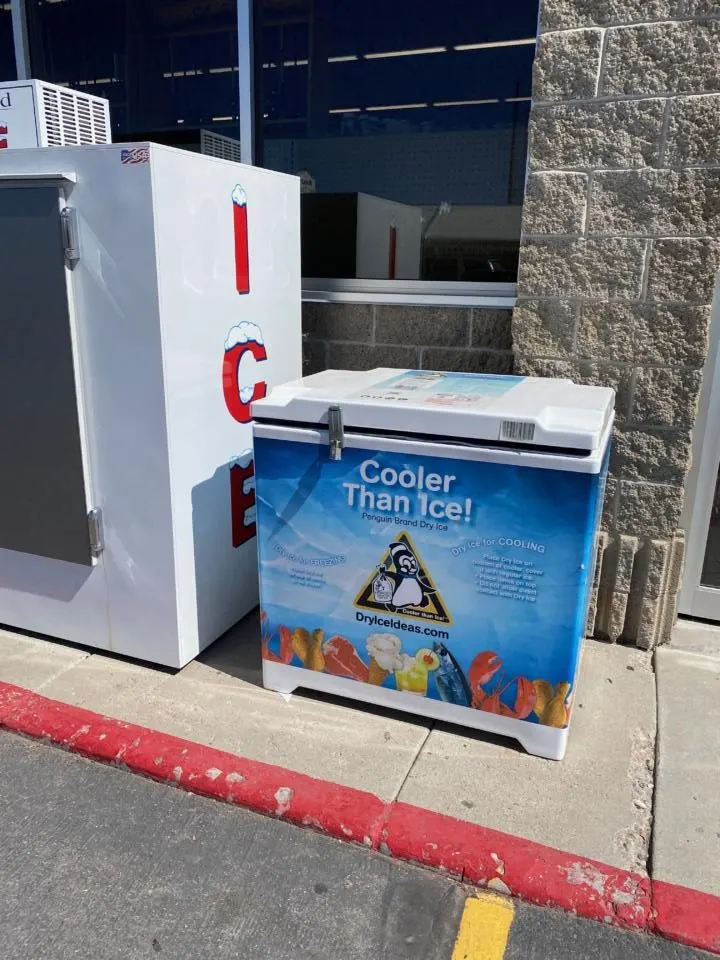
Dry ice can be a little hard to find depending on what stores are available to you. But the best place to start is with local grocery stores and Walmart. Here is a more complete list of places that you can find it. Keep in mind that most places require buyers to be over 18 with a valid ID.
Once you purchase your dry ice, the clock is already ticking so get it packed into your cooler as soon as possible. It is often sold as a block inside a paper wrapping or bag. Keep this wrapping on! It is the first step to insulating the dry ice.
It is advisable to handle it with thick gloves or wrapped in a towel. If it doesn’t come with a paper lining, you should ask for a paper grocery bag. I usually wrap it in a couple layers for good measure. You can use newspaper, but because of the thickness and the ink it becomes more of a mess once it eventually gets soggy.
Packing your Cooler With Dry Ice
Using dry ice can be a little tricky because it’s so cold that it can actually freeze things you didn’t want to be frozen. So the best thing to put next to it is anything you want to be frozen! Most of the time, that just means insulating the dry ice with regular cubed ice. However, if you have any frozen food items (like meats, popsicles, etc), it’s okay to put them right next to the dry ice.
Some people advocate for putting the dry ice at the top of your cooler because cold air sinks. But I just don’t find this method practical, because then the dry ice blocks you from getting things out of the cooler. And it keeps things plenty cold even when placed at the bottom of the cooler.
I start packing the cooler by laying down a 1-2” layer of cubed ice. Then place your block of dry ice (wrapped in paper) on top of that layer of cubed ice. Then put down another layer of cubed ice so that it covers the dry ice by about 1-2”. This will insulate your cooler and your food from the extreme temperature of the dry ice. And it will help reduce the likelihood that the dry ice freezes your other contents.
The closer something is to the dry ice, the colder it will be. So place your food and drinks into your cooler in order from coldest to warmest. Then, once the cooler is full, empty the rest of your cubed ice on top to fill in any gaps.
WARNINGS:
Dry ice is cold enough to “burn” your skin due to frostbite. You should never handle it with bare hands. Use a dry towel or piece of clothing to protect your hands.
In confined spaces the carbon dioxide emitted from dry ice can become over concentrated. If you breath too much carbon dioxide gas there is risk of injury or death. So if you are transporting it in a vehicle, make sure you have a good amount of air flow, or periodically put the windows down to refresh the air.
It also can build up pressure if put in an air-tight container. However, an average plastic cooler or even premium Yeti cooler isn’t air-tight enough to cause pressure to build inside. But leave your cooler unlatched whenever possible.

Additional Cooler Tips
- Keep your cooler in the shade whenever possible
- Minimize the amount of air in your cooler, because it accelerates the melting of your ice and dry ice.
- Keep the cooler lid closed as much as possible
- Don’t drain water out of your cooler, unless you must
- Keep things you want to stay dry in tupperware
- Pre-cool your cooler with a sacrificial bag of ice
- Pre-freeze bottled water or sports drinks as functional ice packs
Takeaway:
Adding dry ice to your cooler can make all the difference when going without a fridge for several days. Using dry ice unleashes several key benefits over using strictly cubed ice. First is the ability to keep frozen items from thawing for at least 1-2 days. Second, your cooler will stay completely dry at least until the dry ice is gone. And third, your cubed ice will remain cubed for a couple of days, allowing you much more time to use it for drinks.
So next time you are packing the cooler, pick up some dry ice to greatly improve the performance of your cooler. You will be able to enjoy colder drinks and keep foods cold for days instead of hours!
Help Us Share ‘How To Use Dry Ice In Your Cooler’ On Pinterest:
Epic Canoe Camping Trip In Western Colorado - tworoamingsouls
Tuesday 2nd of May 2023
[…] Dry-ice: If your canoe trip duration is longer than 2 days, we highly suggest having dry-ice in your cooler to make sure you keep everything cold! –> Check out our post How To Use Dry Ice In Your Cooler […]
Road Trip Essentials: Ultimate Guide - tworoamingsouls
Thursday 11th of February 2021
[…] If you are going on a multi-day trip then consider using dry-ice. It will help your cooler stay colder longer and less wet inside. Check out our post How To Use Dry Ice In Your Cooler. […]