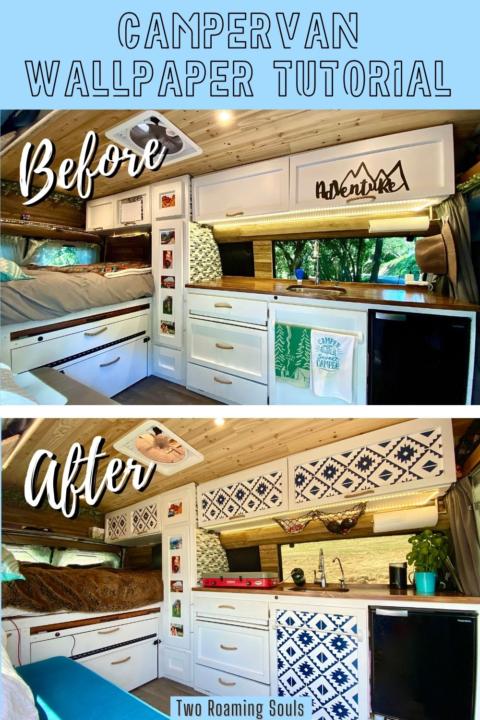
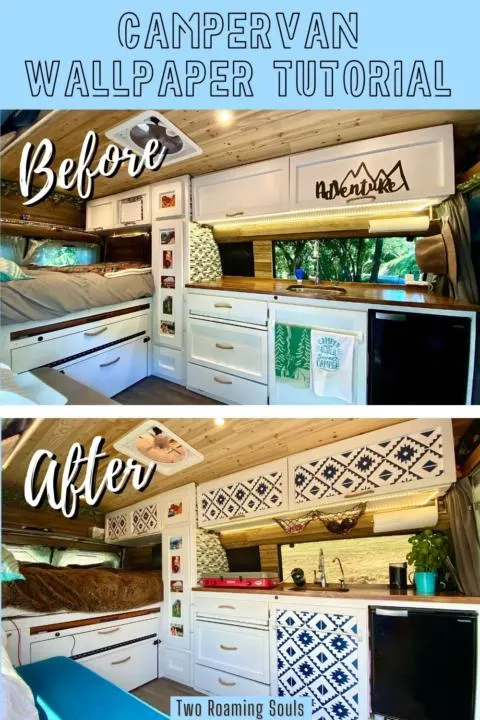
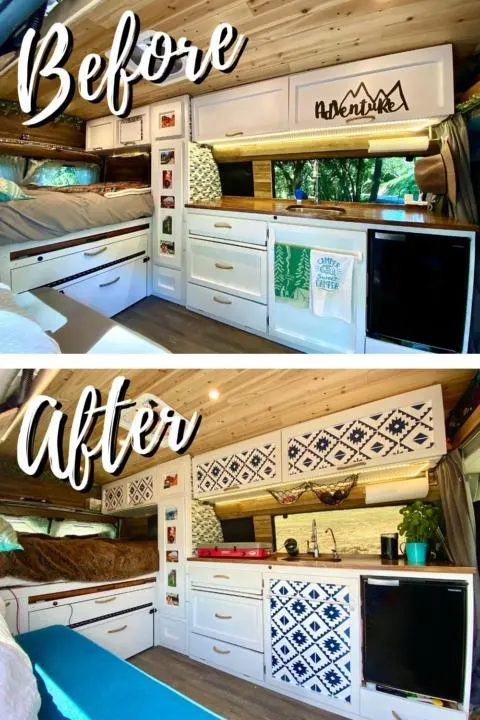
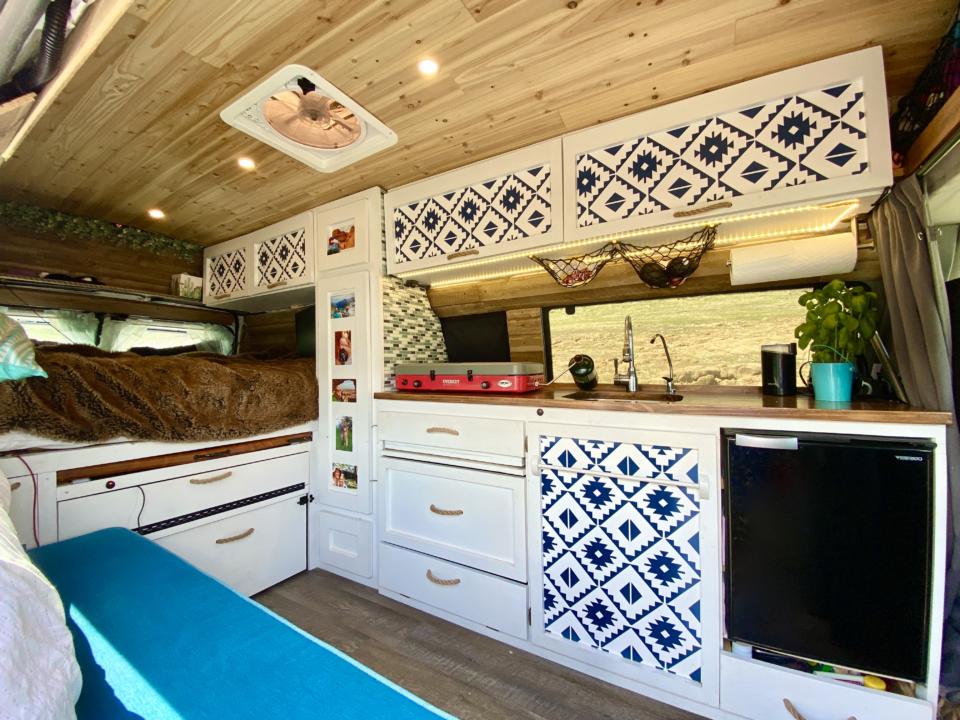
After a year and a half living in our campervan, we got bored with our plain white cabinets. So we bought some fun wallpaper to add a pop of color! We were surprised at how quickly and drastically we were able to spice up the look of our camper van conversion.

This post may contain affiliate links. Disclosure policy.
Where To Buy Wallpaper
We looked at a few different wallpaper options on HomeDepot.com and Amazon. Once we narrowed it down to our absolute favorites, we finally found the winner. We both like the “Spanish” or “Santa-Fe” vibe with geometric patterns.
We landed on this Southwest Tile Wallpaper from Home Depot that’s navy blue and white. The hard contrast between the white and blue is very eye-catching.
We ordered it online and did curbside pickup at the store.
But there are literally thousands of different style of wallpaper you could choose from. Everything from subtle patterns to faux-wood paneling. You are sure to find something that matches your taste.
Wallpaper Installation
What You Need
- Razor blade / box cutter
- Tape Measure
- Cardboard
- Credit Card (for smoothing)
- Yard Stick, Ruler, or Straight Edge
- Extra person (very helpful)
Installation Tips
The wallpaper we bought has an adhesive backing that makes installation very simple. However, the challenge is figuring out how to put the wallpaper on straight. If you have ever tried to put a sticker on anything, you know it’s not always as easy as it seems.
The best advice we have is to use the factory edge to your advantage. Once you start cutting the wallpaper, you will have lots of cuts that could be less than perfect. And if you begin using your own cuts as a starting point, then you can start to compound the imperfections and get far from straight by the end of the project.
So keep track of the factory edge, and try to use that as a starting point for each new piece. This also ensures that the pattern remains the same for each section.
The other piece of advice we have is to try to limit the number of seams. So, for example, our kitchen cabinets are wider than the roll of wallpaper, so we applied the wallpaper the long way. If we tried to apply the wallpaper the short way, then it would require a second row for just a single cabinet face. Trying to line up the seams between rows would be a big headache.
So to simplify the installation, we recommend trying to do each section with just a single piece.
A final tip is to make sure the surface you’re applying to is smooth. If there are little bumps underneath your wallpaper, they will show through. When we built our cabinets, we sanded all the surfaces with increasing sandpaper grits to ensure a smooth surface. We recommend using around 120 grit sandpaper to start, and then getting a really smooth finish with something like 220 grit sandpaper.
Step 1: Prep The Surface
First, clean the surface that you want to adhere the wallpaper. This removes any dust or debris that could ruin the adhesion. Use some kind of cleaning alcohol if you have it, otherwise water works fine (but you just have to wait longer for it to dry).
Step 2: Measure The First Section
Pick a section to start with and measure the height and width. Our wallpaper came with much more square footage than we needed, so that took some of the pressure off-getting it perfect. We knew we could afford to mess up.
Everywhere we applied the wallpaper was rectangular, so we only needed to measure height and width.
Step 3: Prepare The Cutting Area
We laid down a couple cardboard boxes on our table to make a safe cutting area. Then we laid out the wallpaper on the table. Transfer the measurements to the backside of the wallpaper with pencil. You can either try to cut the exact perfect size, or add about 1/8th of an inch to each dimension and then trim the excess at the end. Whatever works best for you.
Then take your ruler and razor blade and cut along the lines. Make sure your cardboard backing is still underneath protecting your surface. It was helpful to have two people here because one person can hold the ruler in place, while the other person cuts.
Step 4: Apply The Wallpaper In Place
Then starting with the factory edge, we would line up the wallpaper along the top edge of the cabinet face, starting from one corner. With the factory edge all the way across the top, then smooth out all the air bubbles while making your way down the middle and working outwards towards the other edges. We used a combination of our fingers and a credit card to smooth out the air bubbles.
If you don’t get it right the first try, it’s not a problem to peel it up and try again.
Then trim the excess wallpaper at the edges with the razor blade (if you have any).
Then repeat the process for each next section.

Final Thoughts
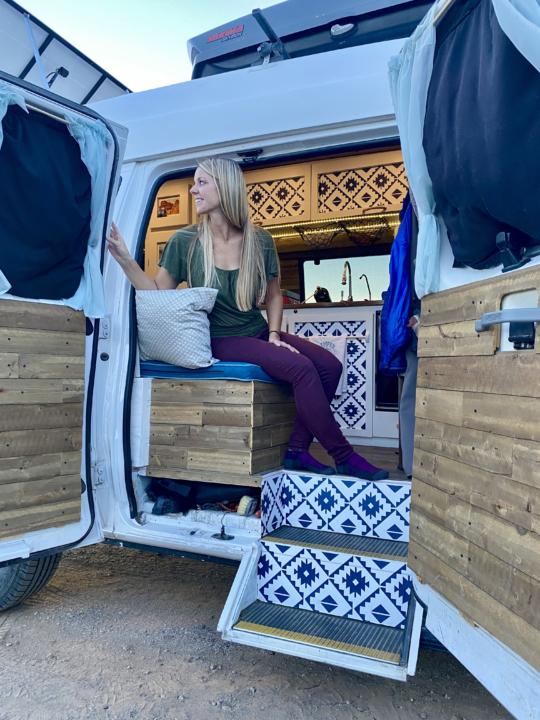
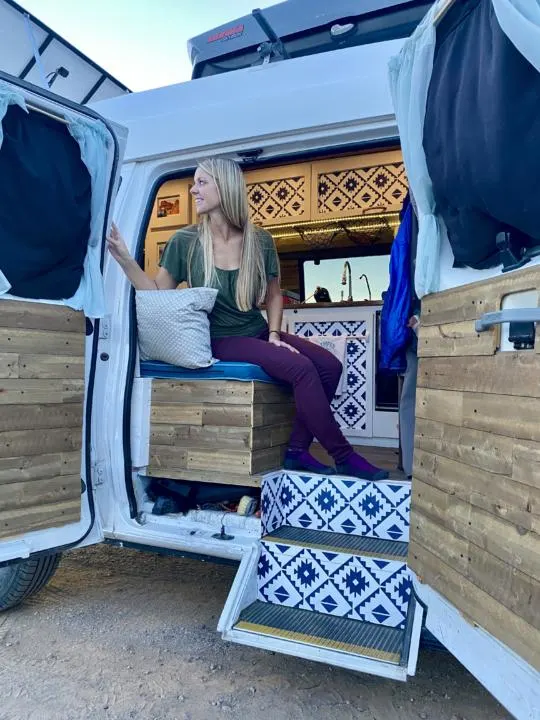
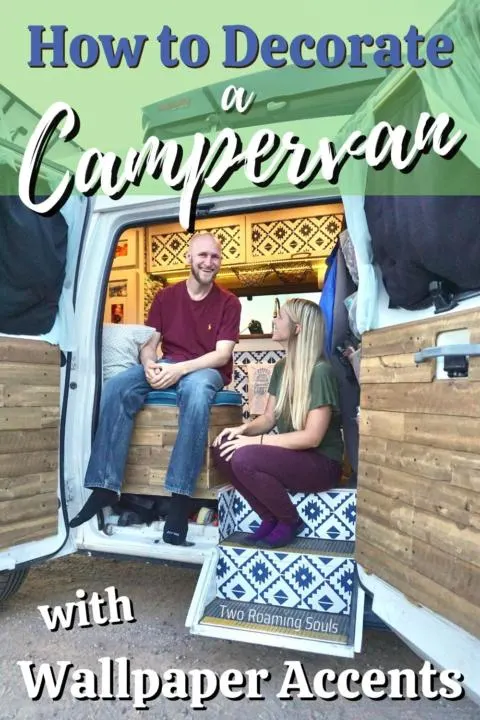
We bought the wallpaper to just do the overhead cabinets, but we had so much left over that we decided to do the cabinet under our sink and our side steps. And after finishing, the side steps are our favorite part. This affordable and simply DIY project really transformed how our campervan looks, and we are stoked!
I hope you find this quick guide helpful.
Share This Post On Pinterest