One of the most important steps of a van conversion is making plans for campervan ventilation. Staying cool and managing moisture requires some tools and attention. It’s a fundamental challenge that all vehicle dwellers can attest to.
We all know how hot a vehicle in the sun can get, but what some people don’t consider is all the moisture that can build up inside a van.

Humans, pets, wet clothing, cooking, and propane heaters are some of the main sources that combine to create loads of moisture inside your van. So it’s critical to make sure that moisture can escape before it creates mold and mildew problems.
This problem is usually tackled using a variety of methods in combination to create proper ventilation.
This post may contain affiliate links. Disclosure policy.
Roof Vent Fans | Campervan Ventilation
The primary solution to these problems is to install a dedicated roof vent fan. And it should be considered nearly the first step in any van conversion. If you plan on insulating your van, or installing a ceiling, then it’s better to have the fan already installed first. That way, you won’t be cutting through extra layers of roof/ceiling.

The two most reputable vent fans are MaxxAir’s Maxxfan and Dometic’s Fan-tastic Fan.
{Read: Best Vent Fans For Campervans}
They boast extremely efficient 12volt power usage, so they can operate for hours on a fairly small power supply. And each company offers a lineup of models with varying features.
NOTE: Power Supply
You will need a secondary leisure or “house” battery to power the fan. And also a way to charge that battery like solar, or a alternator battery isolator. Running a fan off of your van’s starter battery wouldn’t be wise.
Both companies have a reputation for making really reliable fans. Nearly every van or RV you see these days will be equipped with one. So you can confidently purchase from either company knowing that you’re getting a tried and tested product!
Generally, the Maxxfan lineup is more expensive than the Fan-tastic Fan lineup. But the Maxxfan offers their signature built-in rain cover. It allows the fan to operate even while it’s raining, which is often when moisture control is the most important.
The higher-end Fan-tastic Fans have a rain sensor that closes the lid when rain is detected. Or you can purchase a separate rain cover to use with the Fan-tastic Fan.
But in either case, the total price is about the same as just buying a Maxxfan with the built-in rain cover.
So we only recommend the Fan-tastic Fan to people who will encounter little to no rain. Or if you’re on a bare-bones budget.
Otherwise, the Maxxfan is the clear choice.
Best Value
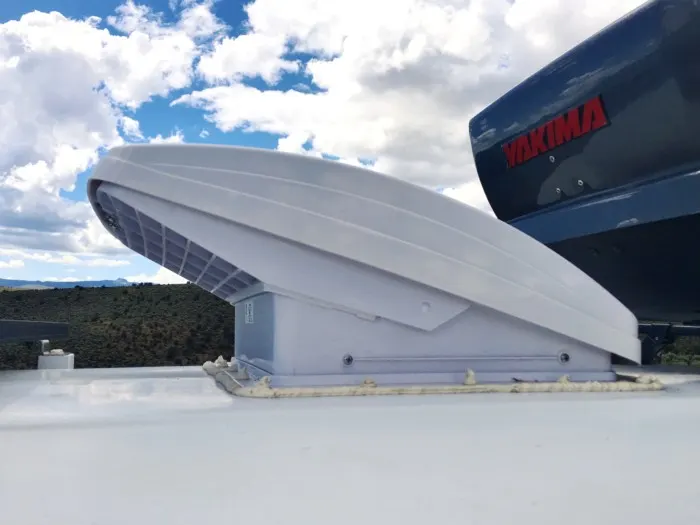
Our pick for best value is the Maxxair MaxxFan 5100K with the white lid.
It provides access to the most important features without breaking the bank. This is the model that we have in our van and use every day. And check out our installation video.
We like that it has a built-in rain cover, and 10 speeds for both intake and exhaust.
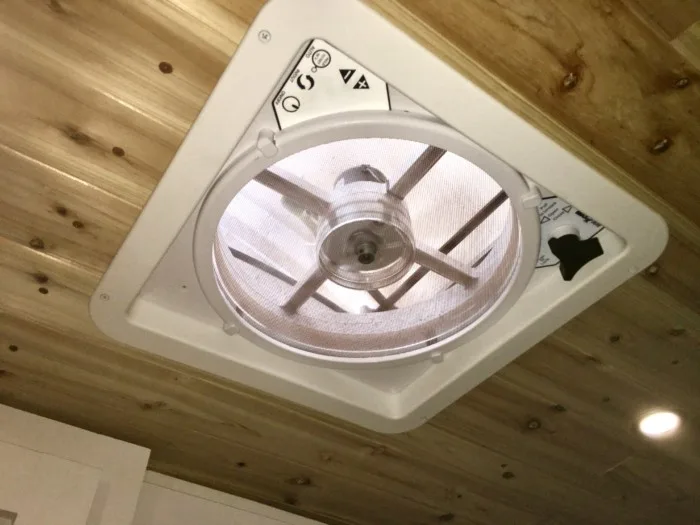
Budget Friendly
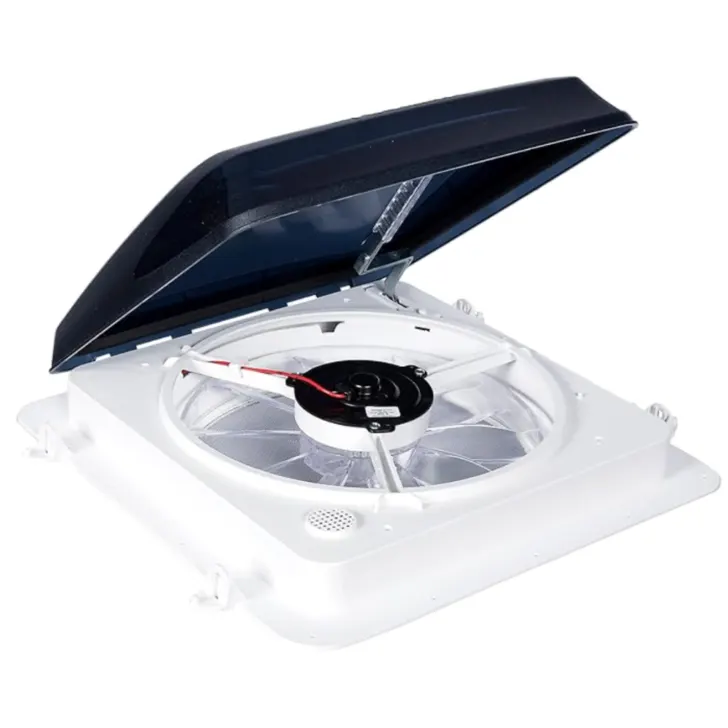
Our pick for those on a tight budget is the Fan-tastic Fan 1200.
There are no frills with this simple model. A reliable build with enough features to get the job done. It has 3 speeds (high, medium, low) to exhaust air out of your van quickly and reliably.
Top of the Line
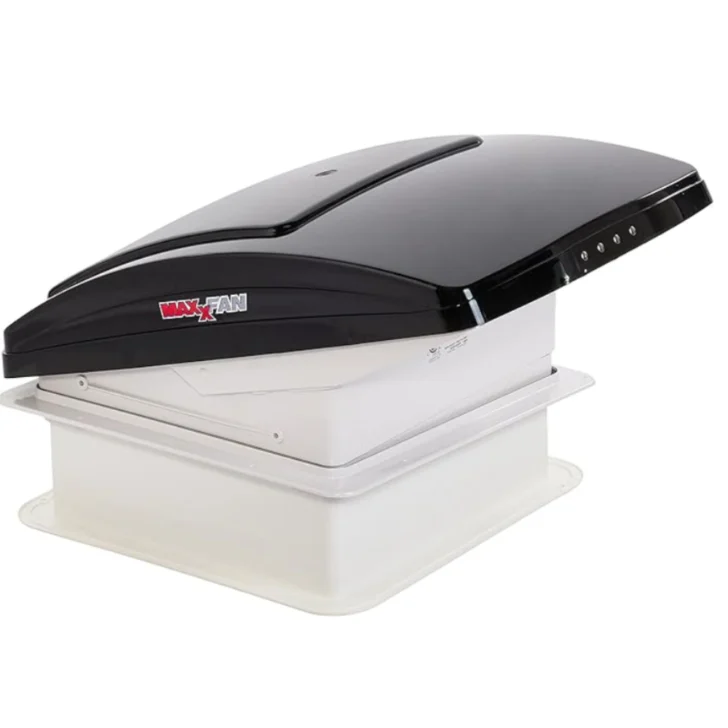
If you want to spend up for the absolute best and most convenient vent fan, then the Maxxfan 7500K it is!
Of course, it has Maxxfan’s signature built-in rain cover, and the 10 speeds of intake or exhaust.
But in addition, the 7500K has the added convenience of a remote control and electric vent opener. No more getting out of your warm bed to control your vent fan. Everything can be operated by the trusty remote control.
This model is a great option for setups that have the vent fan installed towards one end of a van or RV. The remote makes it much more convenient to control a vent fan that isn’t easily reachable.
Get Started
The vent fan is a primary feature of a safe and comfortable van conversion. And it should be one of the first steps towards campervan ventilation.
The fan comes with everything you need to install, except two types of sealant. So just be aware that those need to be purchased separately. We recommend butyl tape and 3M 4200 sealant.
Don’t wait to purchase one if you’re starting your van conversion soon. You don’t want to be waiting around for your fan to arrive instead of getting to work on your van build.
Passive Airflow
A really great low-tech solution to create campervan ventilation is simply opening doors or windows. A breeze coming through your van can create nice passive airflow. Additionally, an open window or door can really increase the airflow created by a vent fan.
Doors
Opening the doors is by far the simplest way to create a nice breeze (as long as there is some wind). And it doesn’t require any products or power supply.

However, it usually requires decent weather to comfortably keep the doors open. And it also isn’t stealthy. So if you’re in a place that doesn’t allow people to live out of their vehicles, you probably don’t want to draw that much attention to yourself. It also leaves your van vulnerable to unwanted guests, like strangers or bugs.
Not much we can do about nefarious people. But for the bugs, it’s good to get some screens.

You can modify a magnetic screen door kit to fit the dimensions of your van doors.
Or make your own screen flaps using a roll of bug screen fabric.
Windows
Or when having the doors open isn’t an option, even a cracked window can create a decent cross breeze. Especially when paired with a vent fan. And having a window open doesn’t necessarily compromise your stealth.
Every van will have the driver and passenger windows in the front that you can open. However, if there’s rain then it can come in and ruin your interior.
The best solution for this is window visors. They allow you to keep your windows cracked while keeping out rain.
Window Visors
Window visors for the most common vans.
Find your van make, model and year below…
Mercedes Sprinter Vans 2007-2018
Or most passenger and conversion vans have windows in the back that can open. The picture below is of our van’s side window cracked open. This type is nice because they naturally keep rain out, even when open.
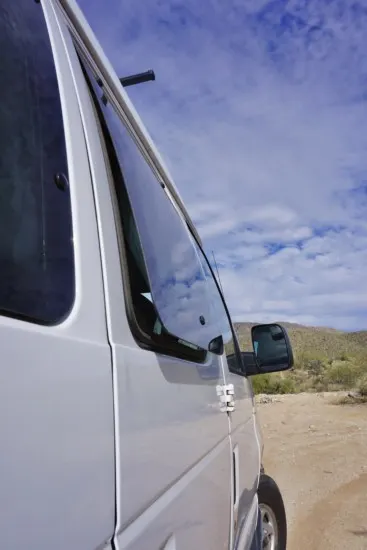
Additionally, there are options to install aftermarket windows in your van. Though, they tend to be pricey and are usually best installed by a professional. CR Laurence is the leading company in aftermarket van windows.
Interior Fans | Campervan Ventilation
In addition to a roof vent fan, it can be really nice to have a secondary fan inside your van to create a cool breeze.
In really hot weather, sometimes the roof vent fan just isn’t enough to keep it cool. So creating more breeze inside the van with a second fan can drastically improve comfort.
This is especially true if your vent fan doesn’t have an intake or ceiling fan mode (like the Fantastic-Fan 1200).
But just be mindful of what type of plug the fan has; USB, cigarette lighter, or 12v hardwired.
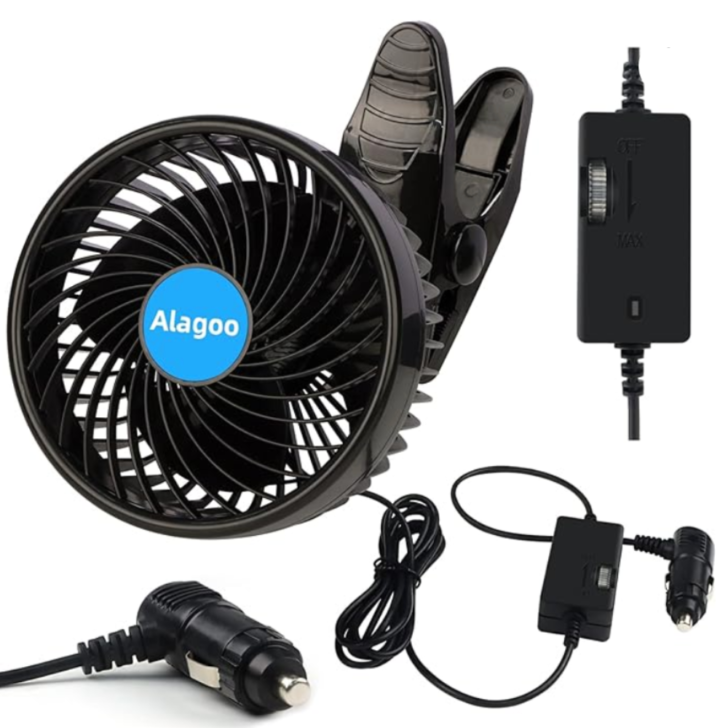
This one can be plugged into your van’s cigarette lighter socket. Just be careful not to drain your starter battery too much. Or you can wire your own cigarette lighter sockets to run off a secondary battery.
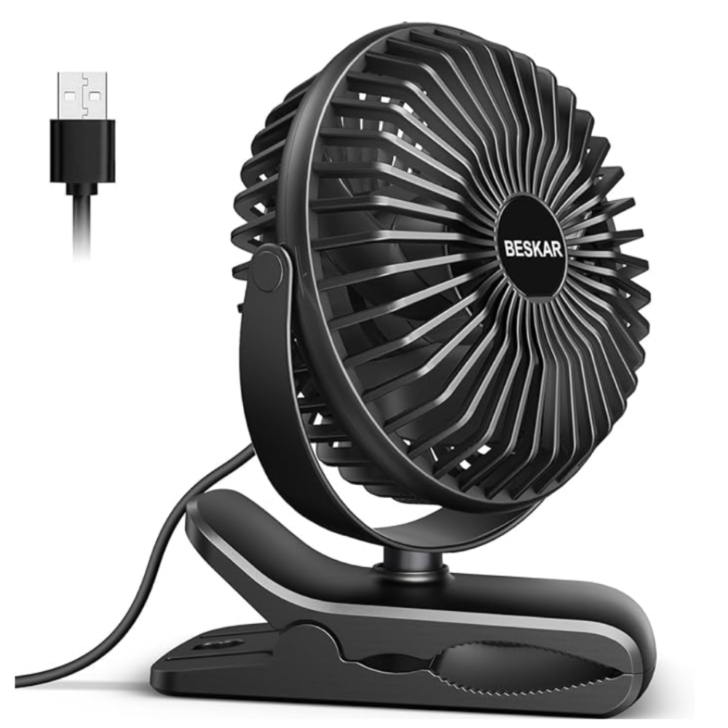
Or you can buy one that runs off USB, like this one that has really stellar reviews.
Air Conditioners
Installing an air conditioner in your van can really provide maximum cooling. For people in really hot and humid climates, it may be necessary to have one.
The challenge with running an air conditioner is the massive power needed. Even the smallest, most-efficient air conditioners are going to draw some serious power. You need a massive solar setup or a decent-sized gas generator to provide enough power for an AC unit.
It’s not very common because for most van conversions because it’s just not that practical or affordable.
But if you must have one, the two best options are getting a roof-mounted AC unit, or installing a standard window unit in the rear windows of your van. The RV community is the best place to find information about installing and powering AC units.
Campervan Ventilation | Keeping Cool
Proper air circulation is what helps make living in a van possible. And a combination of the above solutions will ensure that you avoid moisture problems and stay comfortable.
If you only choose one thing from above, definitely start with a dedicated roof van. You can add more things later as you need them.
More…..
But air circulation is only one part of the equation. Proper insulation and window shades are also important for controlling the temperature inside your van.

How To Buy A Used Campervan For Sale By Owner - tworoamingsouls
Thursday 6th of April 2023
[…] Does the used campervan have a vent fan in the ceiling? Any respectable campervan should have a vent fan because ventilation is so important for controlling moisture. (Read all my thoughts about Campervan Ventilation). […]
How Much Did Our Camper Van Conversion Cost - tworoamingsouls
Monday 5th of December 2022
[…] thing to consider when choosing insulation is moisture control. Moisture WILL be part of […]
10 Vanlife Essential Items - tworoamingsouls
Tuesday 5th of October 2021
[…] sleeping in a vehicle, you need ventilation in your camper van. Sometimes this is a vanlife essential item that is overlooked. For full-time vanlifers, a ceiling […]
Living In A Van Full-Time | What It's Really Like - tworoamingsouls
Wednesday 2nd of June 2021
[…] people choose a propane double burner, but you will need to plan proper campervan ventilation or cook with the doors open to avoid carbon monoxide […]
Best Vent Fans For Camper Vans - tworoamingsouls
Wednesday 26th of May 2021
[…] our entire post about Campervan Ventilation for more tips and […]