
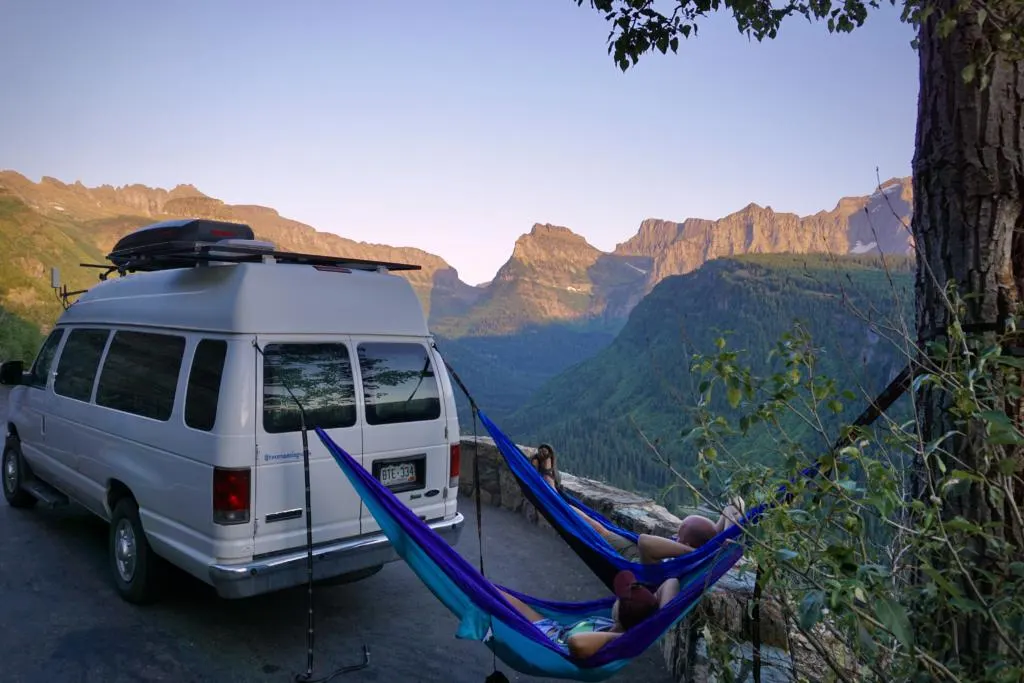
Sometimes you can’t find two good trees to set up your hammock. So adding these DIY campervan hammock hooks on your van allows you to hammock in many more places.
Here’s how to install these simple eye-bolts to create strong hooks for hammocks on your campervan. Now you only need one other anchor point to have an awesome hammock sesh!
This post may contain affiliate links. Disclosure policy.
Supplies
- Stainless Steel Eye Bolts with nut) (5/16th” diameter x 5″ length)
- Washers (5/16th”)
- 3M 4200 Marine Sealant
Tools
- Power Drill
- Drill Bit (5/16th”)
- Spade Drill Bit (1/2″)
- Tape Measure
- Hacksaw or Jigsaw
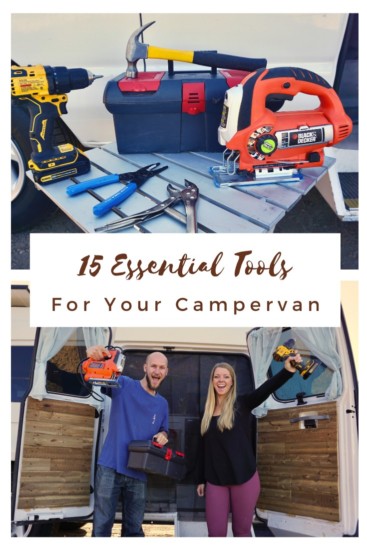
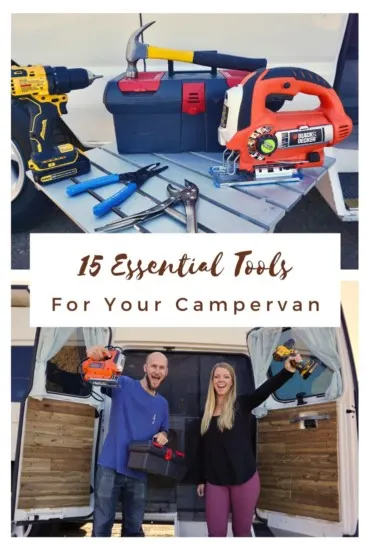
If you still need help putting together a basic tool-kit for life on the road, read our blog post:
Installation: Campervan Hammock Hooks
Step 1: Planning


First, begin by planning the location to put your eye bolt(s). Since there’s two of us, we installed two eye bolts so that we could both hammock from a single tree.
I recommend installing them somewhere high up because it makes it easier to hang your hammock properly.
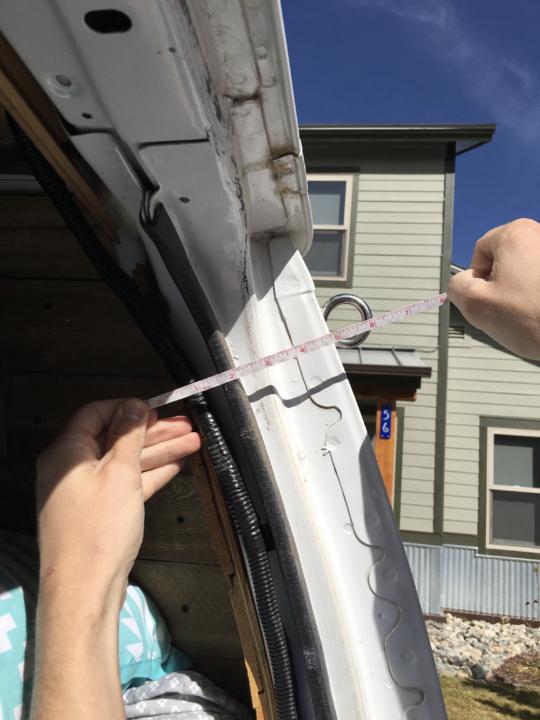
On our 2010 Ford Econoline, we chose the area at the rear of the van in the upper corners of the metal. We started by picking our spot and then measuring how long of eye bolts that we would need.
With your rear doors open, measure the length bolts you will need. I ended up buying ones a little bit long and then just cutting them to the perfect length.
Also make sure that you pay attention to the angle that the bolts pass through the walls. You want the bolt to come through perpendicular to the interior metal frame so that the washer sits flat against the metal.

Pay mind to obstructions that might be in the way of drilling your holes. You want to be careful not to drill through any electrical wires, pipes, or other important items.
Since we built our campervan from scratch, I was confident that there wasn’t anything in between the metal frame except for wool insulation. It was easy to just move the wool out of the way to drill. If you have spray foam insulation, you can just drill through it.
The main challenge of this installation is how to hide the washers and nuts under the existing wall. We didn’t want big ugly bolts sticking out of the wooden walls that we worked so hard on. We also thought that having the washers right against the metal frame would be more robust.
So we had to remove our wall panels in order to protect them during drilling. But after, we drilled out holes (but not all the way through) on the backside of our walls to accommodate the nuts.
Depending on your walls, you may choose to do something similar. Or you could just say screw it and drill right through your walls and throw the washers and nut on top of your walls.
Step 2: Drill Holes
Before drilling, make indents where you are going to drill. Use a hammer and awl (or nail) to make a small dent. This dent will prevent the drill bit from wandering before it gets going.
Then drill two holes using a drill bit that is slightly bigger than the diameter of your eye bolts. It’s easiest to drill from the outside of the van.
Step 3: Test The Fit
Test the fit of your campervan hammock hooks. Insert your eye-bolts through the holes and test their fit with washers and nuts. Then make a mark on the end of each bolt where the washer ends. Then remove them, so you can cut them to the perfect length.
Step 4: Cut Off The Ends Of The Bolts
Then using a hacksaw or jigsaw blade that’s meant for metal, cut off the ends of the eye bolt just shorter than the marks you made in the previous step.
Step 5: Drill Out Holes For The Nuts
If you have walls that will get in the way of the nuts, then you need to drill out holes to accommodate the nuts.
If you’re wondering why you can’t just leave your walls up and drill through the metal and your walls all at once, it’s because the nut is thicker than the bolt itself. And it’s difficult to make a hole larger using standard drill bits once it’s already been drilled. So they need to be drilled separately.
To locate the spot to drill out, hold your walls up in their proper place. Then use a marker or pencil and draw on the butt end of the eye bolt. Then slide the eye bolt into the holes you drilled.
Once it makes contact with your walls, rotate it to leave an imprint of ink on the backside of your walls. This will show you exactly the spot that needs to be drilled out to accommodate the nuts.
Find the center of the hole left behind by the ink, and leave a mark there. Then using a spade bit, drill out a hole that is the depth of the nut.
Our walls are a total of ½” thick (¼” plywood plus ¼” panels). This allowed us to “hide” the nuts within the walls without drilling all the way through.
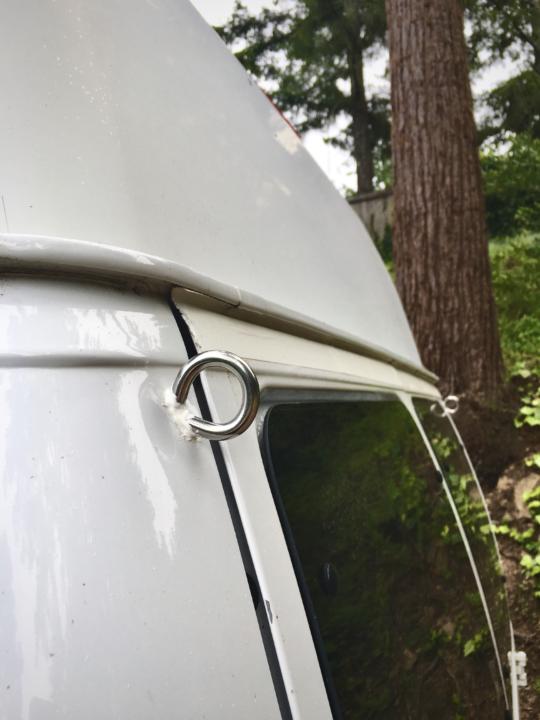
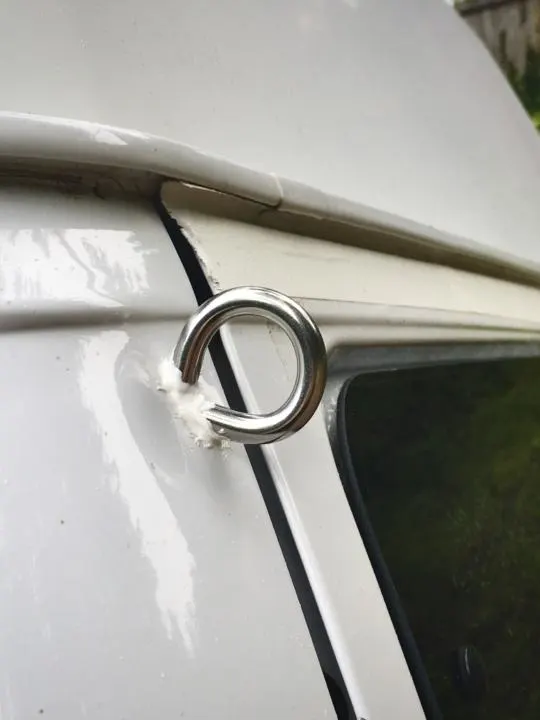
Step 6: Install Eye Bolt (For Real This Time)

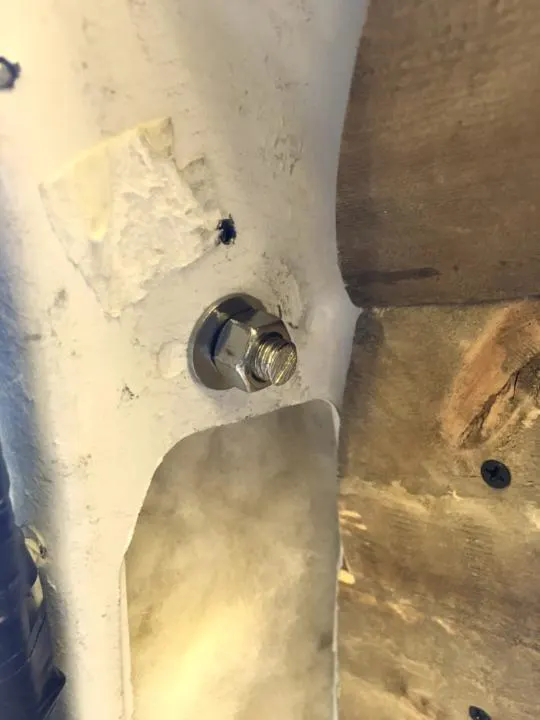
Insert the eye bolts and attach the washer and nuts. Tighten them all the way down using a socket wrench.
To provide torque in the opposite direction you can insert the handle of a wrench (or similar tool) through the “eye” of your eye bolt. This will prevent the bolt from spinning freely while you tighten with the socket wrench.
Step 7: Re-Attach Your Walls
Now re-attach your walls. Hopefully, the holes you drilled line up perfectly with the nuts and they sit inside the holes you drilled.
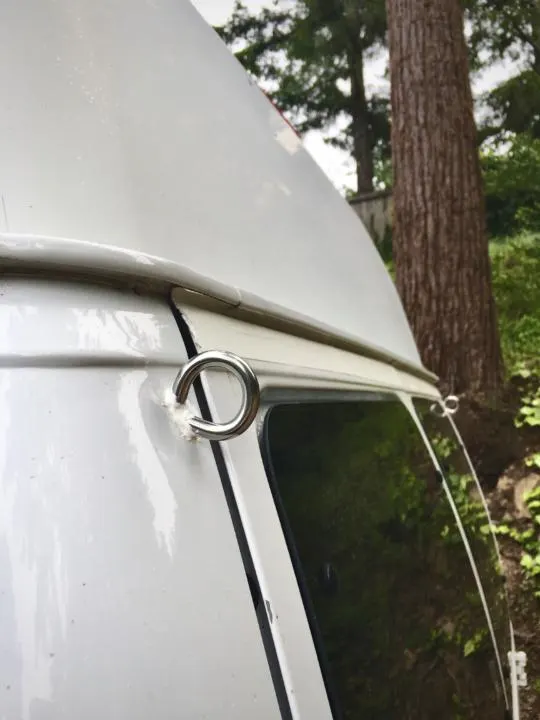
Step 8: Apply Sealant
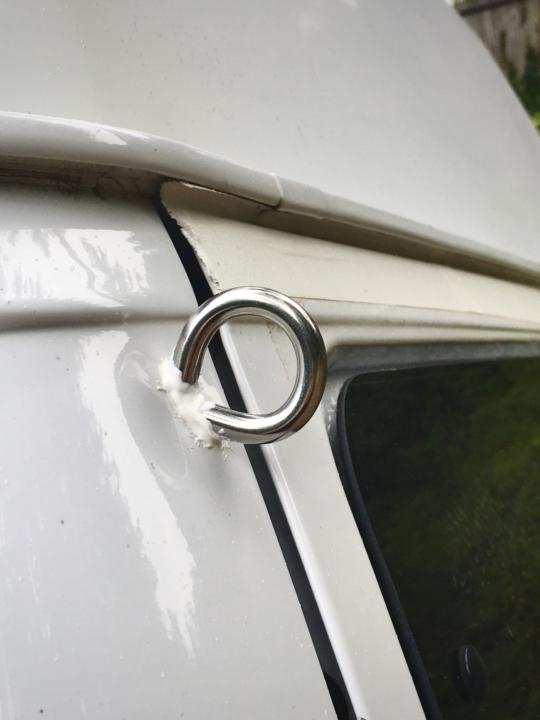
To prevent water from coming through the holes you drilled, apply sealant around each campervan hammock hook. Be sure to completely cover all possible holes. Our favorite sealant for the job is 3M 4200 because it’s a highly trusted marine sealant. If it’s good enough for boats, then it’s good enough for this job.
If you are going to be making other holes in your van, like for a fan installation, mounting solar panels, etc, then go for the larger tube.
The product says to use it within 24 hours of opening, but we found that plugging the top with a nail and refrigerating allowed us to get several uses over a couple months. Just let it come back up to room temp before trying to use it.
Step 9: Relax In Your Hammock

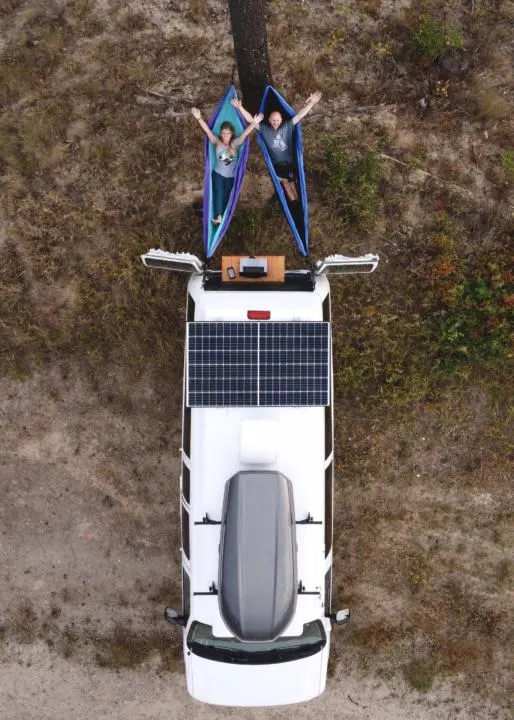
These DIY campervan hammock hooks are strong, discrete, and easy to install. Now all that’s left to do is find a good tree, back up your campervan, and enjoy a relaxing hammock sesh!
Save ‘How To Install Hammock Hooks On Your Campervan’ For Later


Best Portable Hammock Stands For Vanlife & Camping - tworoamingsouls
Thursday 6th of April 2023
[…] How To Install Hammock Hooks On Your Campervan […]
Best 22 Hammock In Van - Edu Learn Tip
Thursday 15th of September 2022
[…] Quote from the source: … […]
25 Of The Best Camper Van Accessories - tworoamingsouls
Tuesday 12th of October 2021
[…] and I love hammocking so much, we added hammock hooks to the back of our campervan. But you can go the easier route and just attach to two trees, or step […]
Awesome Camper Van Bed Ideas For Your Van Build - tworoamingsouls
Monday 4th of October 2021
[…] can get an idea for how to add hammock hooks to your camper van from our guide. (Though, our’s are on the […]
Five Things We Added To Our Campervan After Completion - tworoamingsouls
Monday 31st of May 2021
[…] These strong eye-bolts make the perfect anchor points to hang our hammocks, as long as we can just find one good tree. This post describes how to install these hammock hooks. […]