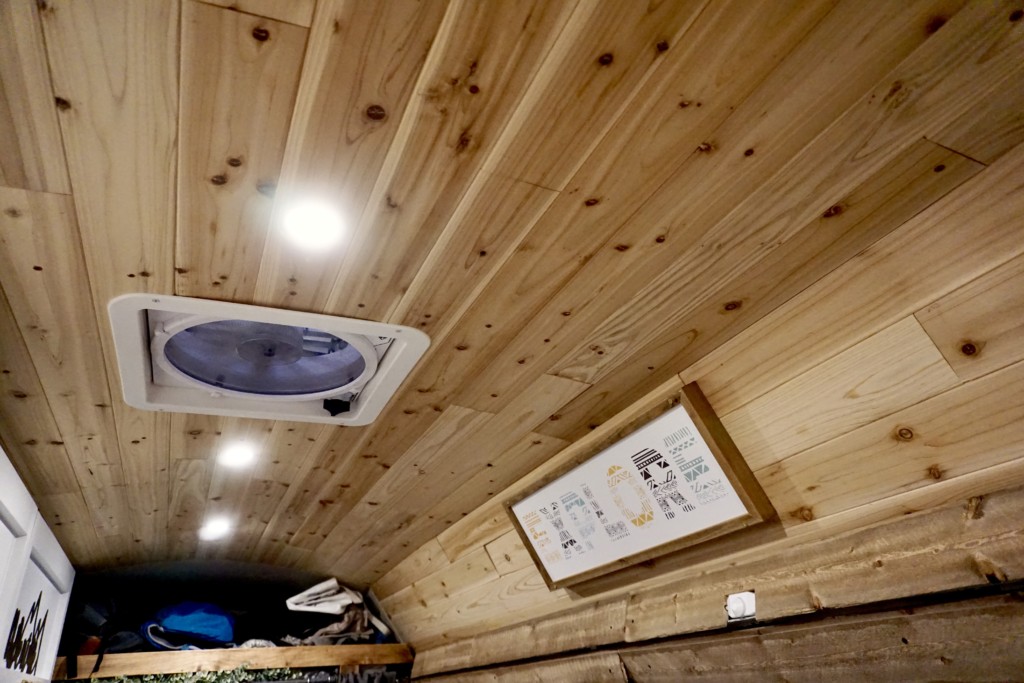

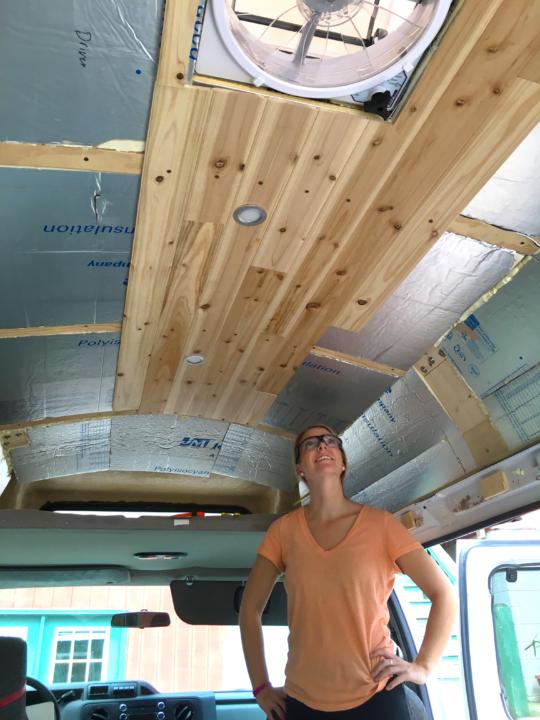
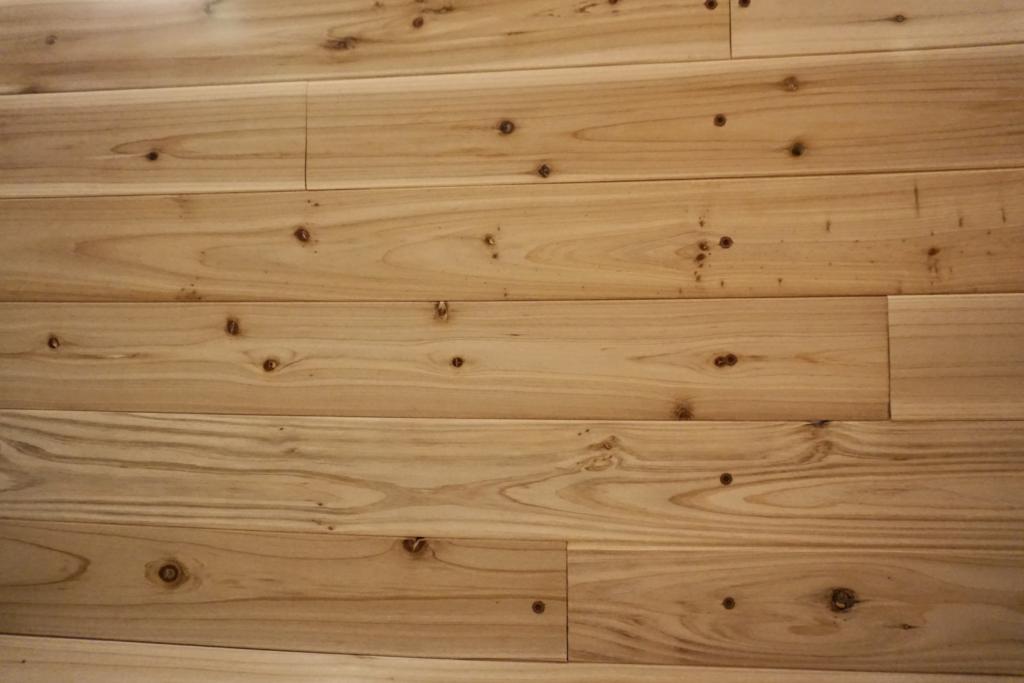
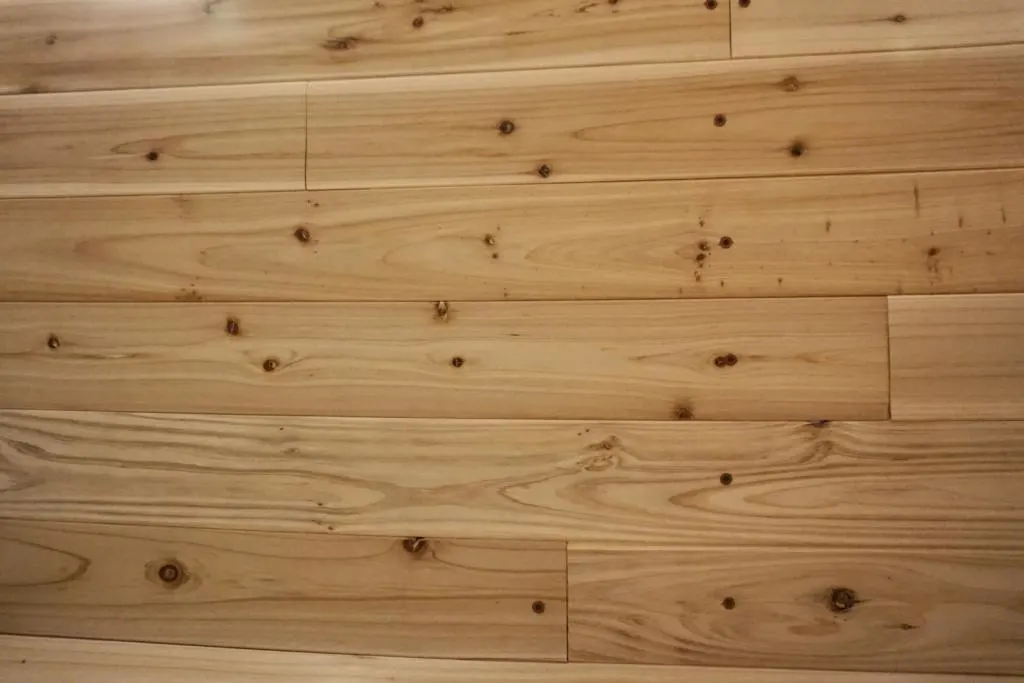
For our van conversion, we installed Tongue and Groove Cedar Planks from The Home Depot for our ceiling. This post details how we completed this installation so that you can install your own cedar ceiling in your campervan.
They’re perfect for a camper van conversion because they’re very lightweight and at only ¼” thick, they save precious headroom. They’re pretty easy to install, and they look and smell fantastic.
Our van has an aftermarket fiberglass hightop, so these installation instructions are geared towards that kind of installation. Fiberglass roofs are challenging because fiberglass itself is very thin and may not have any ribs for attaching ceiling planks. But once you have “ribs” installed the steps are relatively universal and would be similar for most types of van conversion.
Here’s a step by step guide for installing a beautiful cedar ceiling in your campervan.
This post may contain affiliate links. Disclosure policy.
Supplies
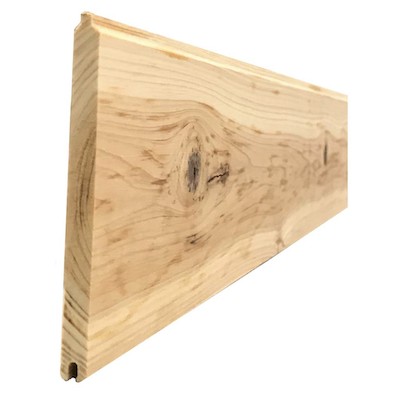

1/4″ Western Cedar Planks — Aromatic Cedar — Tongue and Groove
Each pack is 14 sq. ft. Most vans will probably require 3-4 packages.
Our van needed 4 packages.
But figure out the square footage of your ceiling area and then buy the necessary number of packages.

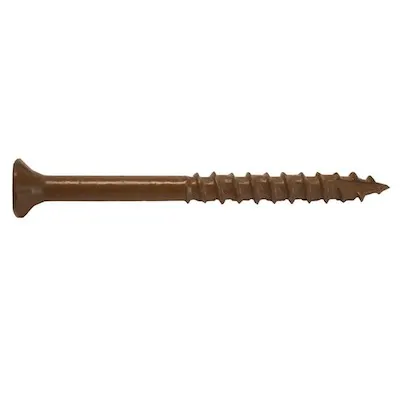
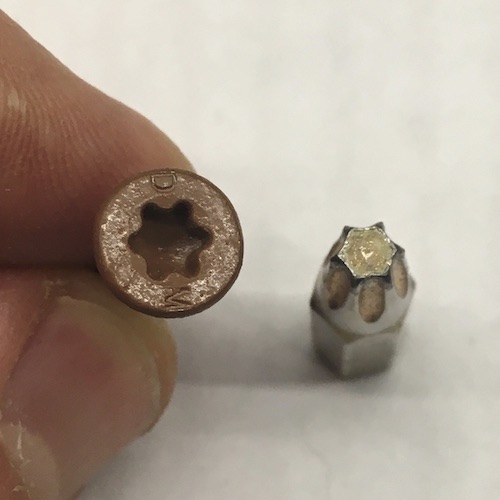
DeckMate #8, Deck Screws — Red
These red screws are perfect for this job because they blend in naturally with the knots in the wood. And they use star bit, which are a pleasure to use and a life-saver when doing lots of work overhead.
The perfect length for us was 1-1/4 inch. But just make sure that between your cross beams, insulation, etc, and the 1/4 inch cedar planks that you have enough depth for the screws.
Tools
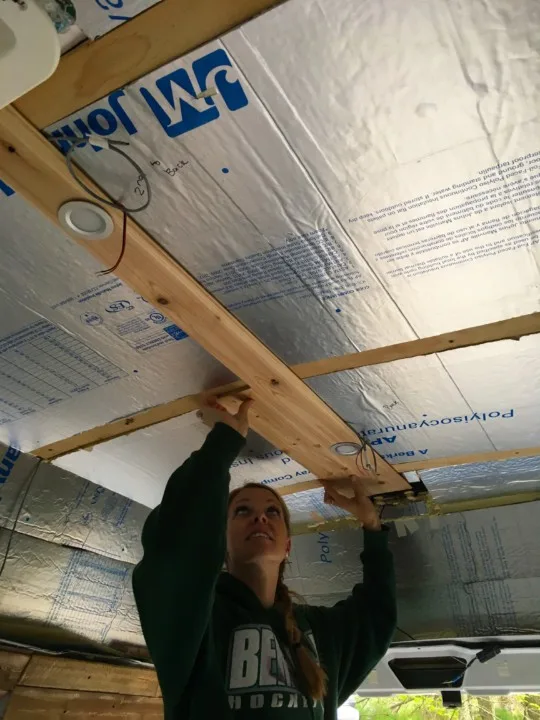
Step 1: Install Ceiling Cross Beams
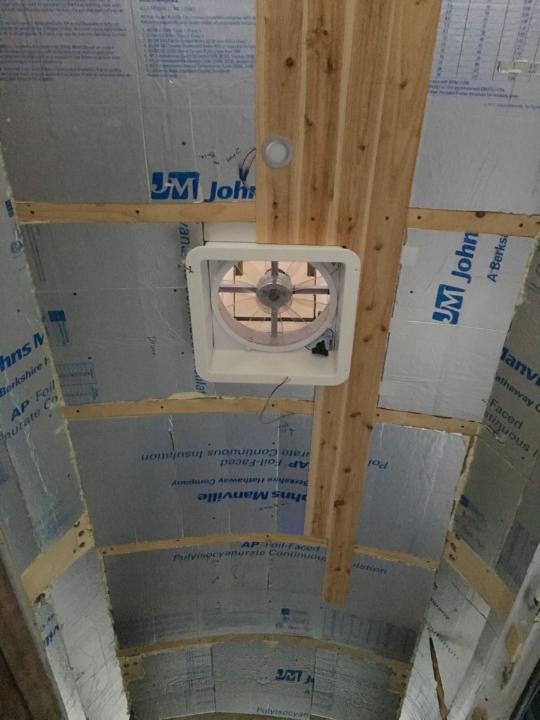
In order to mount each cedar plank, you need cross beams to attach them to. And you also need some way to secure the cross beams in place. Our fiberglass hightop roof has several wooden “ribs” that are built into the structure of the fiberglass, but they run lengthwise. So we used those ribs to anchor our cross beams.

If your van has metal ribs in the roof you could use those as your cross beams. But you may still want to install additional wooden cross beams for two reasons. One is to give you more depth for insulation, and the other is that drilling your pilot holes through the cedar planks and then through metal will be challenging. It’s much easier to have wood on wood.
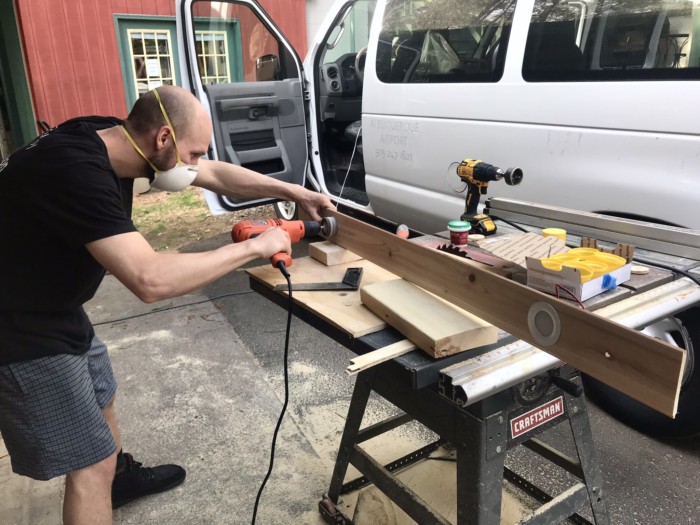
We used some scrap pieces of ½” plywood and cut them into about 2” thick strips. We landed on 7 cross beams total, spaced out evenly over the length of the van. The width of our fiberglass roof gets narrower towards the front and rear of the van, so each cross beam had to be cut to a specific length.


And be sure to measure along the curvature of the roof, rather than just straight across.
Once we had all 7 cross beams cut to the correct lengths, we tried to curve them a little bit so that they would install easier. We did this by getting the cross beams wet and then bent them over a piece of wood, holding the ends down with cinder blocks.
The cross beams were then mounted to the wooden ribs in the fiberglass roof.
Then we mounted short little cross beams that extend down the walls. This is specific to our van build because we decided to have the ceiling planks continue down the walls to cover the entire fiberglass high top. It was really just a personal design choice. You may choose to copy us, or just stick to covering only the ceiling.
So in order to attach the ceiling planks along the walls, we needed to install more cross beams. Similar to before, we use ½” x 2” strips of plywood. We attached the strips by wedging the bottom end in the “corner” of the fiberglass roof, and then attached the top to the end of each ceiling cross beam with an “L” bracket.
Technically, we didn’t mount the vertical cross beams until after the top part of the ceiling was done. But that’s because we were kind of making it up as we went along. You can benefit from better planning.

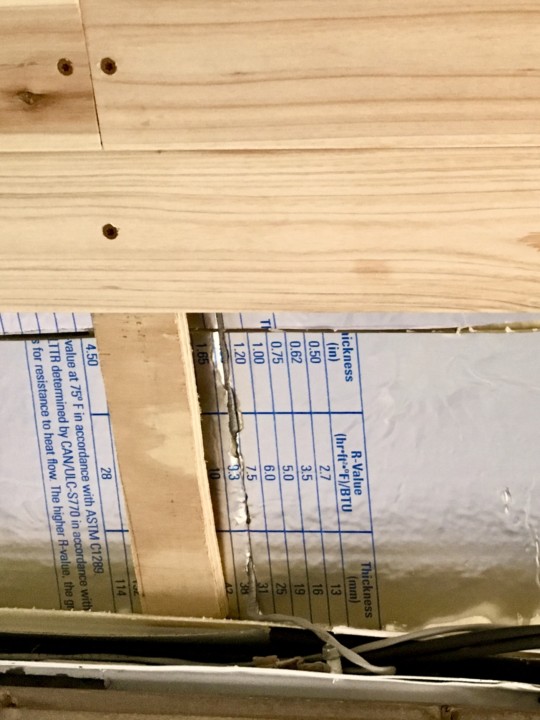
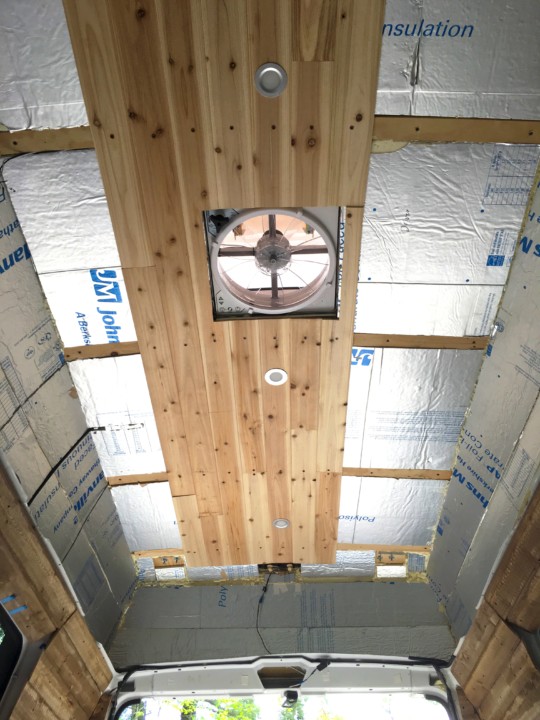
Step 2: Finish Insulation and Wiring
Then we installed the rest of our foam board insulation so that it was flush with the wooden cross beams. We also ran the wiring for our fan and lights before moving on to the next step. (see picture above).
The cracks between the foam boards and the cross beams are a good place to run your wires. We were able to tuck the wires in between the cracks and they held without any tape or adhesive. And for some areas, we cut into the foam board with a razor blade to create cracks to tuck the wires.

Step 3: Methods for Cutting and Installing
Cutting the Planks
Cutting the planks is something you will probably do throughout the process, but I wanted to explain the cutting and installing process right at the beginning.
Each piece of cedar in the package is sold in the same length, however, we decided to cut them to different lengths to achieve a more random look. We thought it would look bad if all the planks began and ended along the same seams.
When deciding what length to make your planks, it may seem a little daunting at first, and really, there is no completely “right” way to do it.
We made sure that each plank would at least pass one of our cross beams, but the majority of them were long enough to span two cross beams. This ensured that each plank was secured by at least one screw, and most of them, by two. This helped us decide on roughly the range of plank sizes we would have. Mind you, we did keep as many planks the full factory length as possible, and just used the shorter ones to help offset the seams.
Once you measure the length of a plank you want to cut, use the speed square to draw a light pencil line across the plank. Then use the jigsaw to cut along the pencil line.
Installing the Planks
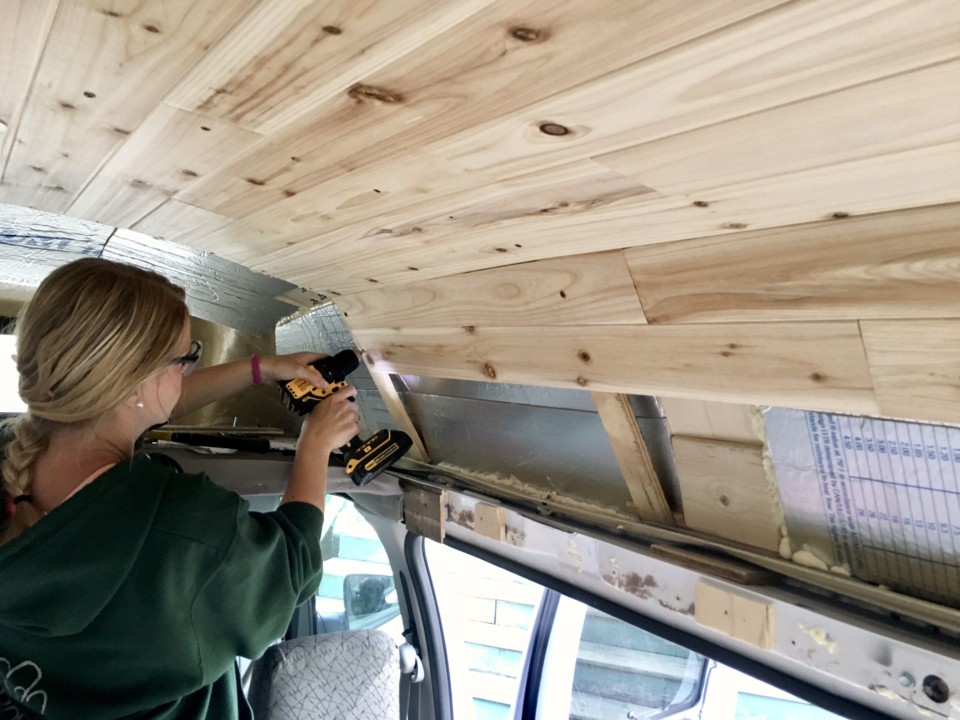
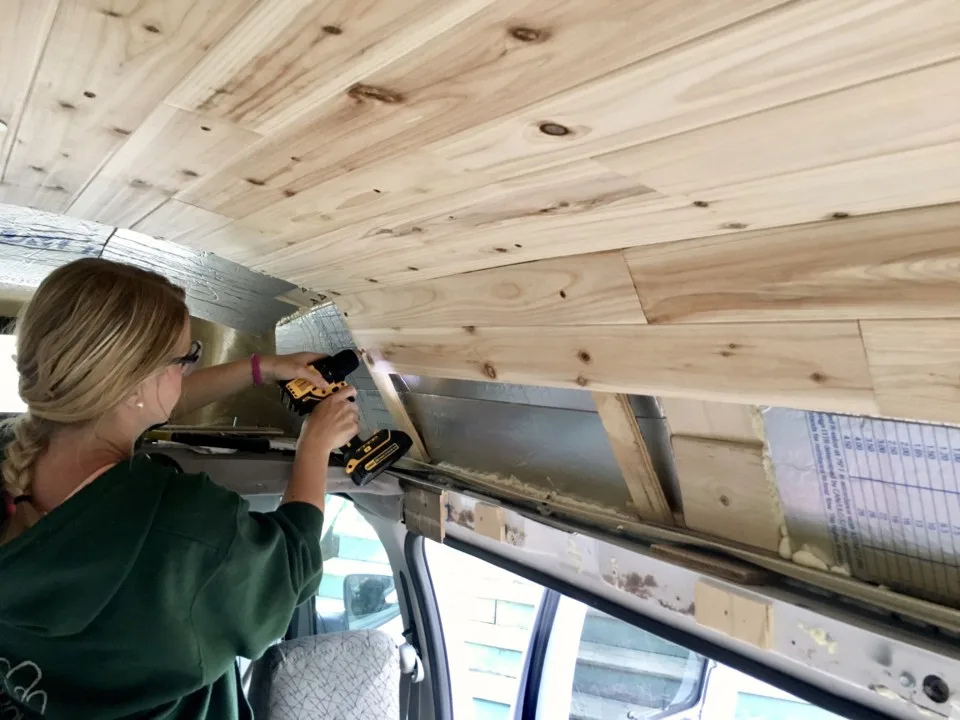
Then, the installation of the ceiling planks almost certainly requires 2 people because it’s tricky to fit the tongue and grooves together. And especially so if the ceiling is slightly curved, like ours. It basically takes two people to guide the pieces together. The tongue and grooves are very delicate, so it’s important to be gentle during installation.
Then one person holds the plank in place while the other screws it in. We absolutely loved these screws for the job because their color very closely mimics the cedar’s natural knots. So the end product has screws that blend into the design really nicely.
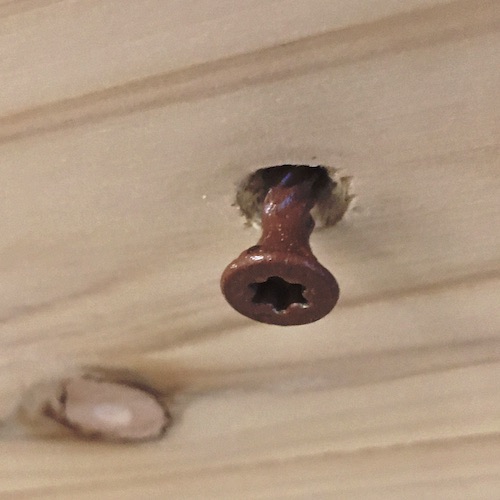
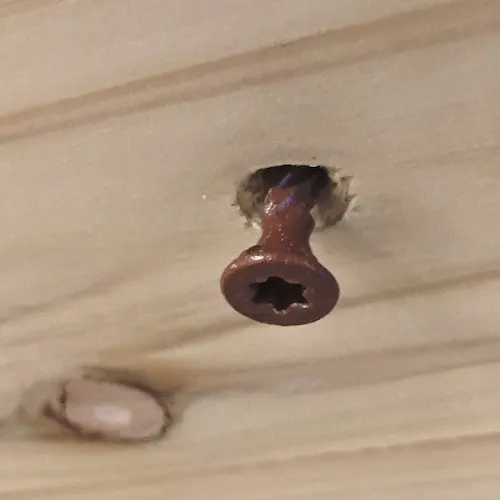
You must drill pilot holes for all the screws because the wood is much too thin and would split otherwise. The proper drill bit for the job is a #8 countersink drill bit, because it not only drills the pilot hole but also bores out space for the head of each screw. This way they will lie flush with the planks without having to force them.
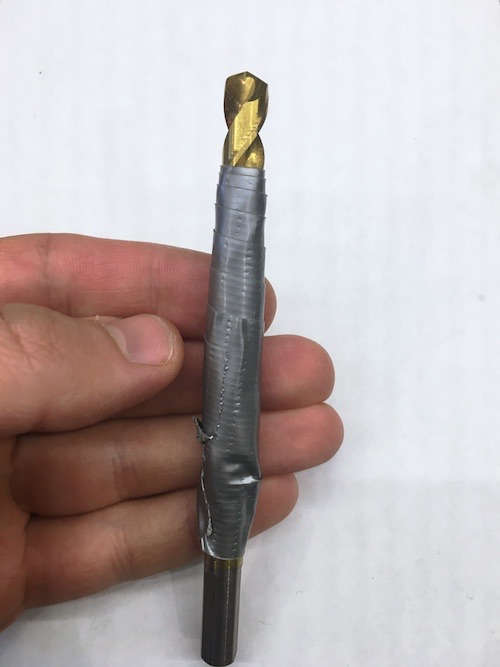

But we didn’t want to buy a specialized drill bit just for this one job, so we used two regular drill bits. Use a 3/32″ drill bit for the pilot holes, and then a 5/16″ for the countersink holes.
The cedar planks are soft enough that you can usually just hold the larger drill bit in your hand and drill them out manually. This will prevent you from having to keep switching between drill bits in your power drill. Wrap a little bit of tape around the drill bit to protect your hand.
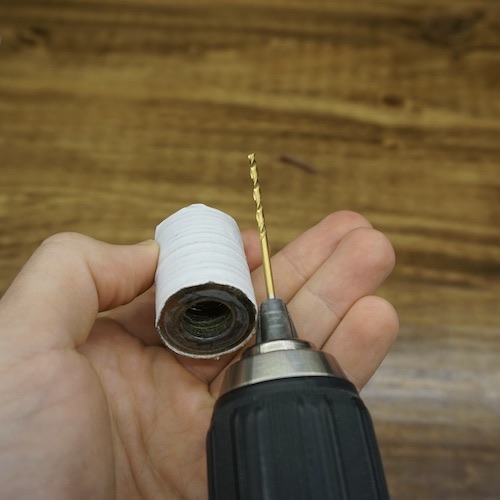

We also used a stack of washers taped together to prevent the pilot hole drill bit from going too deep. You don’t want to accidentally drill a hole through your roof!
You can easily add or subtract washers to reach the perfect depth. Then drive the drill bit through the hole in the stack of washers. It’s a cheap and easy method to ensure that you always drill to the perfect depth for your screws.

Then you actually drive in the screws in with a star bit. If you have a second power drill handy it’s good to use both because then you don’t have to keep switching back and forth between the drill bit and the star bit.
And if your drill has torque settings, it good to set it to a low number so you don’t accidentally drive any of your screws too far.
Step 4: Install Center Ceiling Planks

Begin the ceiling installation with the center planks. It may seem intuitive to start from one side and work your way across to the other. However, we found that since our van roof is slightly curved near the edges that starting in the center provided a much better starting point.
We began in the rear of the van with the first center plank.

By measuring equal lengths to the wall on either side of your center planks, you can ensure that they are perfectly straight and centered. Then as you work through the installation, keep taking measurements like this to ensure that you’re keeping straight.
You will eventually encounter your roof fan if you have one, and you should cut your pieces to account for the roof fan hole. This required cutting some odd-shaped pieces. And then once, we were around the fan, we worked our way back towards the center to finish a complete center line.

Before installing the center ceiling planks, we drilled the necessary holes and installed our recessed lights.
Our lights form just a single row down the center of our ceiling.
If you have a different configuration for your lights, then you may need to plan accordingly for which planks to install your lights in.
But in any case, make sure that you connect the wiring for the lights before covering them up with subsequent planks. We used butt splices for this.
For complete lighting instructions, please read:
How to Install 12 Volt Recessed Lights
Step 5: Install Planks Outwards


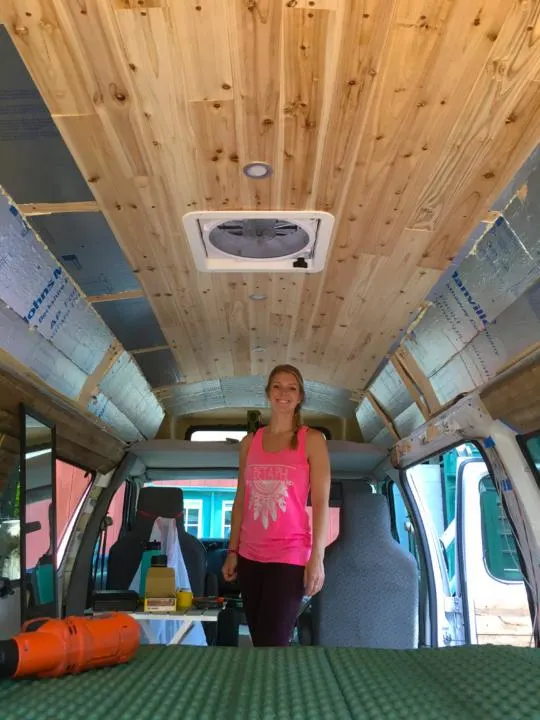
Once we had a complete center row of cedar planks, we worked outwards to finish the rest of the ceiling. Once we finished with that, we began installing planks down the “sides” or “walls” of our ceiling.
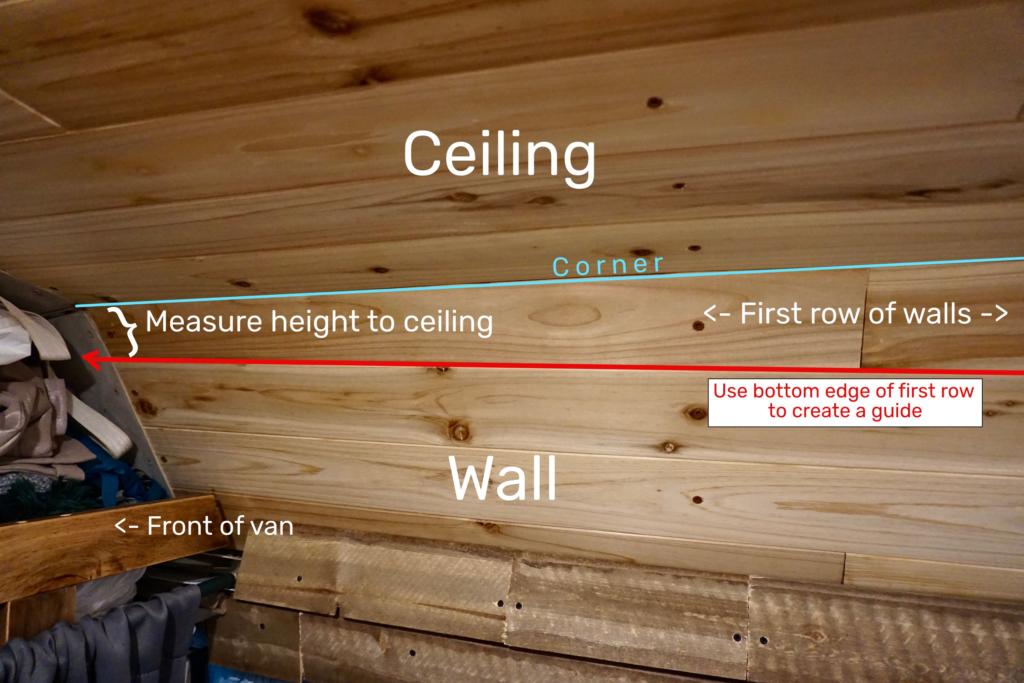
The tricky part for the sides of the ceiling was to account for the curvature of the roof towards the front of the van. We started by installing the top row from the back first. Then we use the bottom edge of that first row as a guide. Then we measured from that line up to the ceiling to figure out how much to cut off the piece for that spot. A similar technique can be used for any piece that needs to account for slight curvature.

Tips and Observations
- We noticed that any hollow spots behind the ceiling are very delicate. A couple of times we have bumped the wood and it splintered easily because there is nothing supporting it from behind. So our advice is to make your insulation lay as flush as possible with your cross beams. Foam board insulation works perfectly for this when it’s lined up flush with your cross beams.
- To choose which pieces to use where, figure out which areas will not be visible once you van build is complete. Then save some of the worst looking pieces for those areas. There’s even one spot behind our cabinet that we just substituted plywood, because we didn’t have quite enough, and that saved us from having to buy another package.
- The cedar smell is very strong at first, but it subsides to a comfortable level after a couple of weeks. The nice smell is one of the main complements that we get when people enter the van.
- If you don’t push the tongue all the way into a groove, you can account for slight variations or curves. Just a fraction of a degree curve over several planks can help achieve a slight curve.
- If you’re having trouble getting the tongues into the grooves, try using a hammer and wooden block to gently tap the planks together. The wooded block protects the planks from getting hammer dents.
Takeaway


These tongue and groove cedar planks are the perfect product for a campervan ceiling. But they can be a little challenging to install in a fiberglass roof. The lack of natural metal “ribs” can challenge you to come up with a slightly different installation than most boxy metal sprinter van roofs.
The cedar planks are super thin and lightweight. They don’t require any paint or sealant because cedar is naturally mold, mildew, and insect resistant. The smell is fantastic and keeps our home smelling like a delicious forest. We love falling asleep every night looking up at the natural wood grain and knots.
Save ‘How To Install Cedar Ceiling In A Campervan’ For Later


Van Conversion Build Order | Step By Step Guide - tworoamingsouls
Friday 5th of May 2023
[…] This guide explains how we installed tongue & groove cedar planking on our fiberglass hightop ceiling. […]
How Much Did Our DIY Camper Van Conversion Cost - tworoamingsouls
Monday 10th of April 2023
[…] How To Install A Beautiful Cedar Ceiling In A Van […]
10 Woodworking Tips For Van Conversions - tworoamingsouls
Tuesday 4th of April 2023
[…] Previous PostHow To Install Cedar Ceiling In A Campervan | Fiberglass Roof Next PostBest Latches for Campervans Cabinets and Drawers […]
Vanlife: Campervan Lighting - tworoamingsouls
Tuesday 4th of April 2023
[…] Guide to installing beautiful cedar ceiling planks. […]
How To Install 12-Volt Recessed Lights In A Camper Van - tworoamingsouls
Saturday 20th of February 2021
[…] These lights are typically installed alongside the conversion/build process. This is due to the fact that wires need to be installed “under” the ceiling and holes drilled for the lights. Though, if you’re willing to remove parts of a ceiling installation, it is possible to install them after a build. (Ceiling installation guide here) […]