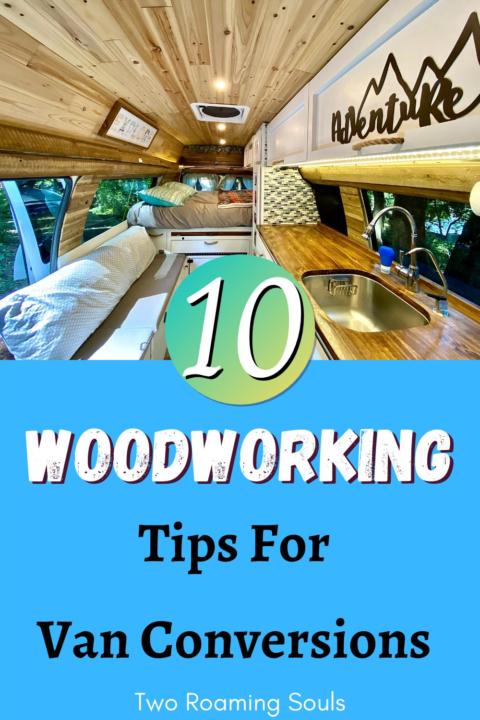

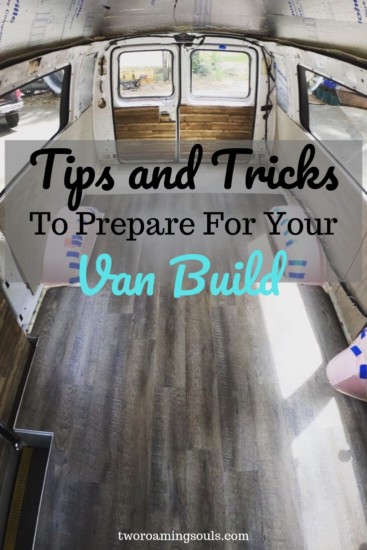
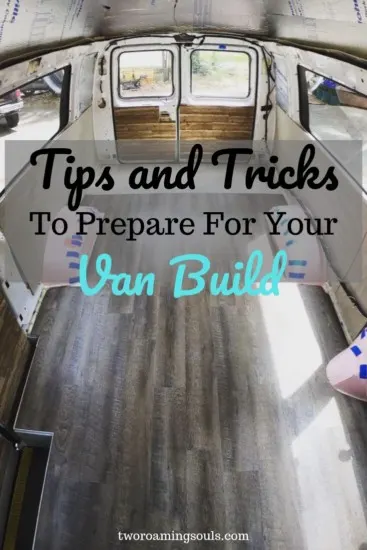
Woodworking is one of the fundamental skills for building your own van conversion. But for many aspiring vanlifers, the cost of materials and the reality of their amateurism holds them back.
We were also in the same position. We had to use our limited skills to construct a campervan that looked good, was structurally sound, and all on a tight budget. These are my top 10 woodworking tips for van conversions that will help save time, money, and frustration.
This post may contain affiliate links. Disclosure policy.
1: Nominal vs Actual Dimensions


The size of the lumber you buy from the store is almost never what it says it is. That is, the nominal dimension, like a 2”x2”, is not actually 2 inches by 2 inches. It’s usually closer to 1 ½” by 1 ½”.
The reason for the discrepancy is that they begin with standard sizes of rough lumber and then shave it down so that it is smooth and flat. This is an important thing to know when designing and building with wood. So be sure to research the “actual” dimensions when purchasing, or browsing online.
The discrepancy may not be an issue for some of the more rugged, structural parts of a build. But for precise things like cabinets and drawers, it can completely destroy a project. Hence why this tip is first on our list of top woodworking tips for van conversions.
And sometimes, even the “actual” dimensions have some margin or error. Or thickness might even vary within a single piece of lumber!
All these discrepancies between expectation and reality can turn into a huge headache. So the best thing to do is carry a tape measure with you into the store so you can verify dimensions yourself. This is the only foolproof way to guarantee what actual size you’re getting.
2: Draw or Model Your Plans

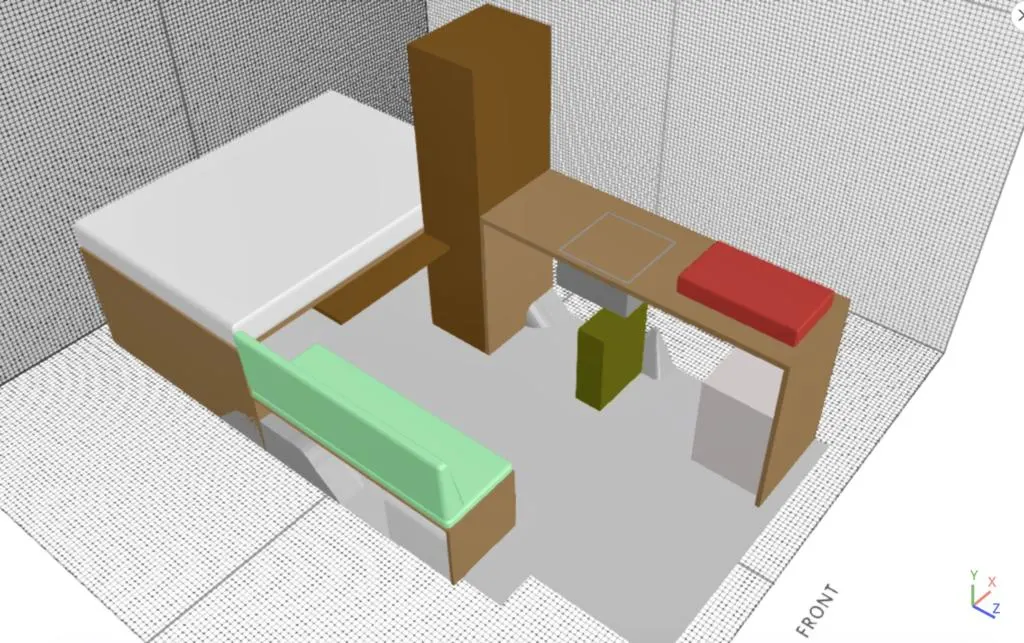
Using either pencil and paper or some computer software, try to mock-up your design plans. You can save yourself from making mistakes, thereby saving time and money. It’s much better to catch problems in the design phase than after you have already started cutting.
You don’t need to be a talented artist, but just make sure the dimensions are correct. This will help you visualize each project before starting to make any cuts. My favorite programs for modeling are SketchUp and SelfCAD. I personally find SketchUp hard to learn (but most people seem to love it), so I used SelfCAD to make a rough (but accurate) model of our van build layout. This helped me figure out roughly how much space was available for our bed, closet, kitchen counter, etc.
Then for specific designs for each piece of furniture, I did everything by hand with pencil and paper.
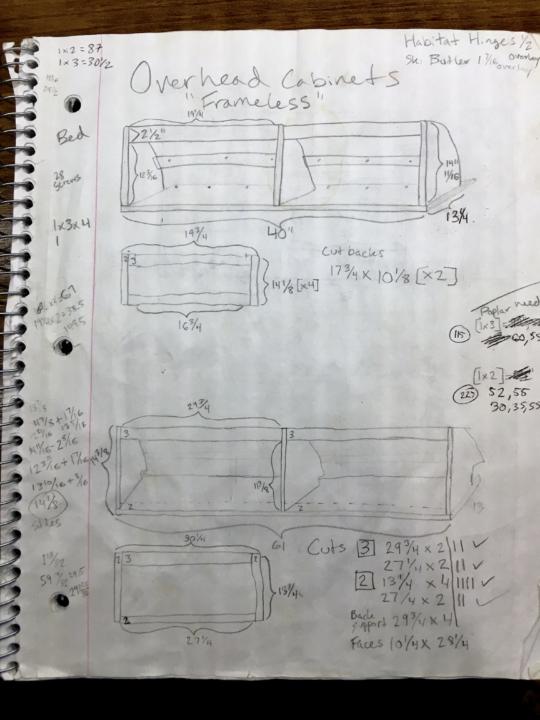
I find that the most important thing is understanding how you join two pieces of wood together. For example, take this simple cabinet frame.
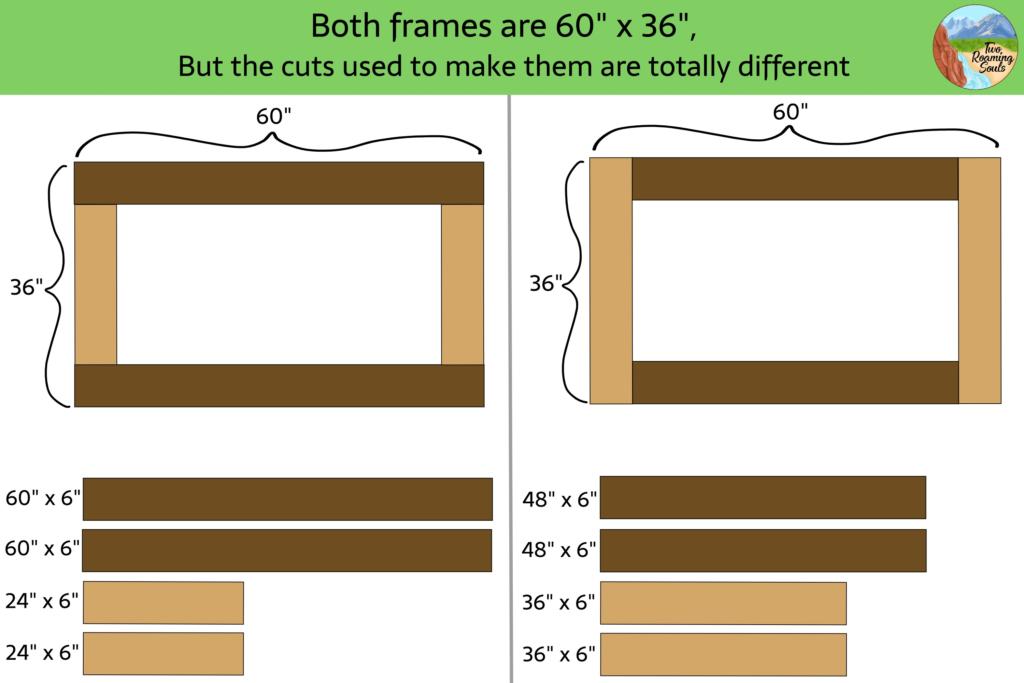

Two identical sized frames, but pieces of wood used to create them would be cut completely different. So it’s important to plan out the joints of each project. And using the previous tip, make sure your plans reflect the actual dimensions of your wood.
3: Pocket Hole Jig

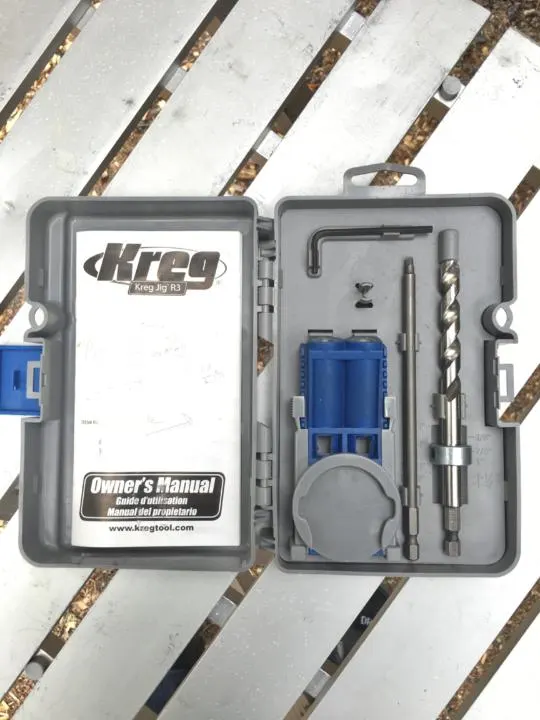
Joining two pieces of wood together is pretty much the foundation of all woodworking projects. And the easiest method for beginners to make really solid joints is a Kreg Pocket Hole Jig.
The jig comes with a special drill bit and screws for creating excellent joints. The jig makes angled holes that allow you to embed the screws within the wood.

The only negative of pocket holes is they can be kind of ugly, but you can usually hide them by strategically placing them on the back or inside of your projects.
I cannot recommend pocket holes enough! hey truly make woodworking joinery easy and accessible to all.

4: Map Out Plywood Cuts

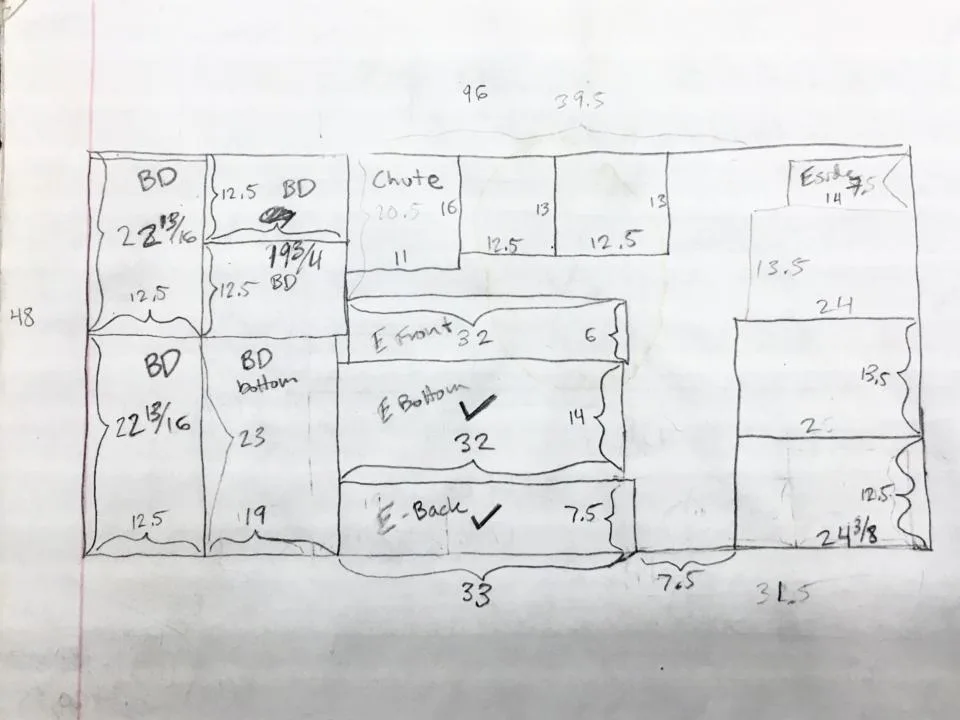
Plywood is one of the most common building materials because it’s cheap, strong, and flat.
But it only comes in large rectangles. The best value size is 4’ x 8’. But when you buy a large piece of plywood, it can feel like an intimidating blank canvas, how do you know which corner to cut from first?
Planning out your cuts is critical. Either using pencil & paper or some computer software, plan out the cuts that you need to make from your pieces of plywood.
This can help you maximize every inch of your pieces of plywood. You don’t want to find out that you would have had enough wood if you had just arranged your cuts differently.
Above is an example of one piece that I planned out. I figured out every piece that I needed for my current projects and then tried to find the most efficient way to extract them from the large sheet of plywood. It can be like a jigsaw puzzle of sorts.
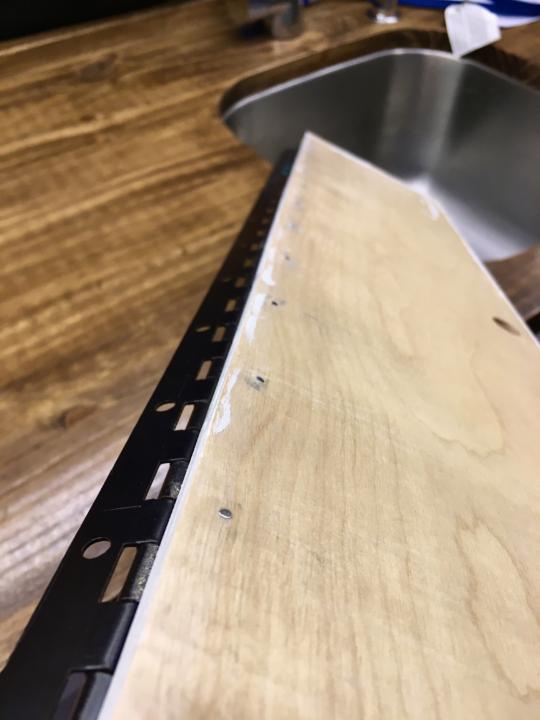
5: Edge Fill Plywood
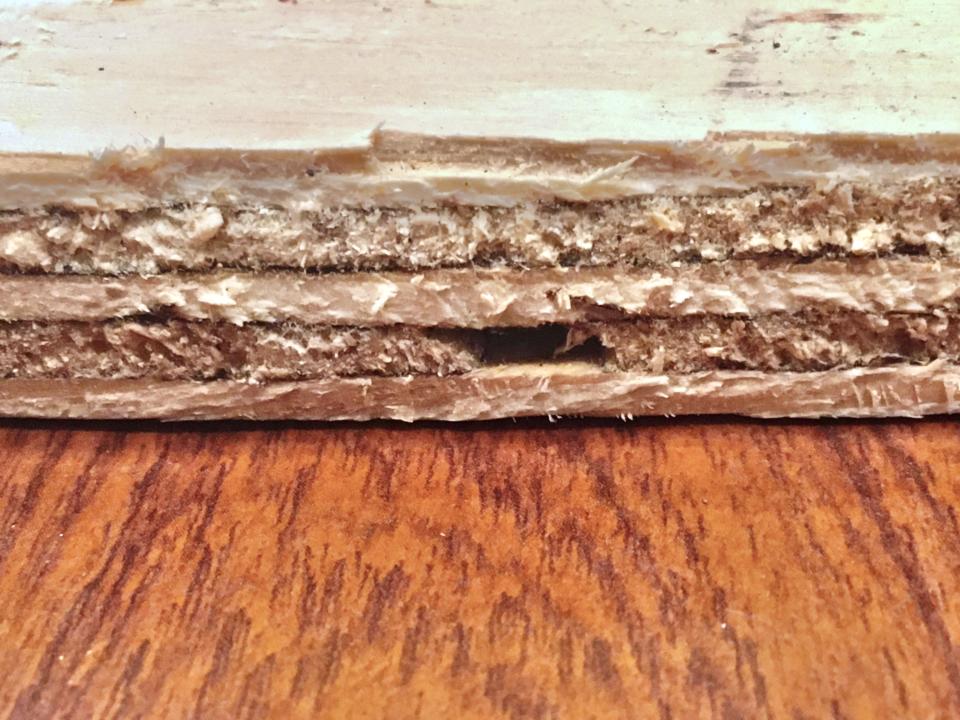
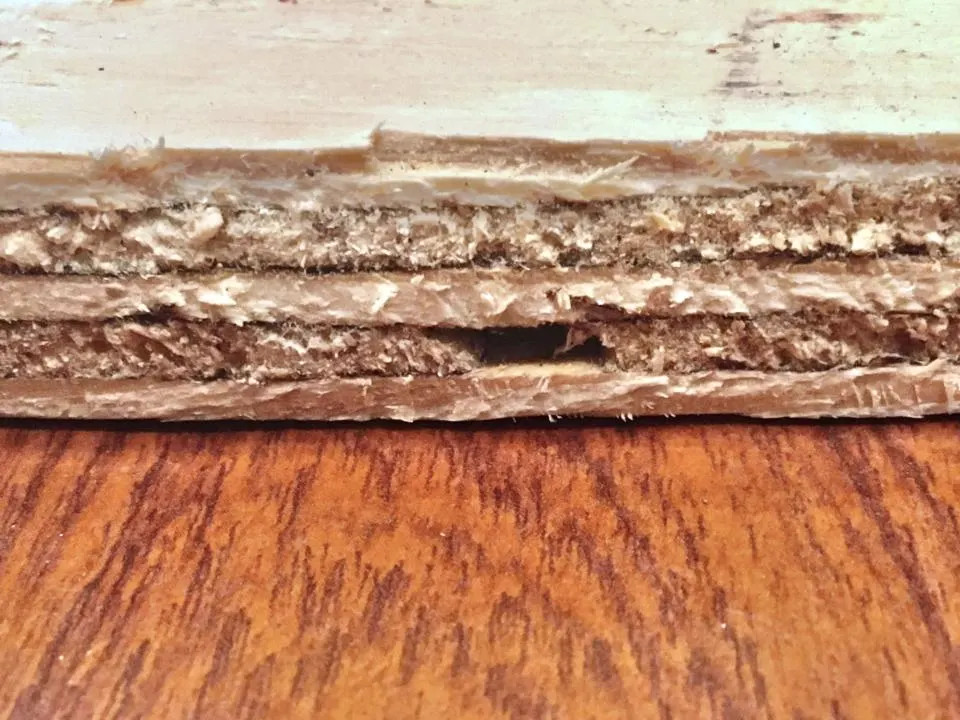
It’s common for plywood to have air bubbles, which can become ugly holes when they are right on the edges.
If you need your plywood edges to look good, then this can be a big problem. So a common technique to fix this problem is to fill in the holes with wood filler and then sand and paint.
But an even easier and cheaper trick is to use spackle.
The spackle dries very quickly and is easier to sand. Once you paint over it, you will have nearly perfect edges.
Spackle isn’t quite as durable as wood filler, but once it’s painted over it’s reasonably resilient.
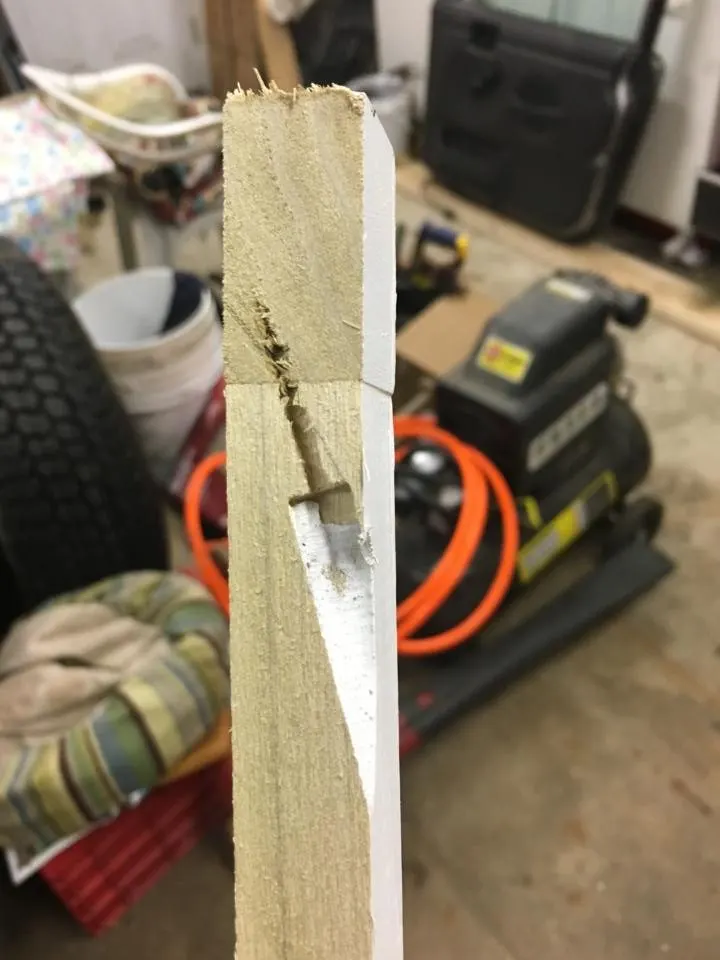
6: Prevent Tear-Out
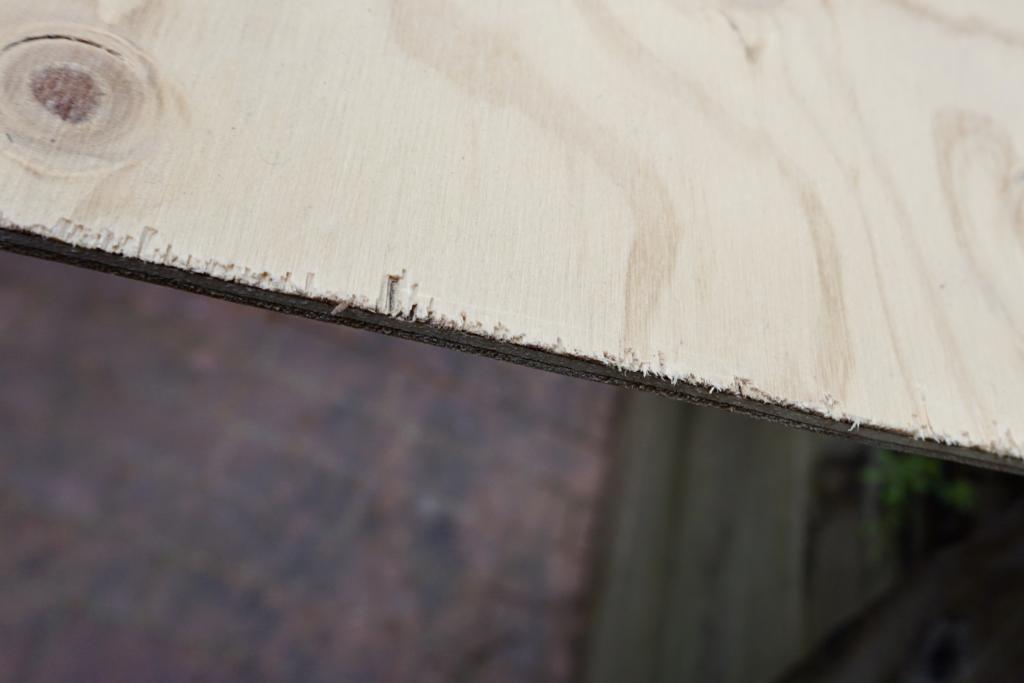

Tear out is when you are sawing a piece of wood and the blade rips up the edges.
Instead of a nice clean cut, you are left with a rough mess of jagged edges.
This is particularly a problem with plywood where the cosmetic “faces” are very thin and delicate.
Blade Coarseness

The first important factor for preventing tear-out is the kind of blade you use. For example, with something like a jigsaw, they make blades with fine or coarse teeth, measured in teeth-per-inch (or TPI).
The finer the teeth (higher TPI), the less violently it cuts the wood and the less tear-out you get. But the trade-off is that it cuts slower. Also, having newer, sharper blades helps.
Blade Direction
The standard jigsaw blades have teeth that point upwards. This means that the tear-out will occur on the top side of the piece of wood you are cutting, but not on the bottom.
You can use this to your advantage if you only need one side to look good. Like with a cabinet where only the outside will be visible and you can hide the rougher edges on the inside of the cabinet.
Make your cuts with the “good side” facing downward and that will make nice clean edges for the cosmetic faces of your project.
Note: they do make “reverse” jigsaw blades where the teeth point downward. Same idea, but everything is just flipped.
Painter’s Tape
The last trick for managing tear-out is to place painter’s tape along your cut line. This one works decently well for controlling tear-out with plywood.
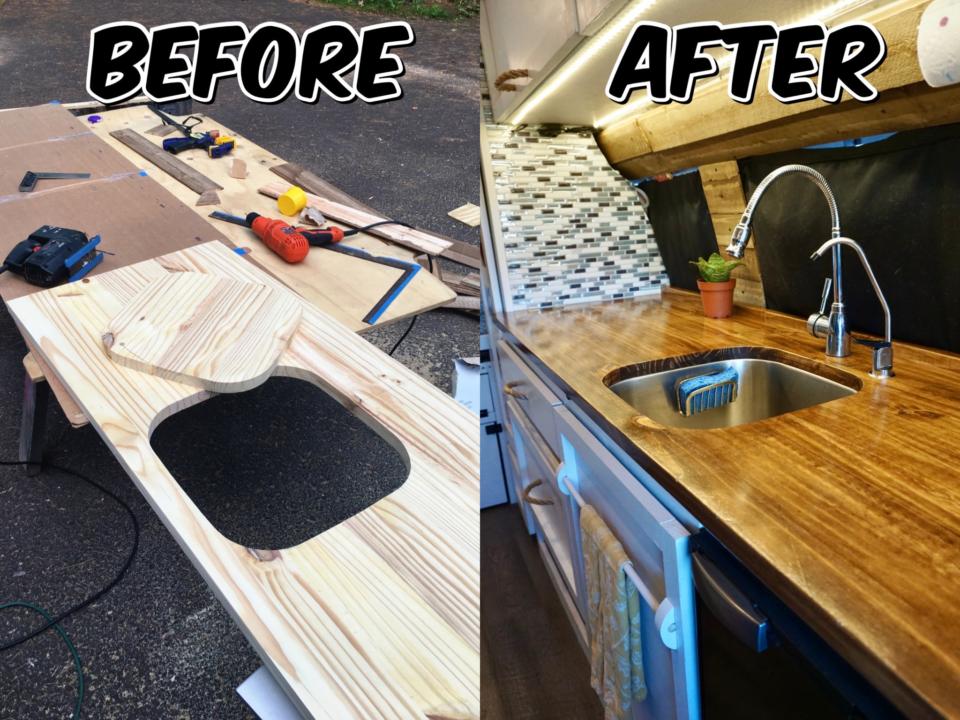
7: Paint or Stain The Cheap Stuff

Everyone probably dreams of having lots of natural wood textures in their van build, I know we did! But once we calculated the cost of wood, we realized that nicer woods like oak, maple, and walnut weren’t really within our budget.
So that left us trying to figure out how to make the cheaper woods look nice.
Here are our two best techniques to keep the cost down.
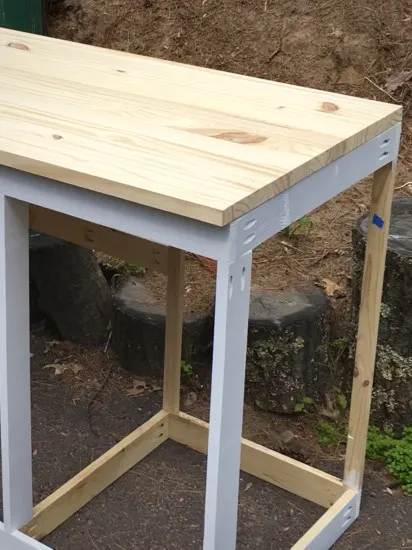
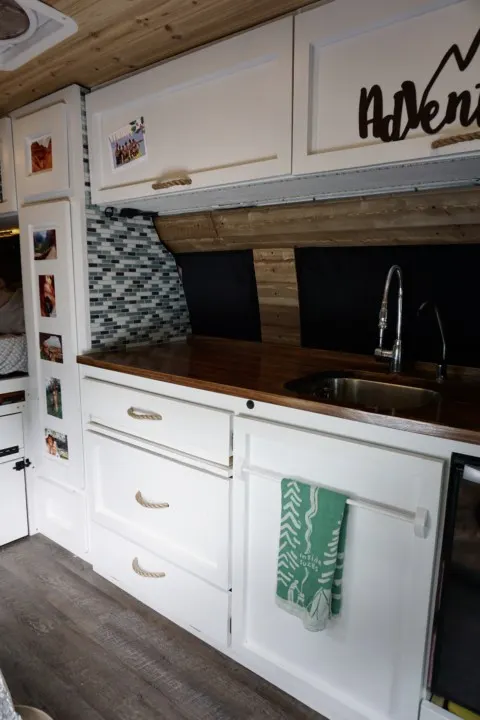
If you still want natural wood grain textures, then buy Pine and stain it to add some color and bring out the grain texture. For example, our countertop is made of Pine that we stained with a “Dark Walnut” stain and it looks fantastic.

Or if you plan on painting, then go for Poplar because it’s one of the most affordable hardwoods, (even if it isn’t that hard).
Aside from being cheaper, the other benefit of softer woods like Pine and Poplar is that they are lighter than most other woods. So they will help keep the weight of your van conversion down.
I should acknowledge that there are a few compromises that you make with these strategies.
The downside of Pine is that it is a softwood, so it scratches and dents easily. But with a couple coats of polyurethane, you can add a little more protection. And the downside of softer hardwoods like Poplar is they don’t naturally have a nice grain pattern, but if you are painting it anyway then it doesn’t even matter.

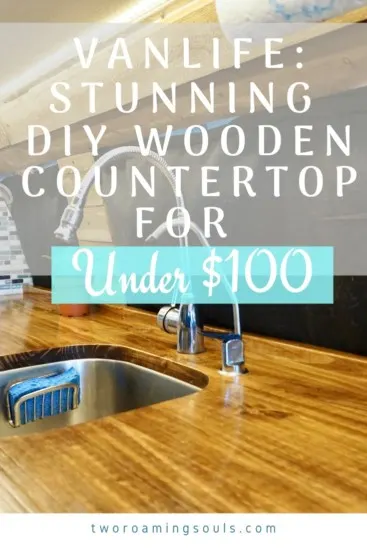
To see a step-by-step guide for how we built our own wooden countertop check out:
8: The Only 3 Sandpaper Grits You Need
There are a ton of different types of sandpaper, but the only 3 you need for basic woodworking are 80, 100, 220.
They don’t need to be exactly those numbers, but anything in roughly that ratio is fine.
The 80 grit is good for fast removal and shaping.
The 100 grit will be your “in-between” sandpaper for making wood surfaces decently smooth.
And then finish off your sanding with 220 grit to make wood as smooth as a baby’s bottom.
Pretty much every woodworking project can be achieved with just these three grits. Oh, and always sand with the grain of the wood if you aren’t painting it.
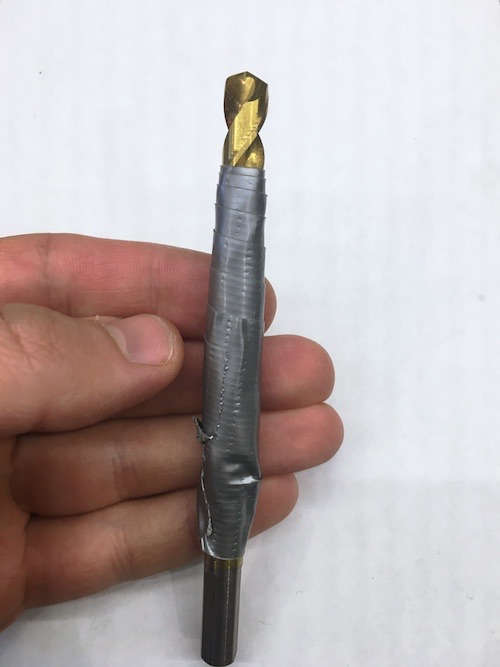
9: Pilot Hole Delicate Wood
Drill pilot holes for any screws that are going through thin wood.
Many van builds will use thin wood for the walls and ceiling to save precious interior space. But if you try to drive a screw straight through a thin piece of wood, it’s probably going to split.
The basic rule for choosing the right size drill bit for a pilot hole is to have the drill bit be the same diameter as the root of the screw (not including the threads).
Here is a helpful chart with common sizes, but you can usually just eyeball it if you hold the drill bit and screw up next to each other.
And if you want the head of the screw to sit flush with the wood’s surface then you need to countersink as well. A countersink bit makes a pilot hole and counter-sink hole at the same time.

But if you don’t want to buy a special drill bit for it, you can make countersink holes with a separate drill bit.
For softer woods, you can even do it by hand. I like to just wrap a little tape around the majority of the drill bit so I’m not gripping the sharp blades.
10: File Down Screw Tips

We found that various finishing hardware (hinges, handles, etc.) came with screws that were too long for our furniture.
Lots of van builds, including ours, use thinner materials to save space and weight. But the problem that we kept running into was screws that would go all the way through whatever we mounted them to, which was often 1/2″ plywood. With the sharp screw tips sticking out, they could damage belongings or hurt us.
So rather than spending time and money to replace the screws with an appropriate size and color, we filed down the tips. Any metal file will do, but it can be done faster with an appropriate drill or dremel sanding tip.
Related Posts:


Takeaway | Woodworking Tips For Van Conversions
These woodworking tips for van conversions are things that helped us during our van build.
We were hyper-focused on building the best-looking campervan for the smallest budget, and we think we achieved that goal.
We hope this information helps you maximize your budget to build the most beautiful (and structurally sound) van conversion.
Save These ’10 Woodworking Tips For Van Conversions’ For Later

Best Drawer Slides For Campervans | Choosing Drawer Slides For Vanlife - tworoamingsouls
Thursday 20th of April 2023
[…] Also, Pro-Tip: you can never really trust the wood you buy to be the exact dimensions that it claims to be. So you should always take precise measurements of your wood, rather than assuming the nominal thickness is accurate. I explain this conundrum and many other helpful insights in my post: woodworking tips for campervan builds. […]
How Much Does It Cost To Convert A Campervan - tworoamingsouls
Thursday 6th of April 2023
[…] […]
Best Latches for Campervans Cabinets and Drawers - tworoamingsouls
Tuesday 4th of April 2023
[…] […]