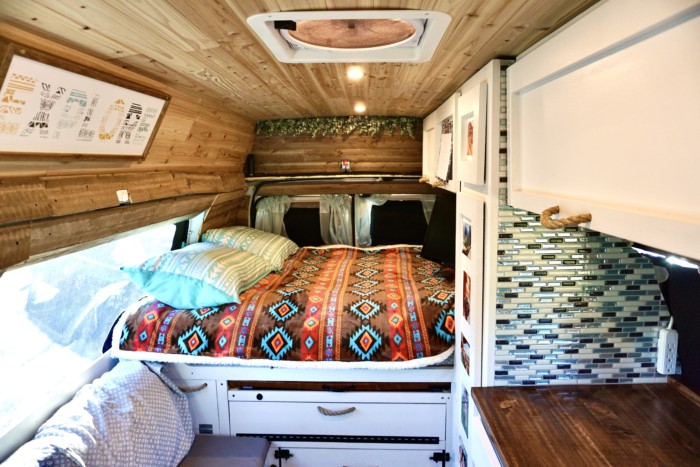
Installing campervan lighting should be one of your biggest priorities when converting a van. For starters, lighting is a relatively cheap investment but can make a huge impact on the overall comfort and convenience of living in your campervan.
Having ample light can help to reduce the feeling of living in a small, dark box.
Most vans have limited windows, and even when you do have them, they are often covered up for privacy.
Additionally, because of the location of windows, they often only let in light from below the chest, which isn’t the same as good overhead lighting that’s conducive to working, reading, cooking, etc.
The benefits of good campervan lighting far exceed the minimal costs.
Whether you install a complete solar electrical system, use one of these top portable solar-powered generators, live Vanlife without solar, or simply operate off disposable batteries, there are great lights to improve your living space.
This post may contain affiliate links. Disclosure policy.
Campervan Lighting
What to Consider
When choosing lights for your van conversion, the main things to consider are efficiency, power supply, brightness, color temperature, and installation.
Efficiency
Most modern LED lights are extremely efficient and can be operated without much electricity. All the lights we recommend below are LEDs, so you can assume they all are very energy efficient and will easily outlast the lifetime of your van conversion.
Power Supply
If you are planning on having a separate “house” battery for refrigeration, fans, and electronics, the power needed for LED lights will barely make a dent in your total power. If you have questions about building your own separate solar-powered electrical system, read my guide here. Or for those planning a simpler van build, you can just purchase stand-alone lights that don’t require wiring, like solar, rechargeable, or battery-powered lights.
Brightness
Brightness is measured in lumens, the higher the number, the brighter the light. There are a number of factors that influence how lumens are dispersed. But to simplify the subject you can follow these general guidelines. Bedrooms and living spaces need about 300-500 lumens/sq meter, and task areas like a kitchen counter or workspace need about 500-800 lumens/sq meter. A dimmer can be used to fine-tune brightness.
Color Temperature
The color temperature of light is measured in Kelvin (K). And while light color is a spectrum, lighting products will usually only come in cool or warm-colored light. Warm is generally around the 4000K and gives off a warm yellowish light. While cool is generally around the 6000K and gives off whiter, blue-ish light. Cool light appears brighter to the eye and is generally preferred in working environments. While warm light simulates the yellowish glow of sunset and appears duller.
Installation
Different types of light will require different installations. For example, some lights may need to be hard-wired into an electrical system and installed during construction. While other stand-alone lights may simply need a couple of disposable batteries and can be mounted with adhesive at any time.
Okay, let’s jump into the best campervan lighting products available for your van conversion.
Wired Lighting
Let’s start with wired lighting options for campervans with their own separate electrical system. So remember that each one of these options will have to be either plugged into an AC outlet or be hard-wired into 12-volt DC power. They may require the most time for installation but can be worth it to have lighting that is permanently integrated into the design. And when wired with switches or dimmers, they function much like the lights in a typical home.
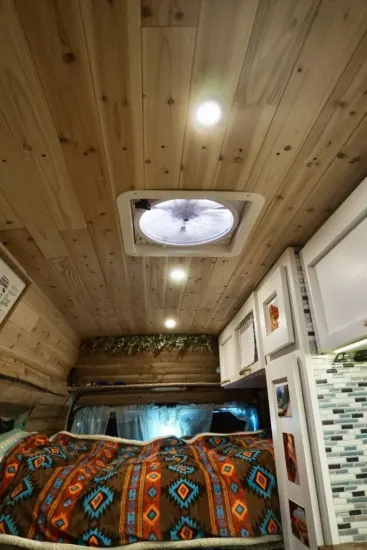
Recessed Lights
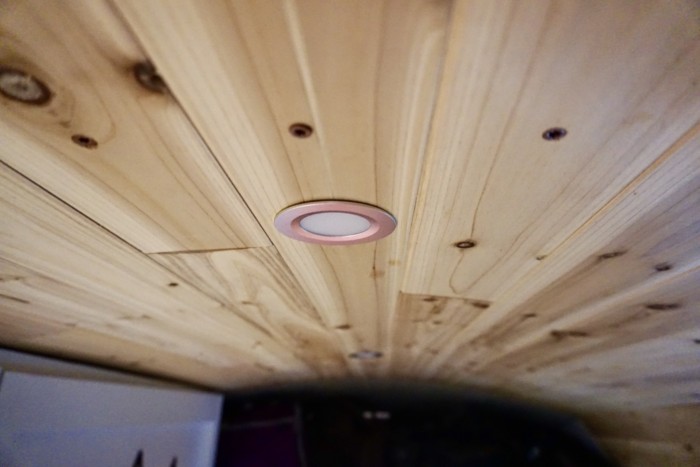

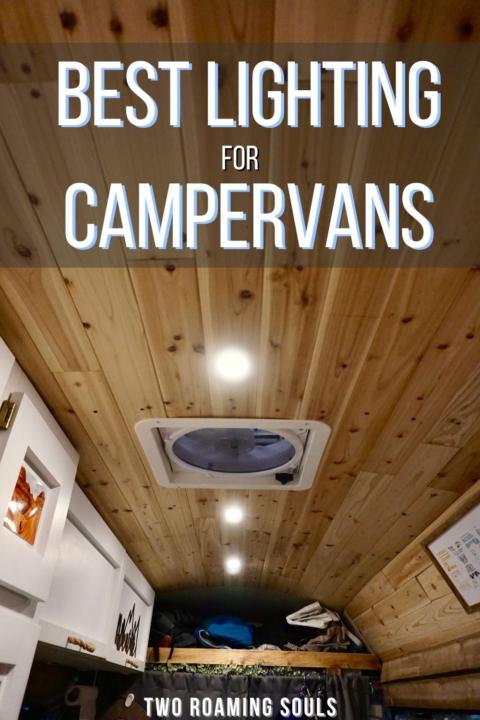
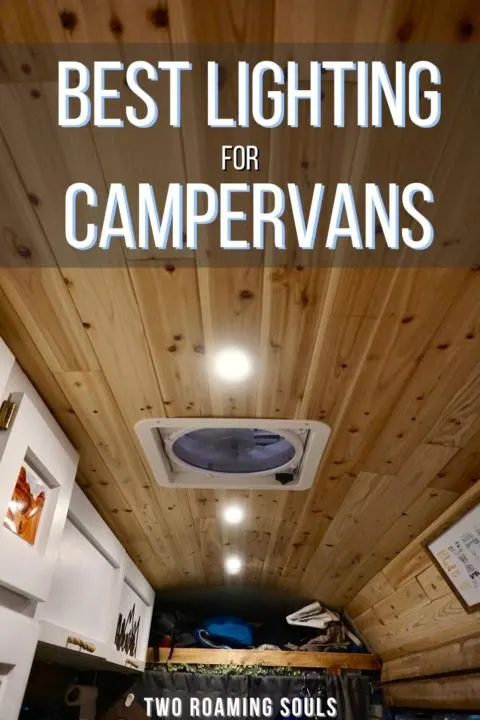
12-Volt recessed lights, AKA puck lights, are by far the standard for campervan lighting, and for good reasons. The lights are extremely energy efficient, low-profile, and easy to install.
They slide right into holes in the ceiling and are held in place with spring-loaded hinges. There’s no need to mess around with screws or adhesives to hold them in place. And once installed they only stick out a couple of millimeters, so you don’t need to worry about hitting your head on them.
They are most van builder’s favorite option for permanent campervan lighting.
These Acegoo 12-Volt lights are the best quality recessed lights at an affordable price. They come in a pack of 4 which is a good starting place for most vans, but some people get two packs for a total of eight.
They are available in white or silver finish with either warm or cool white light. We personally have the warm ones and find the color to be comfortable, not too yellow. We highly recommend them!
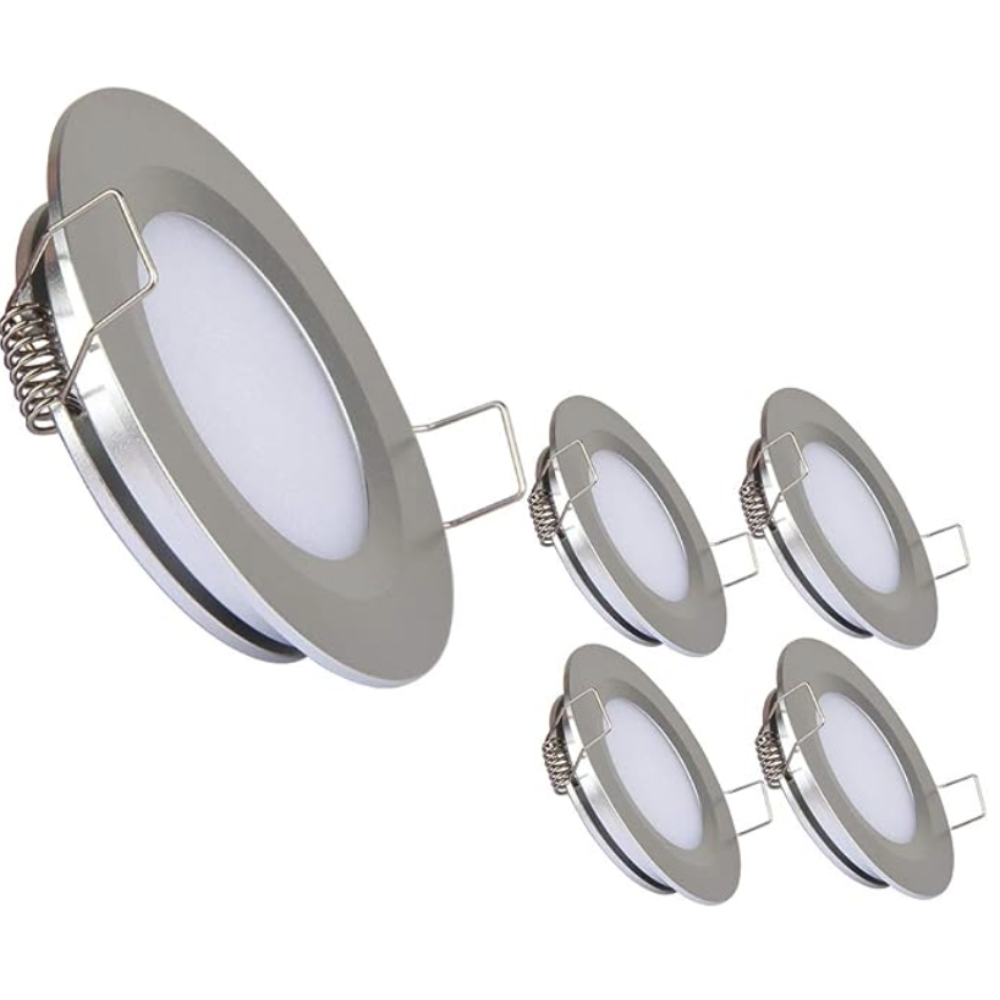

However, they normally need to be installed alongside the construction of your van conversion. Because you won’t be able to run wiring under your ceiling without removing pieces. So be sure to run wires for the lights before installing your ceiling.

Pairing these lights with a 12v switch or dimmer wired in a convenient location makes the lights really accessible. They can be wired all on the same circuit, or in pairs, or all separately.
For example, put a switch close to the side door to easily turn the lights on/off as you come and go from the van. Or wire them with a dimmer close to the bed, and they make great reading or mood lights.
Guide for installing 12-volt recessed lights in your campervan.
Guide to installing beautiful cedar ceiling planks.
However, they aren’t good for under-cabinet lighting, because the mounting clips and wiring will be poking through on the inside the cabinet.
Pros of Recessed Lighting:
- Convenient to use
- Easy to install (for hard-wired lights)
- Low-profile
- Professional Look
Cons of Recessed Lighting:
- Wiring required
- Must install during build
- Tools required
- Not good for under-cabinet lighting
LED Light Strips


LED Light Strips are a quick and easy campervan lighting option with a modern look. The hundreds of individual LEDs provide consistent lighting over the entire length of the strip. The options for colors, settings, and styles are endless. Some even come with a remote control to play with all the settings and colors.
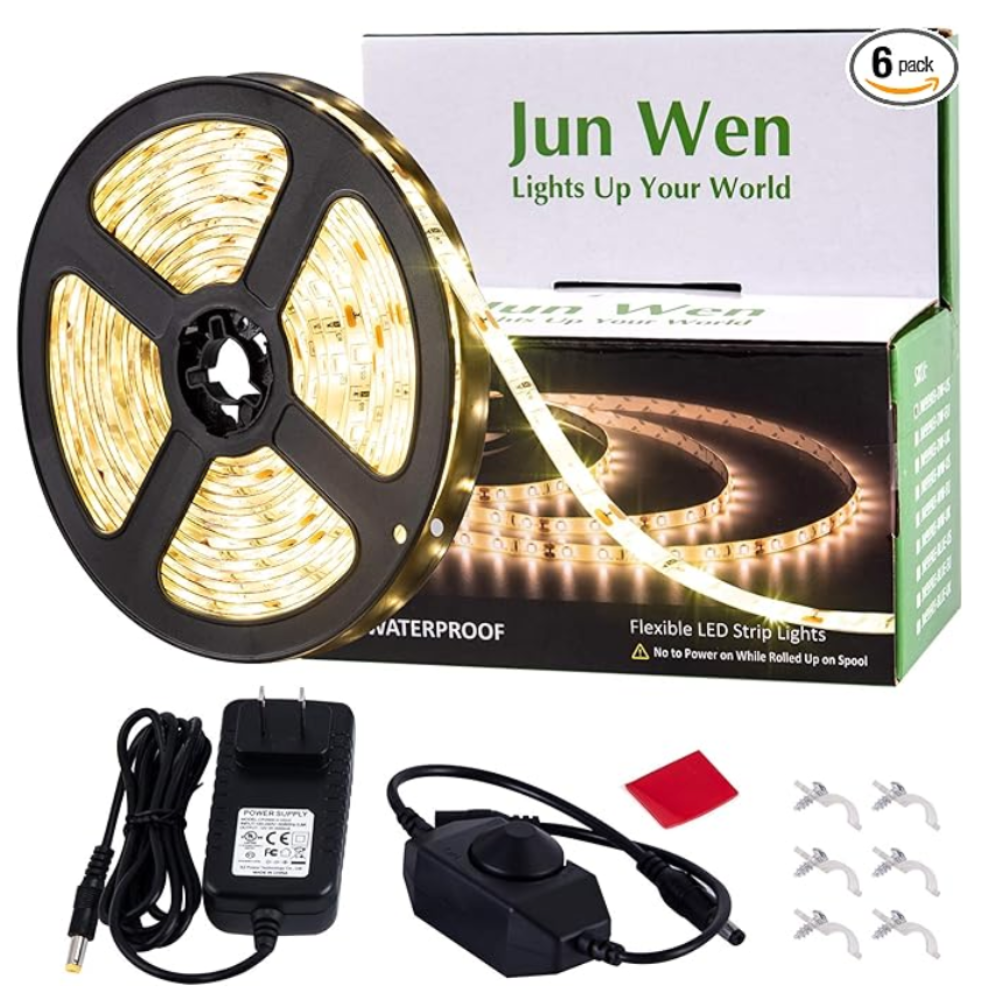
We have these JunWen LED Lights in our campervan and they are a good price and quality, especially considering the dimmer is included. We have them on the underside of our kitchen cabinets to provide bright and direct light over our kitchen counter. And what a huge difference it makes!
We have second LED light strip that goes around our bed area. The dimmer is great for when we are winding down at the end of the night.

LED light strips are very user-friendly. Most come with a switch/dimmer and a normal AC plug so you can plug them into an outlet and you’re ready to go. That is, if you have an inverter with outlets for normal AC power. (Best Power Inverters For Campervans)
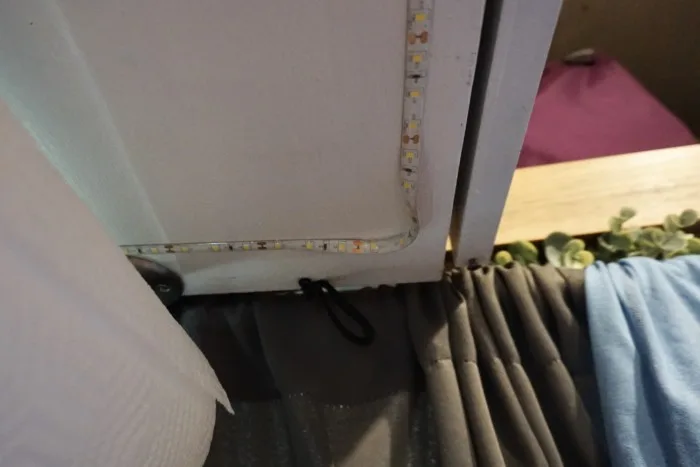
They are usually lined with adhesive. So installation requires no tools, just peel off the backing and stick the lights on anywhere you like. Most can be cut to whatever length you need. The strips are very flexible at bending up and down, but not left/right when laid flat. To make sharp turns left or right, you may need to flip the strip on its side like we did below.

They also can be wired into a 12v DC system if you prefer. That is how I rigged ours up. (Using 12v DC is more efficient because the power isn’t traveling through an inverter).
Another huge benefit of LED light strips is that they can be installed at any time. So for people who have already finished their build and want to add more lights, just buy another LED light strip and install it where you need it. They can be mounted nearly anywhere that the adhesive will stick.
Pros of LED Light Strips:
- Easy to Install
- Plug and Play
- Low-profile
- Flexible
- Colors and settings
- Includes switch/dimmer
Cons of LED Light Strips:
- Modern look may be undesirable
- Doesn’t curve left/right
Fairy Lights
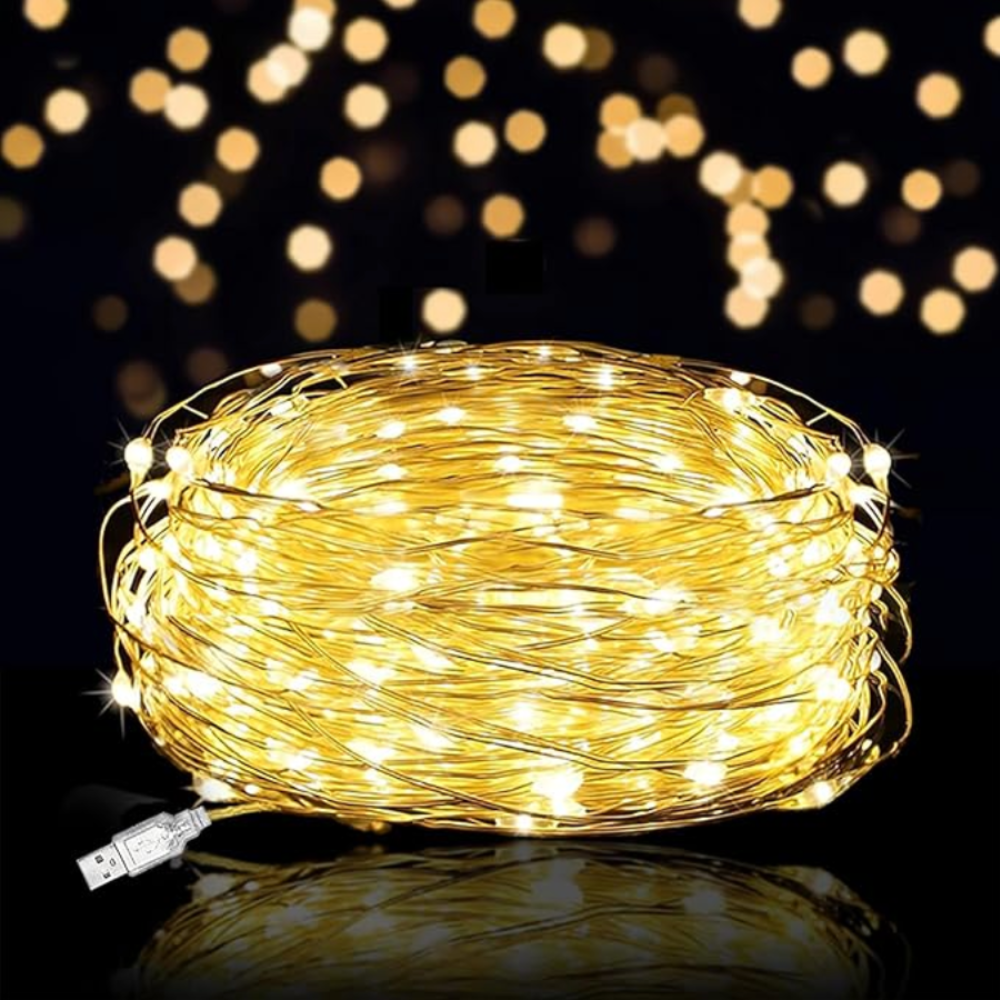

Fairy lights are very popular because of their unique look. They are like the hippie cousin of LED light strips. They have a free-spirit and airy vibe that works great for mood lighting. Many campervans have them as lighting around their bed area.
They work well as a decorative compliment to other lights, but really not as a primary lighting solution.
Like LED light strips, they are very flexible and can be easily installed at any time. They can be hung with hooks, tape, coiled around things, draped over corners. But just keep in mind that if they are loosely secured, they may be shaken loose in a moving vehicle.
Pros of Fairy Lights:
- Easy to Install
- Plug and Play
- Flexible
- Relaxed vibe
Cons of Fairy Lights:
- No installation hooks or adhesive
- They lack structure
- Not a great primary light
Non-Wired Lights
Cordless lights are a more accessible option for campervan lighting because that don’t have an electrical system to plug into. Or for van builds that are already completed and need lighting that’s easy to add in after the fact. The three main types are solar, battery, and rechargeable.
Solar Powered
Harnessing the power of the sun is an amazing way to have “free” electricity. The environmentally and socially conscious brand MPOWERD (bought by BioLite) makes a lineup of products called Luci, that are amazingly simple and reliable. They have a built-in solar panel, efficient LEDs, and a flexible inflatable body. It’s easily portable so you can hang the Luci by the strap on top, set it on a table, or bend the inflatable body to fit any setup you like.
The negative, of course, is that you need to regularly set the light in the sun to recharge. But if you leave it on your dashboard during the day, it should be ready to go every night when you need it.
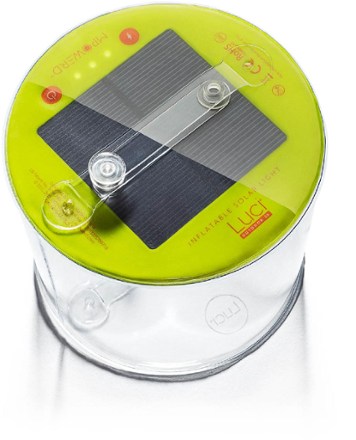
MPOWERD Luci Outdoor Inflatable Solar Lantern
The latest reboot of the original Luci Lantern design is the Luci Lantern 2.0
Luci Pro Lux Inflatable Solar Lantern + Mobile Charging

MPOWERD Luci Solar String Lights
Luci Solar String Lights have a cute string of “fairy lights” for a more dispersed lighting array.
Pros of Solar Powered Lights:
- Free solar power
- No batteries
- Portable
- No installation
- No wiring
Cons of Solar Powered Lights:
- Needs regular sunlight
- Non-permanent installation
Battery Powered
Battery Power LED lights are a quick and easy way to add wireless campervan lighting. They can be a primary lighting solution or just an additional solution for random spots that need a little boost of light.

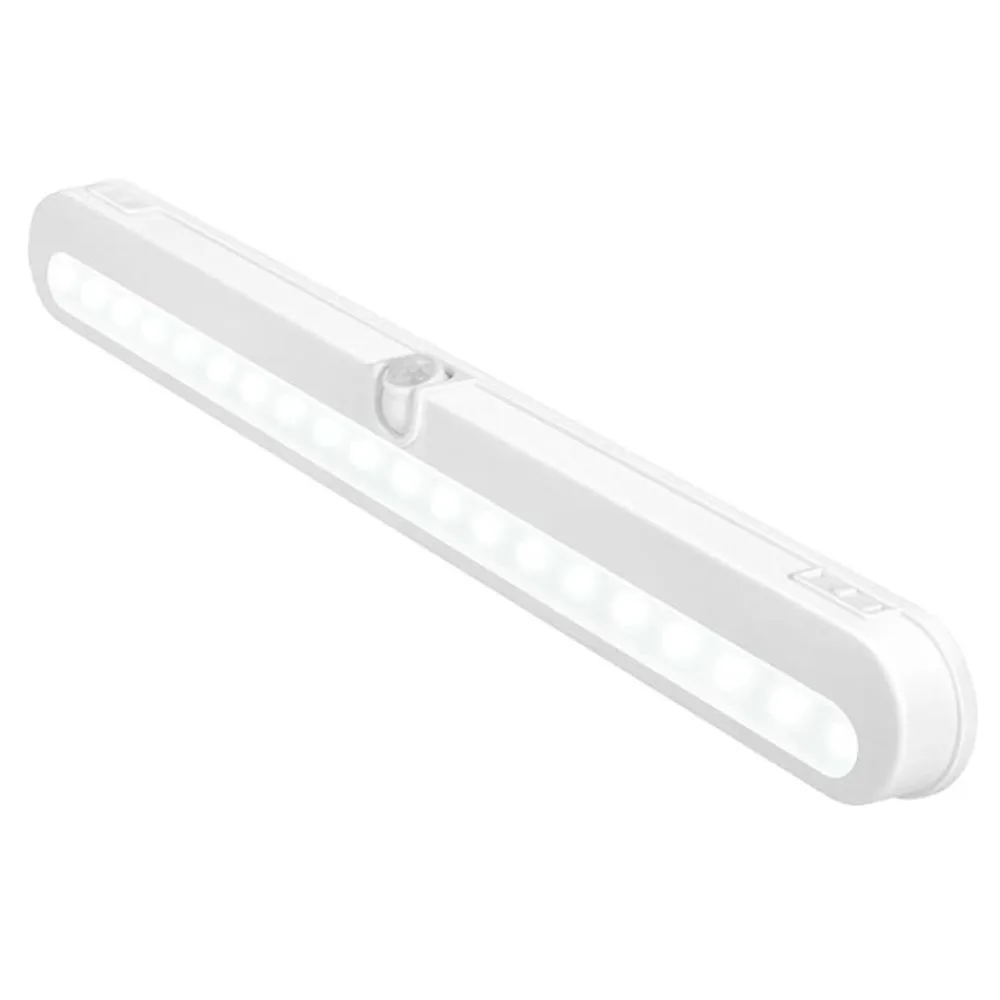
This style of light bar is perfect for lighting up a small countertop, or above bed as a reading light. It has a standard on/off switch and also motion sensors. And it can be plugged into USB if you want to run it without batteries.
Or this set of 6 puck-style lights gives you the flexibility to place lights exactly where you need them most. They even come with a remote that has an on/off, dimmer, and even a sleep timer.

Pros of Battery Powered Lights:
- No wiring
- Easy to install
- Motion Sensing*
- Doesn’t need to be charged
Cons of Battery Powered Lights:
- Needs batteries
Rechargeable
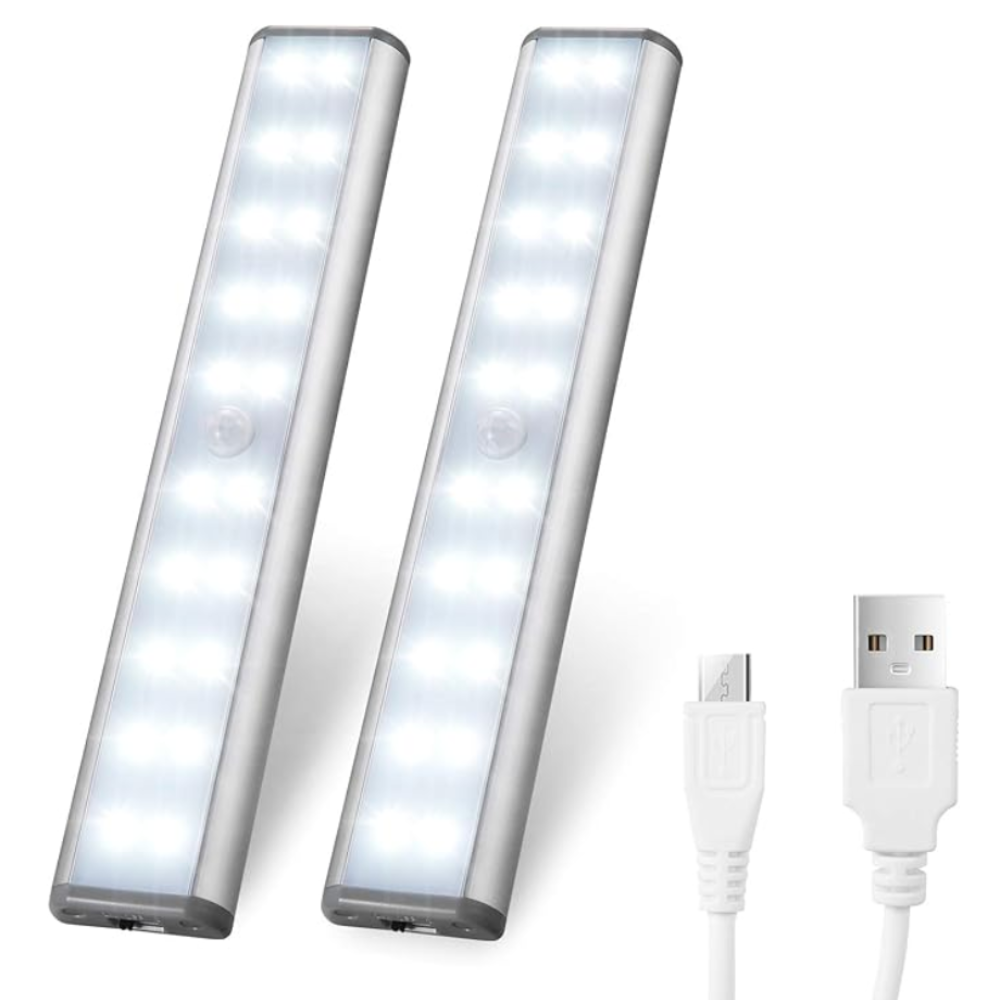
If you don’t want to have to keep buying batteries, then rechargeable lights are a great option. These rechargeable light bars have on/off switch and also motion sensing. They can last for about 10 hours on one charge. And to recharge them, simply pull the lights down from their magnetic mounts, and plug them into any USB charge port.
Pros of Rechargeable Lights:
- No wiring
- No batteries
- Easy to install
- Magnetic quick-mounts
- Motion Sensing
Cons of Rechargeable Lights:
- Needs recharging
Flashlights & Headlamps
Having a portable light source handy is always a good safety measure.
A flashlight or headlamp is smart to have around. We use our headlamps for times that we are outside the van at night. Or for searching through our “garage” at night.
Takeaway | Campervan Lighting
Installing lighting in your van conversion is an easy way to make it feel like home. With only a modest investment, you can have diverse lighting options for a variety of uses and situations. Mood lights for reading/relaxing, bright lights for cooking/working, or whatever combination you need.
Save This ‘Campervan Lighting’ For Later

Van Conversion Build Order | Step By Step Guide - tworoamingsouls
Friday 5th of May 2023
[…] If you are installing recessed lights in your ceiling, then you can do that as the ceiling goes up. (Or check out other great lighting options for campervans.) […]
10 Vanlife Essential Items - tworoamingsouls
Tuesday 5th of October 2021
[…] Campervan Lighting […]
Fun Ways To Spruce Up Your Camper Van To Feel Like Home - tworoamingsouls
Tuesday 3rd of August 2021
[…] Read our entire post dedicated to Campervan Lighting. […]