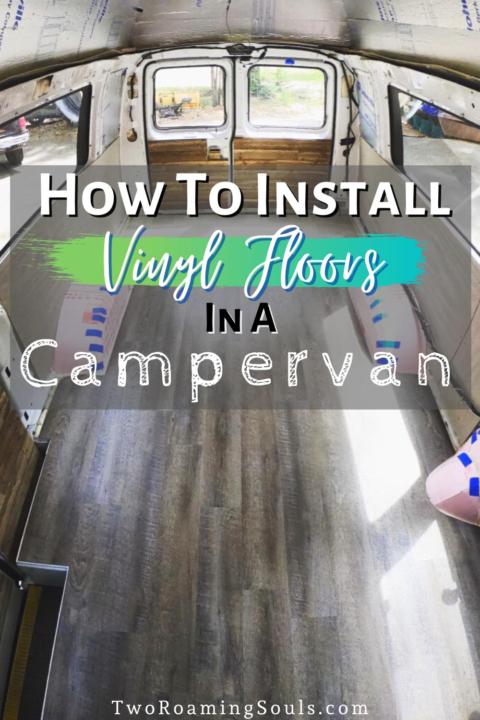
Installing vinyl flooring in a campervan is actually quite simple. All you need is the vinyl flooring itself, a razor blade and a ruler. No sticky glue, or finding the right length screw for this floor installation.
But there are a few things you will want to take note of, to make sure you pick the right vinyl flooring. First off, it is important to get a waterproof vinyl flooring so no spills or leaks soak through the floor. And of course you will need to decide what depth of vinyl flooring you want. Jake and I didn’t want to sacrifice any height in our campervan so we went with a super thin vinyl floor plank.
Also, when you install vinyl flooring in a campervan there are a few things you might want to add underneath such as insulation, sound-deadening and/or heated floors. And of course you will need a sub flooring (usually plywood) to make the floor is level to install the vinyl floor planks.
There are a few precautionary measures you should consider before installing vinyl flooring in a campervan. For example, Jake and I added two layers of mold-prevention to our subfloor before laying our vinyl flooring to prevent any chance of mold or mildew to grow under our flooring. Let’s get started on the beginning steps for how to install vinyl flooring in a campervan.
This post may contain affiliate links. Disclosure policy.
Insulation/soundproofing:
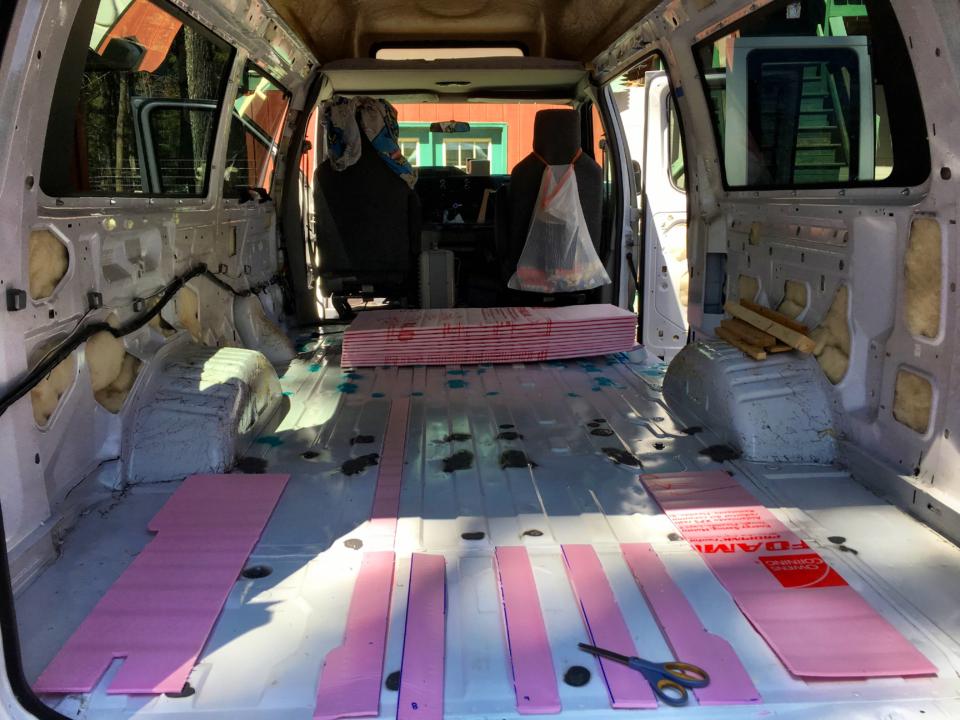
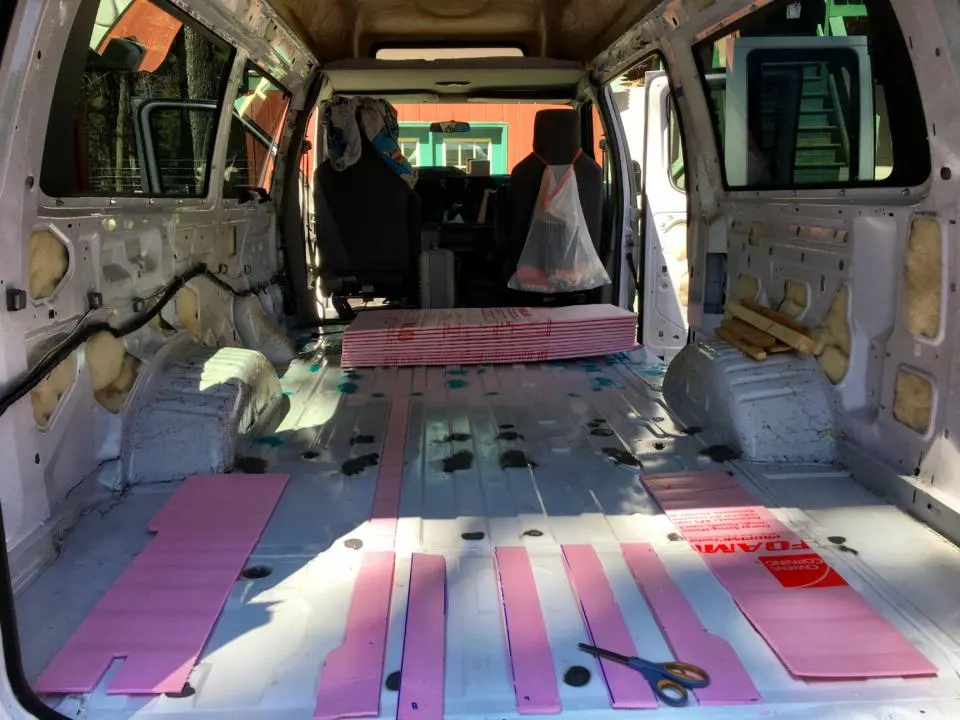
First, you need to decide if you want to insulate and/or soundproof your flooring. Jake and I couldn’t sacrifice much height in our campervan, so we had to keep our van floor insulation to a minimum.
We used ¼” FOAMULAR Fanfold Rigid XPS Foam Board for our floor insulation. We cut strips to fit between each rib that stuck up on the campervans metal frame. Then, we laid another layer on top. Therefore, there are some spots with only a ¼” and some with ½”. To be honest, it is truly not even close to enough insulation if you want a warm floor.
Also, if having a quieter vehicle is important to you, then you might want to consider adding a sound deadening material. This will help make the inside of your campervan is much quieter inside. But if noise isn’t an issue for you, then sound deadening isn’t necessary.
Heated Floors Anyone?
Not going to lie, our campervan floor is almost always cold unless it’s directly in the sun or 80+ degrees outside. Therefore, some vanlifers get crazy and even add in a heated floor. Jake and I didn’t quite have the budget for this in our van build, but we will definitely consider it for the next van build! Expedition Upfitter sells a 12Volt Under Floor Heating Fabric that can keep your floor toasty warm without completely draining your battery. But you will still need a decent battery storage to use this device often or for multiple hours throughout the day.
So if you are just starting out your van build, and budget isn’t an issue, I’d highly consider heating your floor!
Sub-flooring:

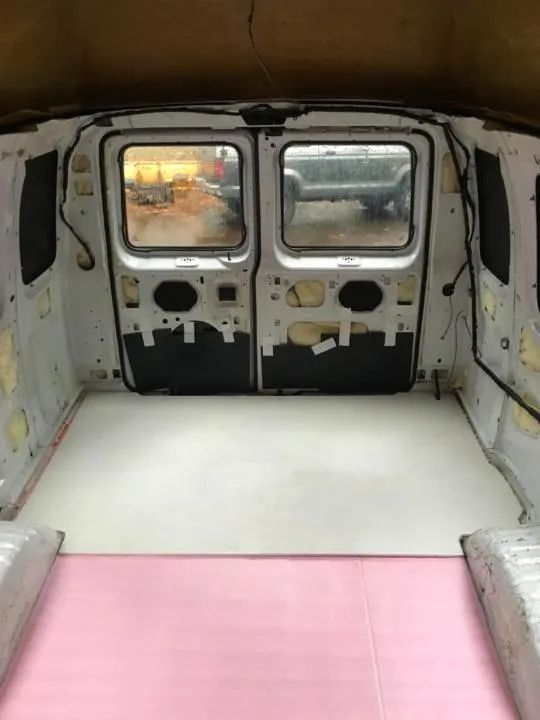
Now that you have your insulation, sound deadening material and possibly heated floors, it’s time to add a sub flooring. You are going to need a flat surface to lay the vinyl planks on top of. And even if you decide to limit the costs by not adding any of the additional items listed above, most vans have unlevel ribbing that lines the metal floor.
Therefore, you are most likely going to need a subfloor to level out the campervan floor. This way the vinyl planks can secure a connection with the tongue and groove connection on a flat surface (more details below).
Mold-proof The Sub-Floor:
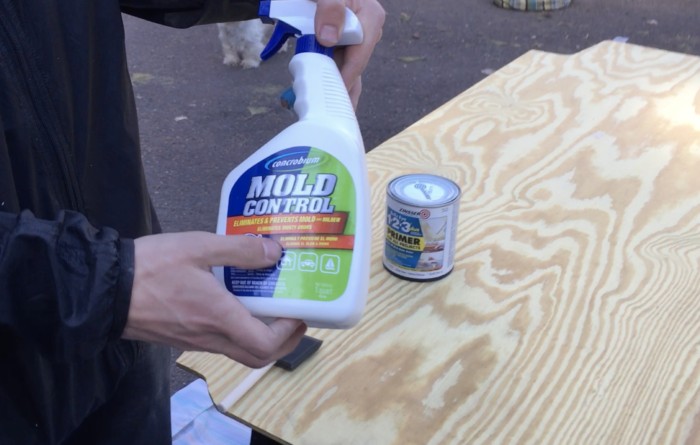

One last step to consider before you install vinyl flooring in a campervan is to mold-proof the subfloor. We highly suggest sealing the wood with a mold-prevention spray and mold-resistant paint. We used Concrobium 25326 Mold Control Spray and Rust-Olem Zinsser Bulls Eye 123 Primer.
This will make it extremely difficult for mold or mildew to grow underneath your campervan floor. And after doing our research before building out our van, we found that many people experience mold or mildew under their floor. So we wanted to take every pre-cautionary measure we could to make sure our floor was mold-proof.
Measure the square footage of flooring & Pick Our Vinyl Floor Planks:
Alright, now you have everything you need down on the floor to start installing vinyl flooring in your campervan. First, you will want to measure the length and the width of the floor in your campervan. This will give you the number of square footage to cover the campervan floor.
Next, it’s time to shop for the perfect vinyl flooring. We suggest going with a click lock vinyl floor plank because it holds securely with no extra hassle. Two other common types of vinyl flooring is GripStrip and Glue down, but neither style is very adaptable to a campervan.
Jake and I went with a rustic theme in our campervan, so we went with a weathered grey for our vinyl planks. But obviously, choose which vinyl flooring planks will look best in your campervan. Be sure to choose a vinyl flooring that is waterproof, because as mentioned above, moisture is a menace in vanlife.
Here is a variety of click-lock & waterproof vinyl floor planks from The Home Depot.
Cut planks to off-set:

Now that you picked out the perfect vinyl flooring for your campervan, it is time to learn how to install vinyl flooring in your campervan. Vinyl flooring is one of the easiest floors to install.
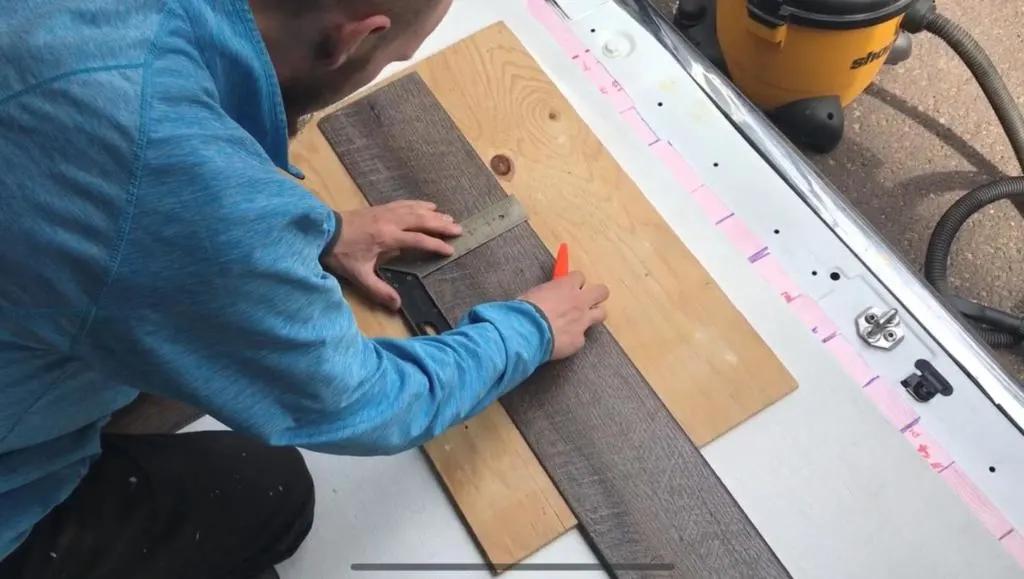
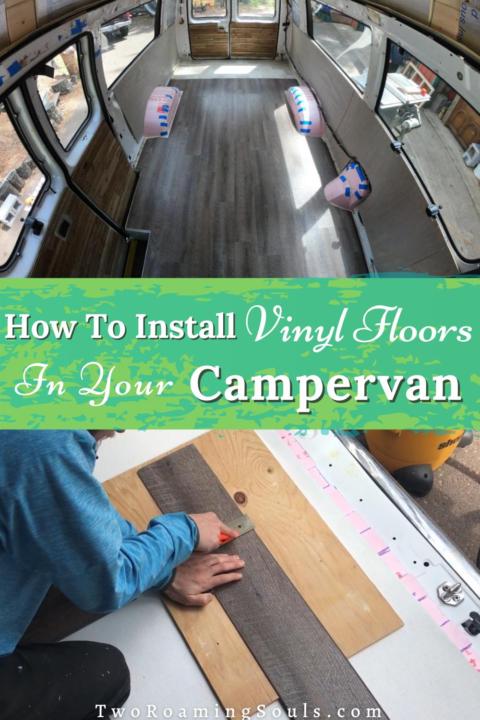
Jake and I wanted the vinyl plank flooring to be off-set to look more “natural”. But all the planks are sold at the same length. Therefore, we needed to make a few cuts to our planks to make some shorter lengths. To simplify things we stuck with common fractional lengths (1/2, 1/3, 1/4).
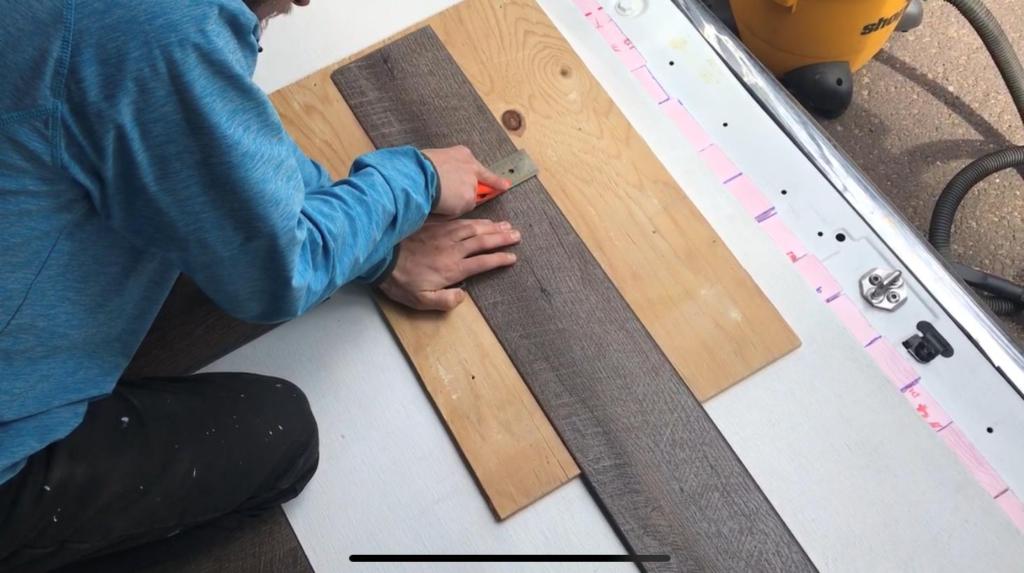
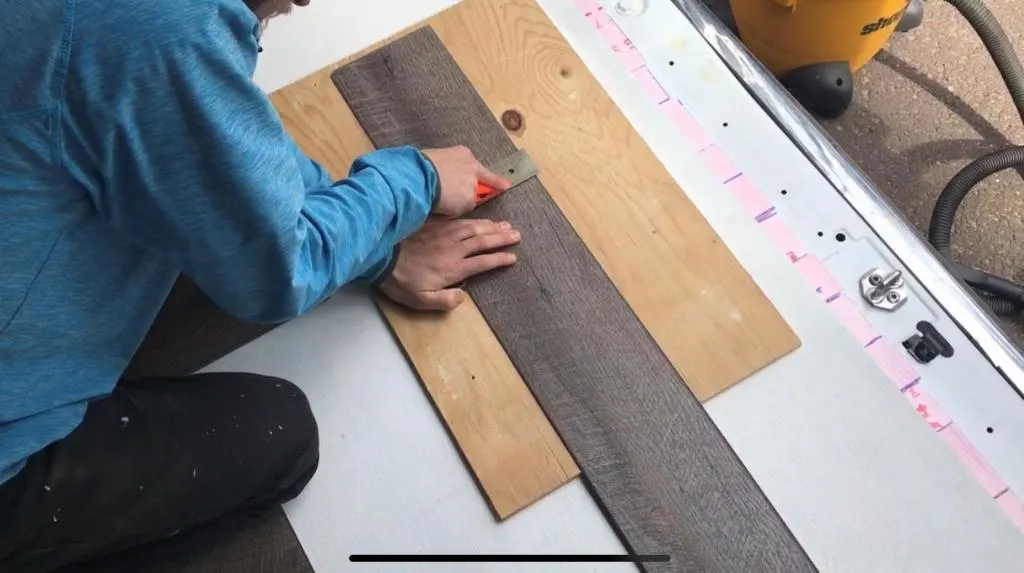
Measure where you want to cut the vinyl floor plank. Then find a spare piece of wood you can make the cut on top of. We took an extra piece of plywood we had lying around from a previous project and laid the vinyl plank piece on top. For the next step, you will need an L ruler or speed square and a sharp razor blade.
Connect Tongue & Groove Seal of Vinyl Floor Planks:
Now on to the final steps of installing your vinyl floors. Most vinyl planks are tongue and groove. So you take the side of one of the planks and slide it under another plank at a 45 degree angle. Then, lie the plank flat with a little pressure to make it lie flat and it should make a secure connection.
One of the best parts about installing click lock vinyl flooring in a campervan is you don’t need glue or screws to hold it down. You simply lay the vinyl flooring on top of the sub floor and “Voila”. Vinyl floor planks can expand or shrink depending on the weather, so they need the space to breathe.
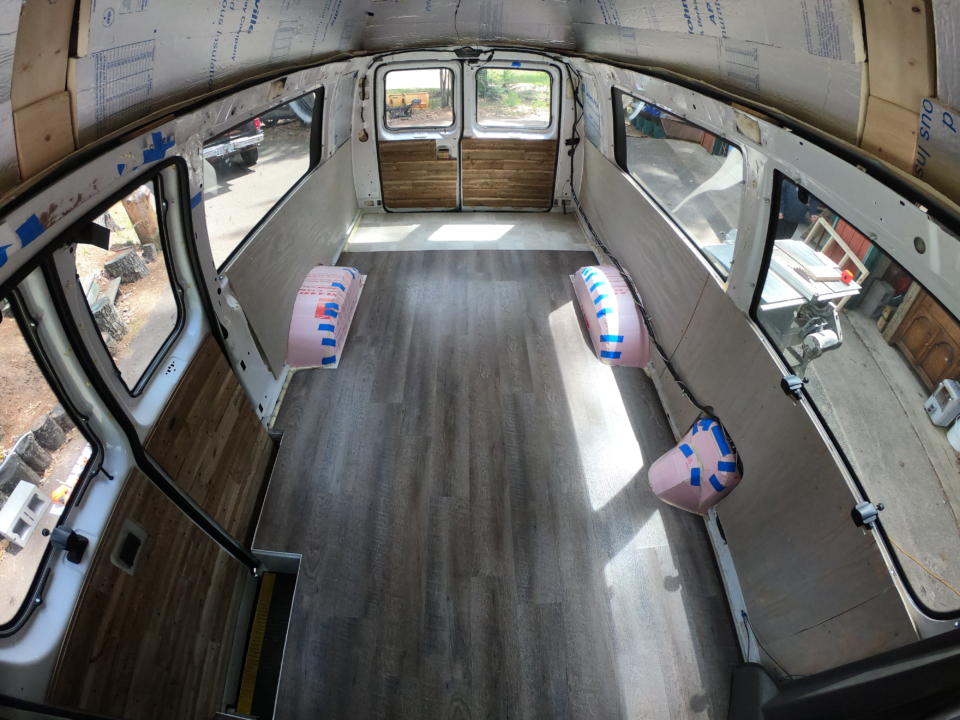
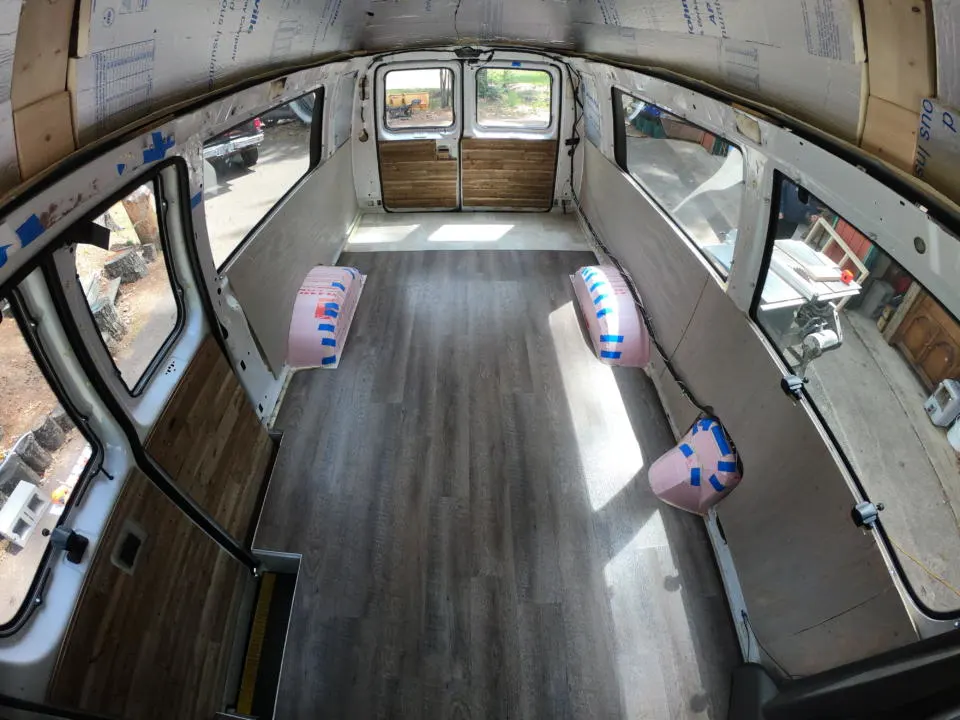
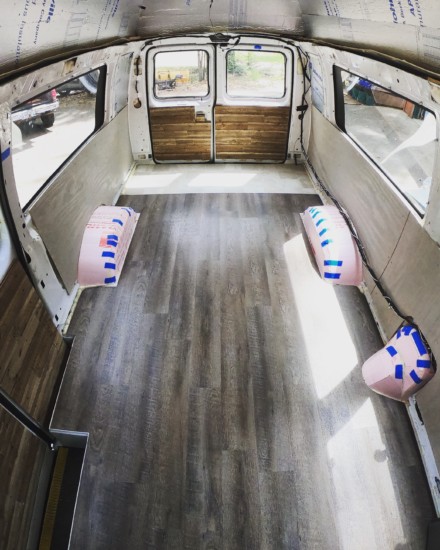
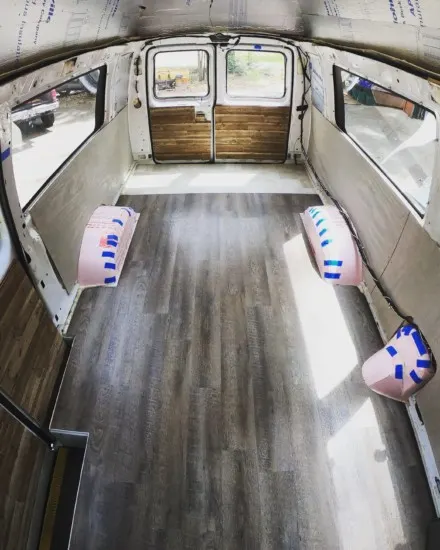
Jake and I laid the vinyl planks along the entire width of the van, so the floor would be completely waterproof in the living area. We then placed all our furniture on top of the floor which ultimately holds the floor “in place”.
Do note, we decided to not cover our garage living space (under our bed) with the vinyl flooring because we had some leftover laminate flooring from a different project. And we would of had to purchase another box of vinyl floor planks. But overall, we regret not covering the whole van floor with the vinyl planks.
You also might need to cut unique shapes depending on your floor layout. For example, the width didn’t line up perfectly to the vans wall, so we had to cut the last piece to be a little bit skinnier. And of course we had to cut around our wheel wells and stair entrance.
Be sure to check out some of our other DIY campervan projects:


Takeaway | How To Install Vinyl Flooring In Your Campervan:
Adding vinyl flooring adds an elegant touch to your campervan without much extra hassle. Plus it seals the floor from absorbing any excess moisture that might spill onto the floor from dishes, washing your face, an accidental spill, etc. We hope this easy tutorial on how to install vinyl flooring in a campervan helps you create your own DIY campervan masterpiece.
Save ‘ How To Install Vinyl Flooring In Your Campervan’ For Later


How To Budget For Vanlife | Van Conversion & Monthly Budget - tworoamingsouls
Sunday 21st of May 2023
[…] items that you need to purchase for your van build. This probably includes things like solar, flooring, lumber, fridge, bed, etc. You can use these numbers to get a rough estimate for the total price of […]
How Much Did Our DIY Camper Van Conversion Cost - tworoamingsouls
Friday 5th of May 2023
[…] Vinyl planks are easy to install, and you can cut the planks to size with a sharp razor blade. We love how it turned out! […]
Van Conversion Build Order | Step By Step Guide - tworoamingsouls
Friday 7th of April 2023
[…] in the van conversion build order you can install the flooring for your campervan. The standard construction includes a subflooring (usually plywood) and a durable waterproof top […]