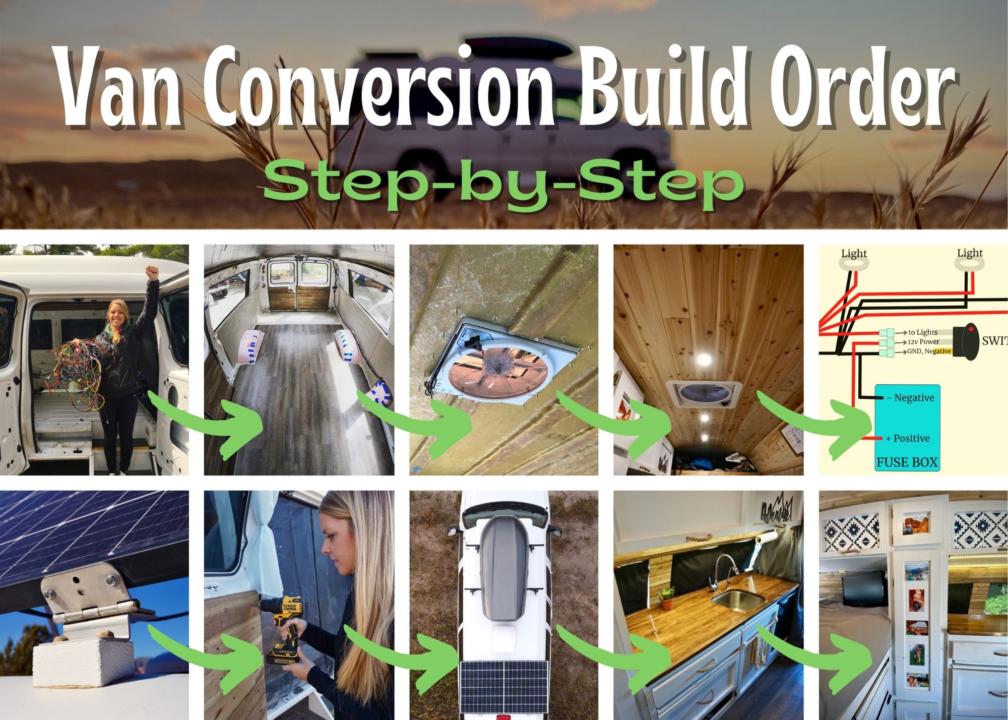

Converting a van from scratch can be a daunting task. It requires a broad range of skills from carpentry to electrical, which is intimidating at first. But when you break it down into ordered steps, it helps to make the job seem more manageable. Rather than worrying about everything you don’t know all at once, you can focus on one specific task at a time. Use this van conversion build order to help guide you through the process.
This guide presumes that you are building a modern campervan with electrical, plumbing, furniture, etc. If you are building a more simple van conversion (which is totally okay) you may just skip or ignore certain steps.
Keep in mind that these steps are NOT always mutually exclusive. That is, some steps may be occurring simultaneously, or a little jumping back and forth. I will try to highlight any of these unique cases.
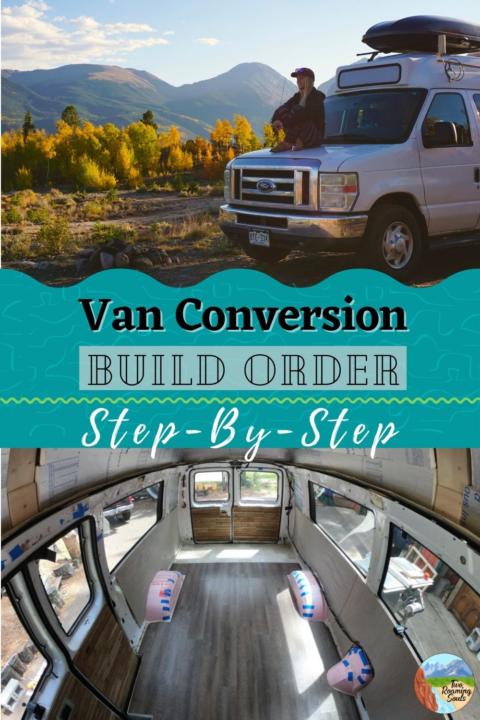
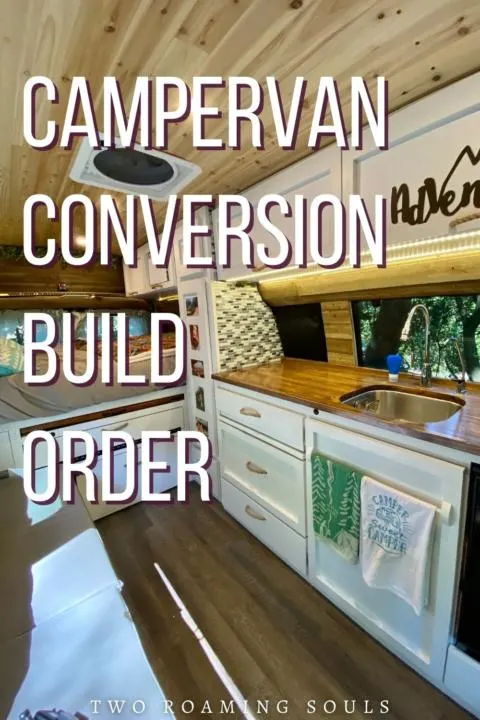
Van Conversion Build Order
- Mechanical Check & Repairs
- Demolition
- Rust Mitigation & Prep
- Measure & Plan
- Sound Deadening (Optional)
- Adding Windows (Optional)
- Install Vent Fan(s)
- Preliminary Wiring
- Insulation
- Install Solar Panels
- Flooring
- Walls & Ceiling
- Electrical
- Furniture
- Plumbing
- Appliances
- Finishings & Decoration
Mechanical Check & Repairs
Before we start, I must advise that you have your van checked by a mechanic. (hopefully you did that before you purchased it too). You don’t want to go through the whole process of converting a van, only to find out it has serious mechanical or structural issues.
So take your van to a qualified mechanic and see if anything needs fixing. Afterward, you will feel much more confident about the money you are spending on the conversion.
Demolition
This step depends on the condition of your van when you start. If you bought an empty cargo van, then you may be ready to go.
But many other vans may require some demolition before it’s ready for a conversion. Old passenger vans, work shelving, or previous conversions may need to be removed before you can start your build.
This assumes that you do in fact want to remove everything and start from scratch. It’s possible that you may want to keep some parts of the previous interior, but that is up to you.
Rust Mitigation & Prep
Once your van is empty, inspect the van for any rust or structural issues. If you find any rust on the interior of the van it should be treated. This must be dealt with now because you won’t be able to access these areas once the conversion is completed.
Rust mitigation typically involves removing visible rust and painting/treating for prevention. For mild to moderate surface rust, you can use steel wool or a wire brush to abrade off all the visible surface rust. Then apply paint and/or rust prevention products to the affected area.
If you have more serious rust, like pitting, you may need more drastic remediation. Pitting is when the rust has completely penetrated the metal to the point of creating holes and causing structural damage. In this case, you probably need to cut out the problem area, and patch the hole.
Measure And Plan

Now take precise measurements of your van’s interior. You will need these measurements to plan your conversion.
It is possible to find interior measurements online for the most common van models. But I wouldn’t rely solely on those measurements because there is the potential for variation, miscommunication, and sometimes people on the internet make mistakes or are just flat out wrong.
And measuring the interior of a van is more complicated than just height, width, and length. Vans are not perfect rectangles, they have curves, and other anomalies (like wheel wells).
For example, the width of a van may change as you increase the height. Typically, vans curve in towards the top, so the width at the ceiling is less than the width measured at the floor. Or the interior height of a van may change depending on where you measure it.
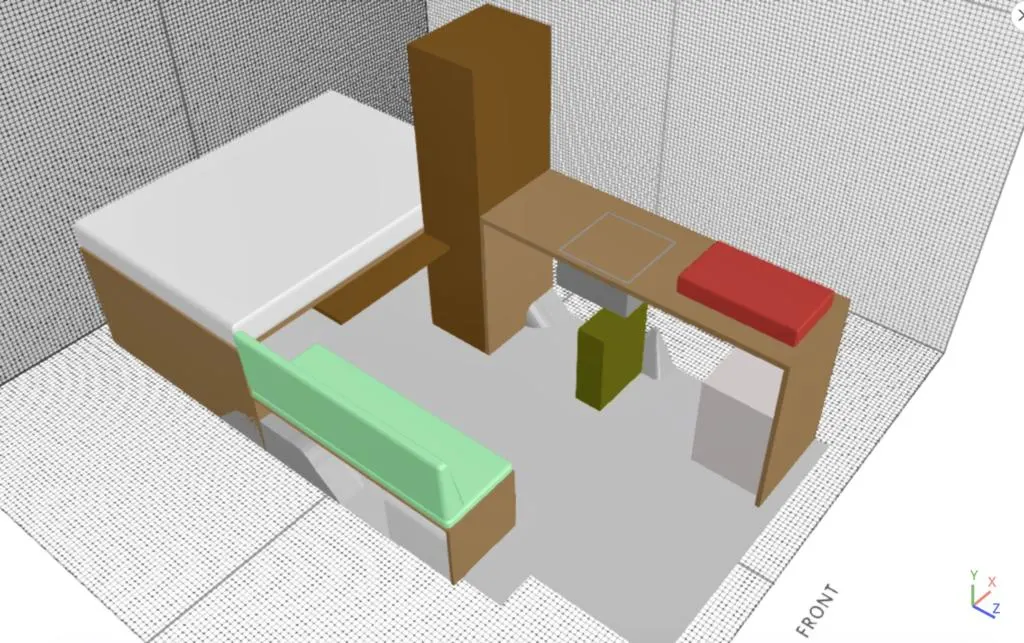
You can use 3D software to plan the layout of your van conversion. Some free ones can be learned relatively quickly. It doesn’t have to look pretty, as long as the sizing is correct. This allows you to visualize the space, and easily move objects around to test different layouts. Or if you are super detailed, you could even do it by hand.
Additionally, some people offer campervan layouts for free or for purchase that you can copy or modify.
Sound Deadening (Optional)
Sound deadening is a product that is meant to reduce the noise inside your van. It’s basically like sound absorbers that you adhere to the van’s body to reduce noise. The giant metal surfaces of a van reverberate sound really well. Sound deadening can make your van quieter to drive and quieter when living inside.
Most people skip this step because it’s pricey, and the benefits are marginal.
Adding Windows (Optional)
If you planned to add any windows to your van, it’s best to do it at the beginning. CR Laurence is probably the most popular manufacturer for aftermarket van windows.
Install Vent Fan(s)

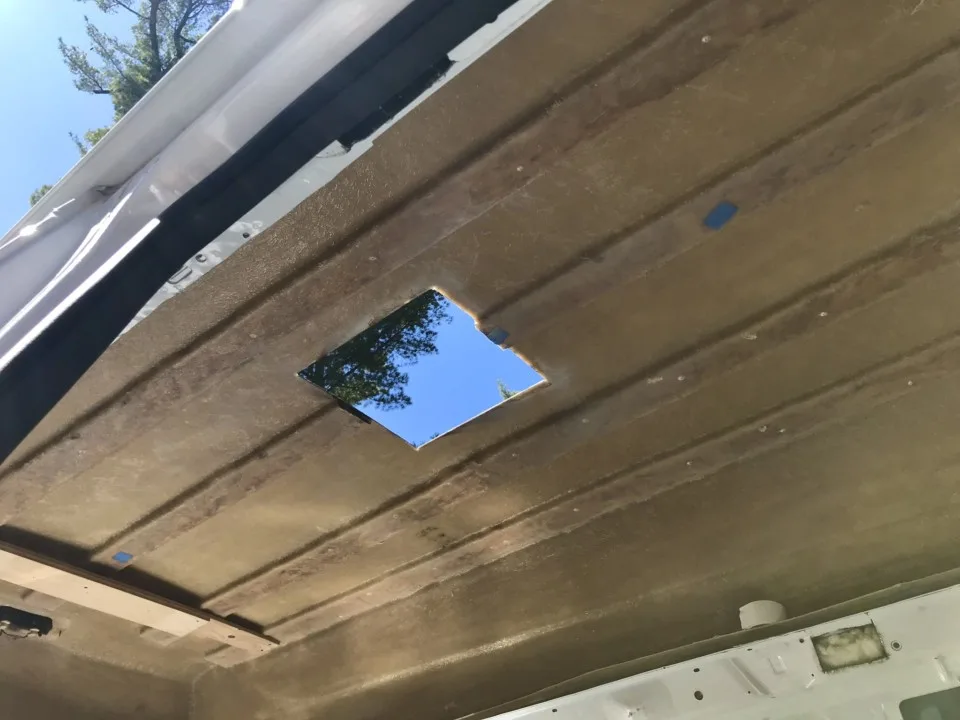
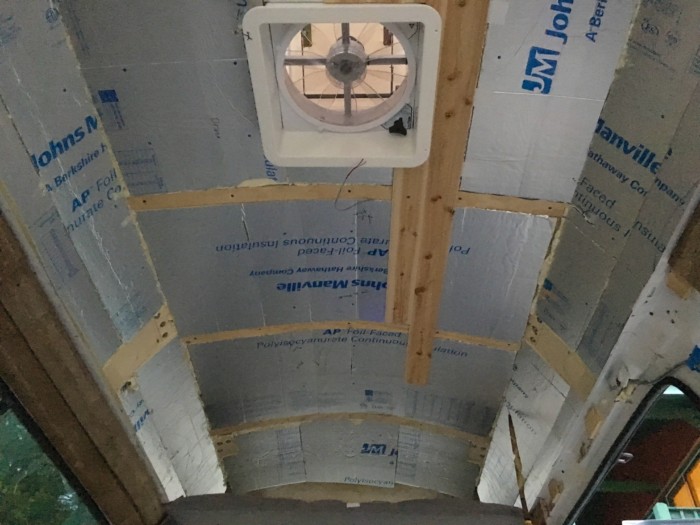
Next, install your roof vent fan. Make sure you plan space for other things you may want to mount on your roof (i.e. solar panels, cargo boxes, roof racks, etc.) This involves cutting a hole in your roof and mounting the exterior flange (interior flange goes in after the ceiling is finished).
If you have a metal roof, there are plenty of videos and articles about how to install your vent fan(s). This video shows how we mounted a Maxxfan in our fiberglass hightop van. Read our guide on all the best vent fans for campervans.
Preliminary Wiring
Next, it’s time to do some preliminary wiring. This is typically done before insulation, but it is possible to do after, or a mix of the two. You can run wires for anything that you are sure will be part of your finished van conversion. Most notably is lights and vent fan.
The benefit of doing wiring before insulation is that the insulation will hold the wiring in place.
The negative is that if you want to change something or diagnose a problem, you may have to remove insulation to access the wires.
This calculator is a good resource for figuring out what gauge wire to use.
Check out this post for a beginners guide to wiring, connectors, and crimping.
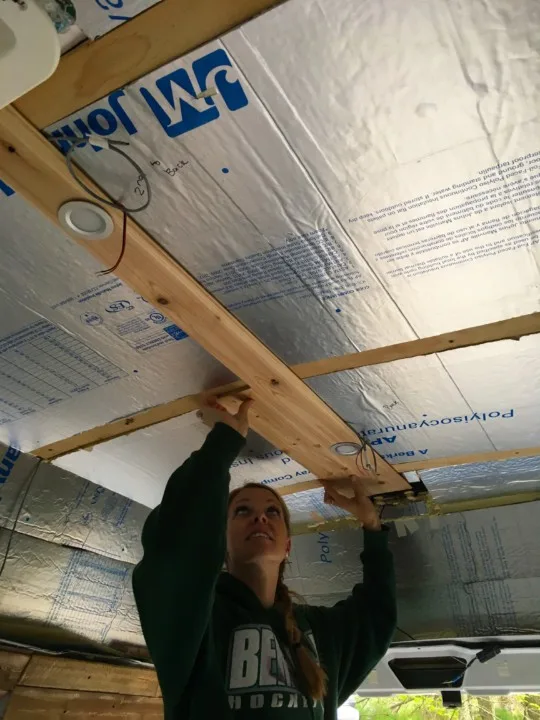
Insulation
Next, you should install your insulation.
Insulation is one of the parts of a van build that is hotly debated. People will argue over materials, techniques, climates, and more. But most people agree that some insulation is good for most campervan conversions.
I will try to summarize the basics really quickly here, but you should read our entire post dedicated to campervan insulation.
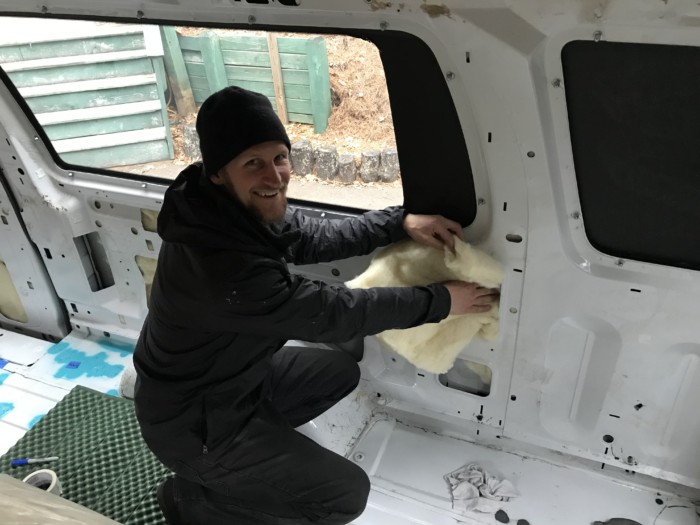
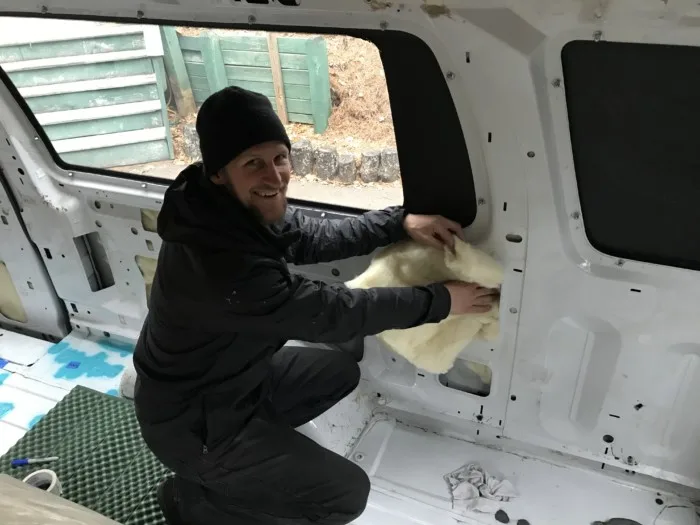
The most popular and effective insulation types are spray foam, polyiso foam board, sheep’s wool, 3M Thinsulate, and Reflectix.
Within the spray foam category, there are two types. The most expensive but best option is professional spray foam. There is also the spray foam you can buy from the store in cans, but it would be very difficult (and still expensive) to insulate an entire van this way. However, it’s great for filing in awkward gaps and cracks (hence the name). And it can also be used as a glue to install other types of insulation.
You may also choose to combine several insulation types for different situations.

Polyiso foam boards are cheap and great for insulating large, flat-ish sections of the van. It’s strong and rigid enough to go under the flooring and hold up to the weight. But this rigidity is a negative for insulating curved or awkward shaped areas.
Sheep’s wool is gaining popularity for its flexibility, non-toxicity, moisture management, and other unique properties. It can be used to fill cavities in the van, but for large open areas it requires some type of string, glue, or tape to hold in place. (at least until walls and ceiling go up.
3M Thinsulate is another popular insulation that performs well for its size. It is also flexible so it works well for curves and awkward spaces.
Reflectix is the go-to insulation for windows. It’s reflective coating provides a radiant barrier to deter radiant heat from the sun.
Install solar Panels
This is a good time to install your solar panels so that you can run the wiring underneath your ceiling and walls. If this step is daunting, we suggest checking out this beginner’s guide to solar.
If you have a fiberglass rooftop, like us, follow this detailed guide for how to mount a solar panel to your roof.
Or it is possible to have electricity in Vanlife without solar.
Flooring
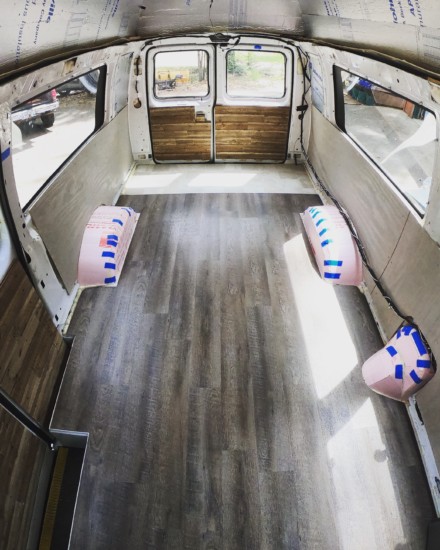
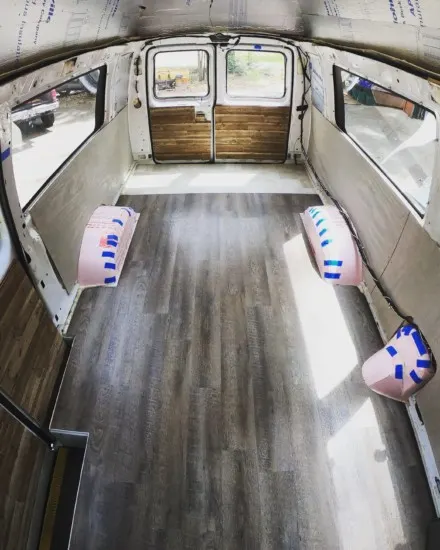
Next in the van conversion build order you can install the flooring for your campervan. The standard construction includes a subflooring (usually plywood) and a durable waterproof top product. The subflooring is typically painted or treated with mold resistant products.
And popular products to use for the top layer of flooring are vinyl plank flooring, cork, laminate, and others.
A common question is how to attach or secure your flooring. Surprisingly, most campervan floors are just left “floating”. Putting screws or nails through flooring is not recommended because it will compromise the waterproof-ness.
Additionally temperature swings will cause flooring to swell and contract, so this allows for that movement. Once you build furniture on top, it will roughly hold the flooring in place.
Walls & Ceiling

The walls and ceiling come next.
Wood is probably the most common material used. “Shiplap” or “Tongue & Groove” are popular products that provide a stylish look that’s easy to install. Using thin materials is a good way to save interior space.
This guide explains how we installed rustic wooden walls in our campervan.
If you are installing recessed lights in your ceiling, then you can do that as the ceiling goes up. (Or check out other great lighting options for campervans.)
This guide explains how we installed tongue & groove cedar planking on our fiberglass hightop ceiling.
Once your ceiling is finished, you can mount the interior flange that came with your vent fan(s). It gives the fan a nice finished look by covering the gap around the fan opening.
Electrical
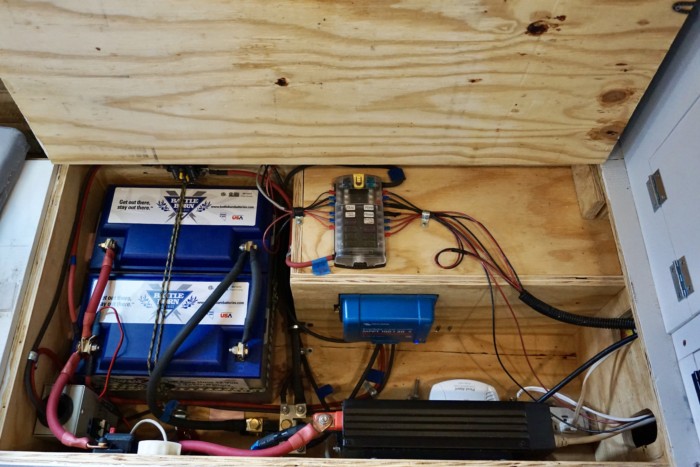

Next, you can start to do the electrical. This involves selecting an area to house your batteries, charge controller, inverter, and other accompanying components.
Most van builds will organize most of the electrical together in a wooden box under their bed or bench. An enclosed space is important because it will prevent any personal belongings from interacting with your delicate electrical system.
It’s common to put your batteries and electrical on the opposite side of your water to attempt to balance the weight. And also it puts some distance between your water and electrical if there’s ever a leak.
The electrical is probably the most technically challenging step of the van conversion build order. It requires extensive knowledge of all the components, tools, and techniques. And mistakes made with electrical can be catastrophic.
I say this not to scare you, but just so that you understand what’s at stake. While most other parts of a van conversion are relatively easy DIY-type projects, electrical is a much more precise, technical, and high-consequence endeavor.
However, if you are committed to learning the necessary skills, it is possible to do it yourself. A good place to start is my post about the basics of vanlife solar. I introduce the concepts and components of an off-grid solar setup, and after reading you can decide if your willing to learn more, or decide to seek some professional help.
Furniture
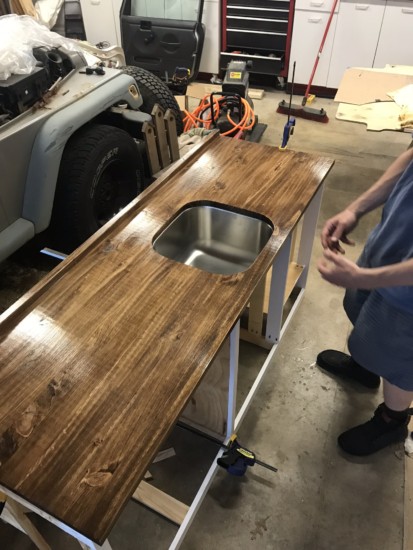

The first piece of furniture you might start with is the box to house your electrical. But otherwise, the most common place to start is with your bed. The bed is almost always going to be the largest item in your van, and pivotal to the entire layout. Find out what style of bed you want, what size, and where it will go.
Then you can use the remaining space for a kitchen, bench, table, office, bathroom, etc. If you have certain other large items picked out (like a fridge, sink, countertop, table, etc.) then you should plan your remaining furniture around those items.
Most van conversions have the furniture anchored to the walls (and sometimes ceiling). If you have waterproof flooring, then you can’t exactly start nailing or screwing furniture to the floor. So this means that creating strong anchor points to the walls is important for making sure that your furniture is secure in the event of an accident.
Plumbing

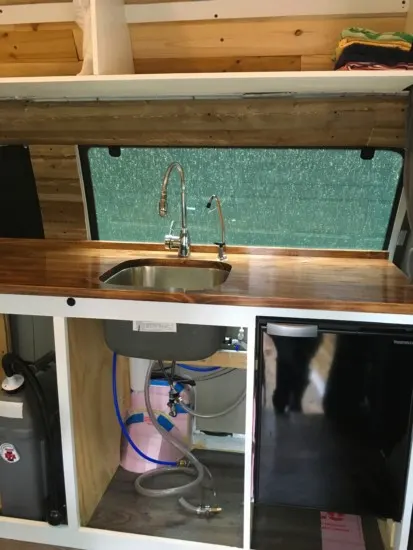
Once you have completed the kitchen counter, you can start your plumbing. The most common types of campervan sinks use either a 12v electric pump, or a foot-pump. The pump will draw water from your water storage jugs, through a faucet, and then drain out of the sink into a gray-water storage tank.
We personally found plumbing to be the second most challenging part of a van conversion (behind electrical). We had a really difficult time finding tubing and fittings that would fit together perfectly (even when religiously following the instruction manuals for various components).
To help others avoid the same frustration, we put together a step-by-step guide for how to copy our campervan sink plumbing with water filtration.
Appliances

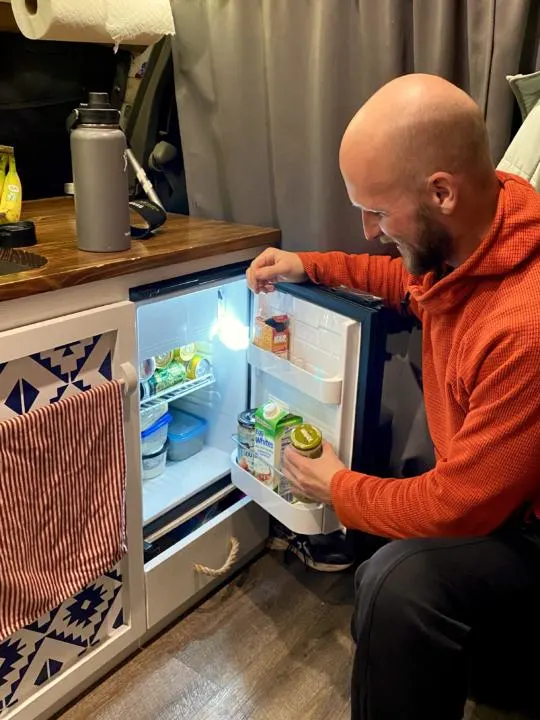
Then you can install any appliances you have picked out, like fridges, stoves, heaters, etc.
We’ve done the research for you, so check out these great resources for:
Finishings & Decoration
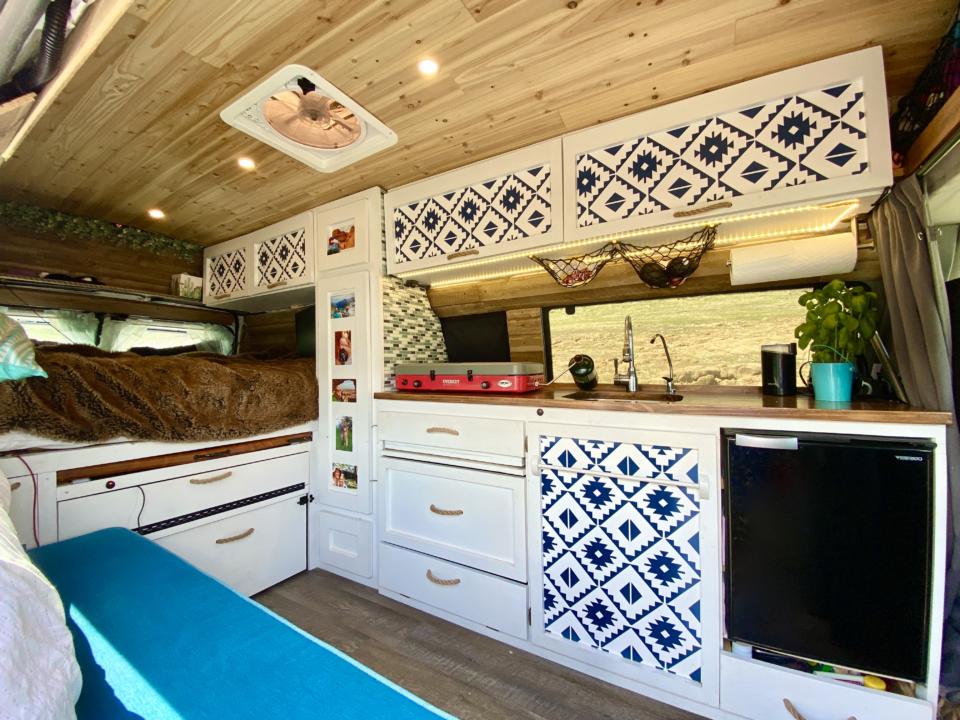

Now it’s time to put the finishing touches on your campervan. You can add things like knobs, handles, hooks, trim, decorations, or any other fun ways to make your campervan feel like home.
Don’t forget that you need to keep things secure when you are driving. There’s a variety of latches you can use for drawers and cabinets.
Conclusion | Van Conversion Build Order
Breaking down the entire van conversion process into smaller steps is a good way to tackle the project.
This van conversion build order helps you focus on individual steps, rather than being overwhelmed by the entire project. And when you are done converting your own campervan, you will have an amazing sense of accomplishment.
Help Share ‘Van Conversion Build Order’ On Pinterest!


Tips and Tricks to Prepare for Your Van Build - tworoamingsouls
Saturday 16th of October 2021
[…] Now it is time to start building out your campervan. Use our helpful resource for our van conversion build order, step by step guide. […]